LOTS TO UPDATE YOU ON!
Since July 2019, I have been able to finish the internal framing and make a good start on the deck. I will split the update across two posts of which this is the first.
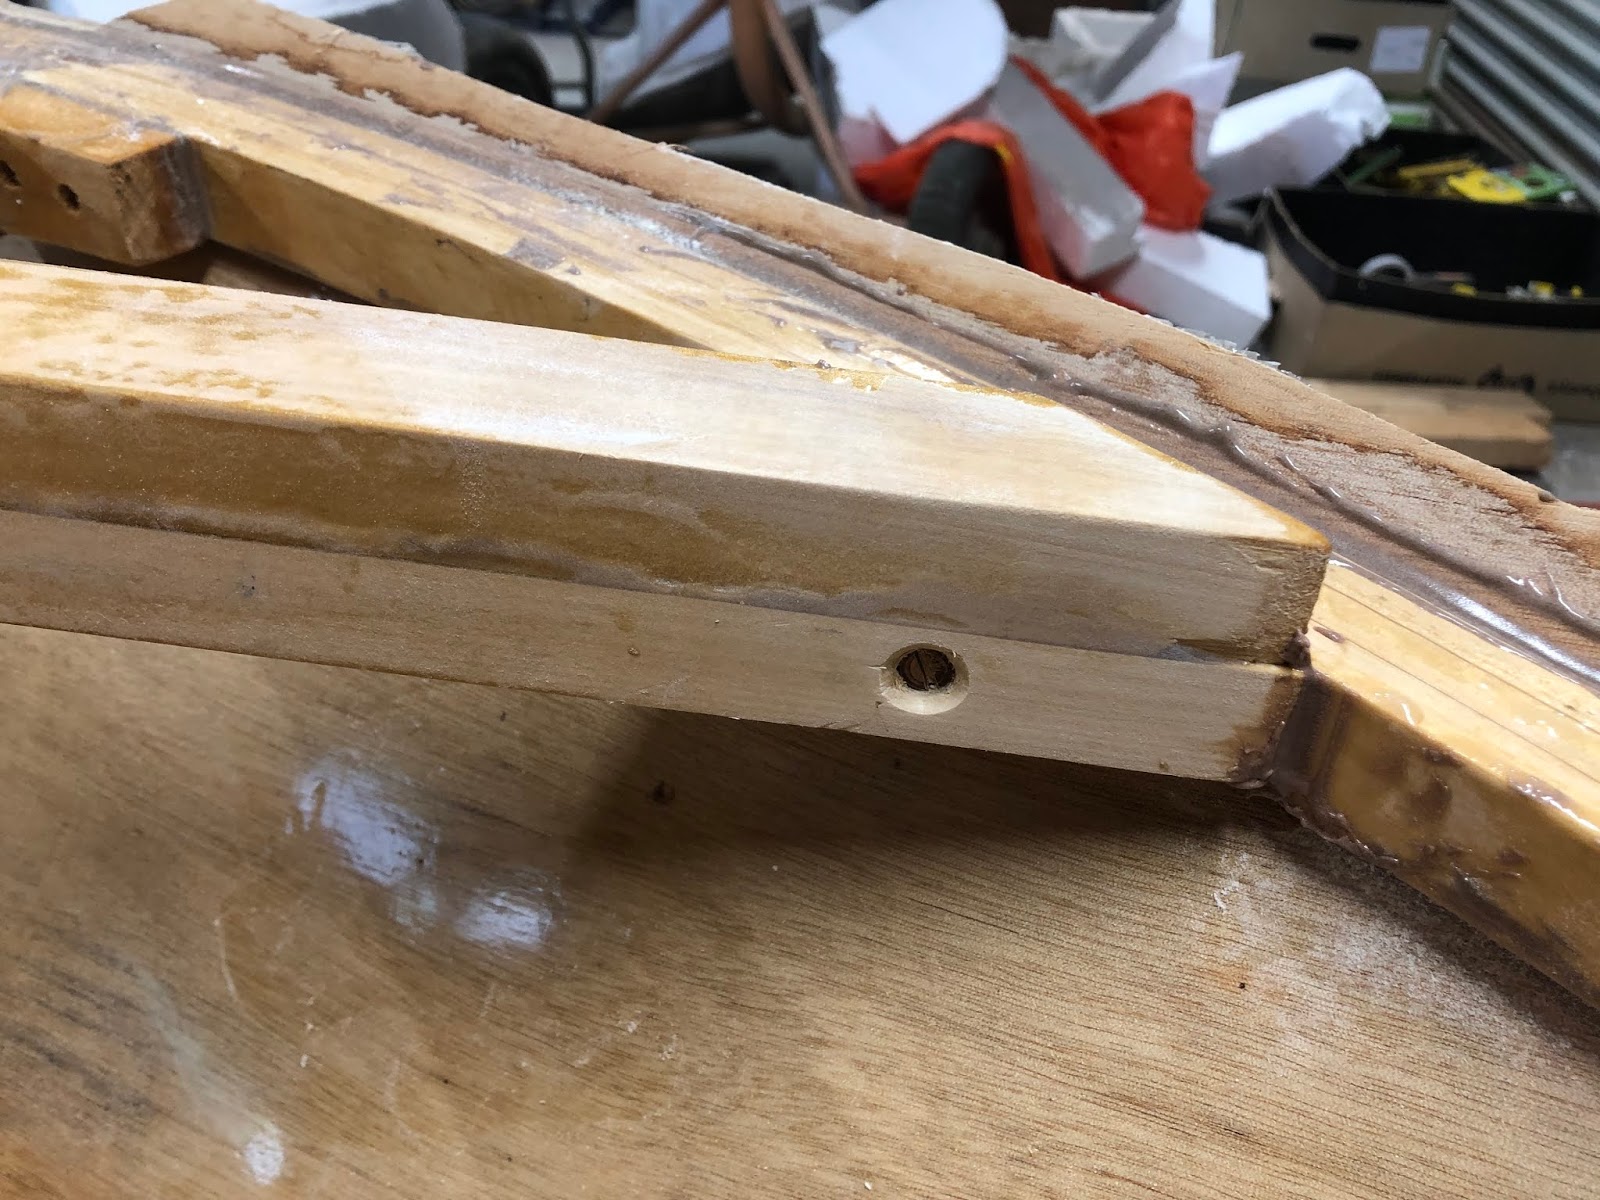
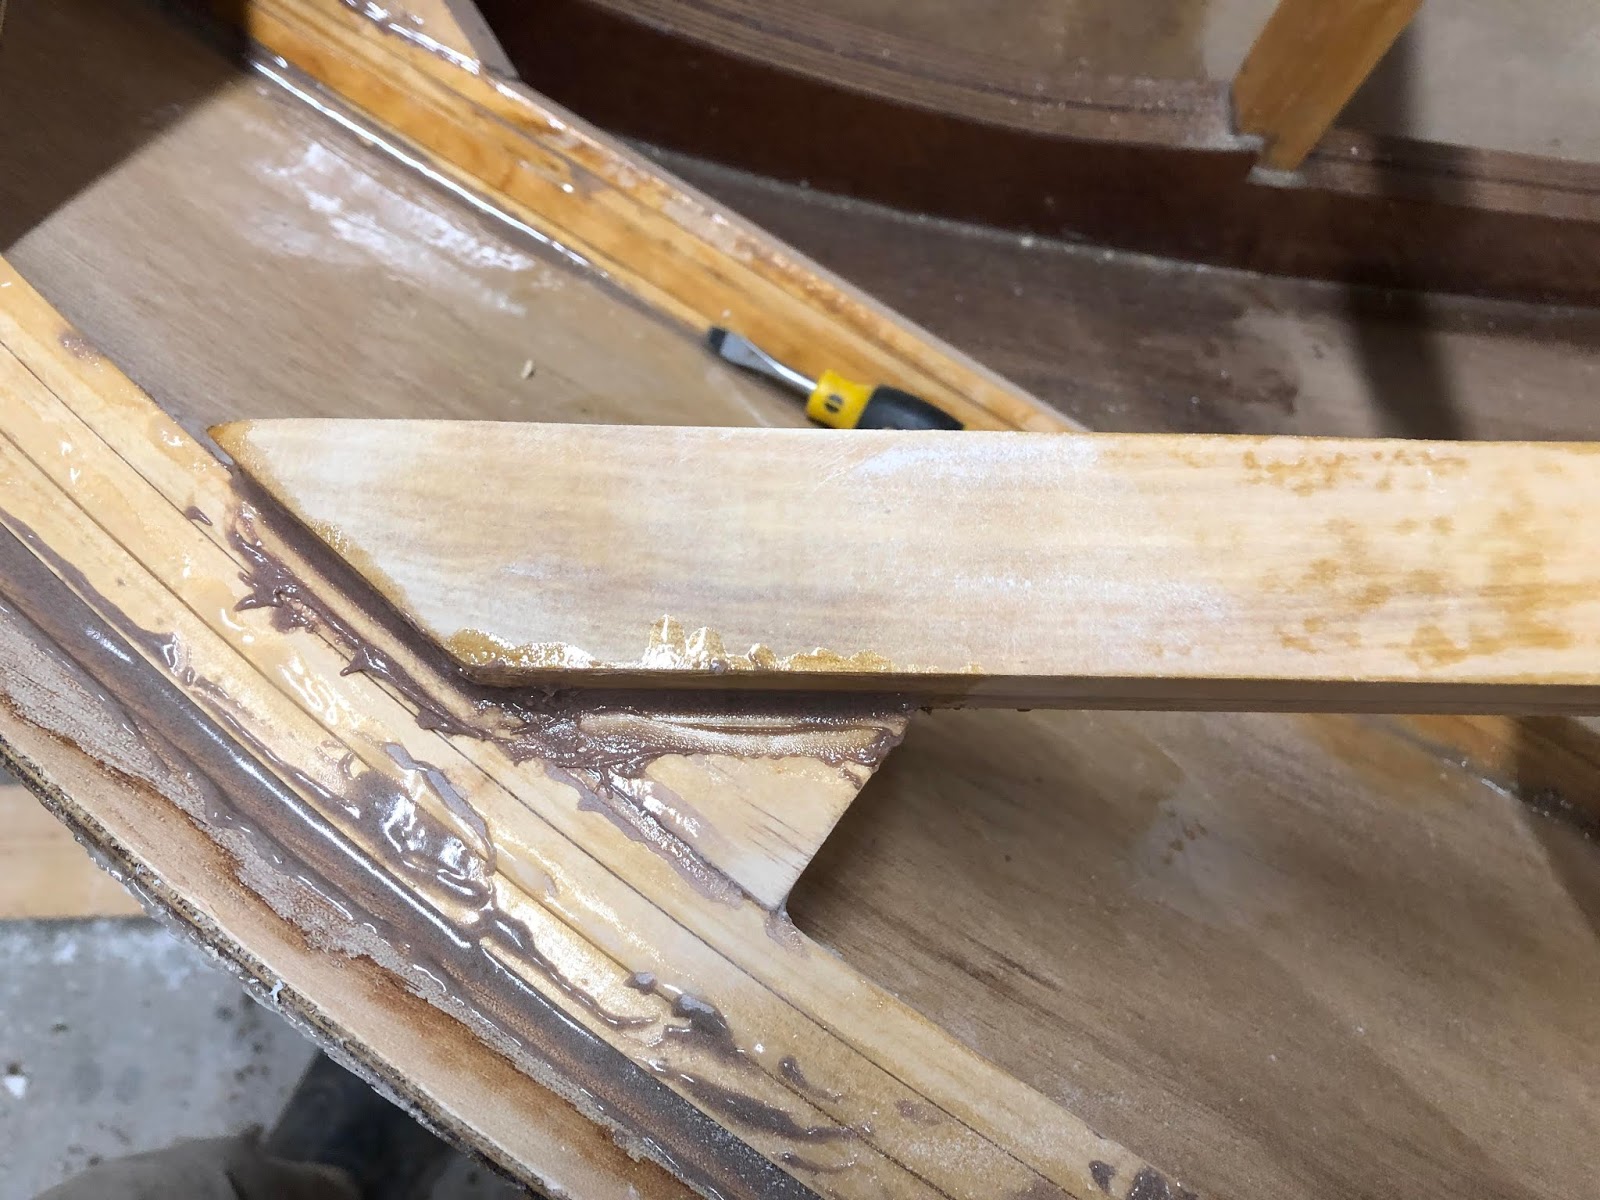
The junction between the chine logs and the stem are a point of stress concentration so I decided to strengthen them by adding in some blocking. A sliding T-bevel made it easy to get the right angles.
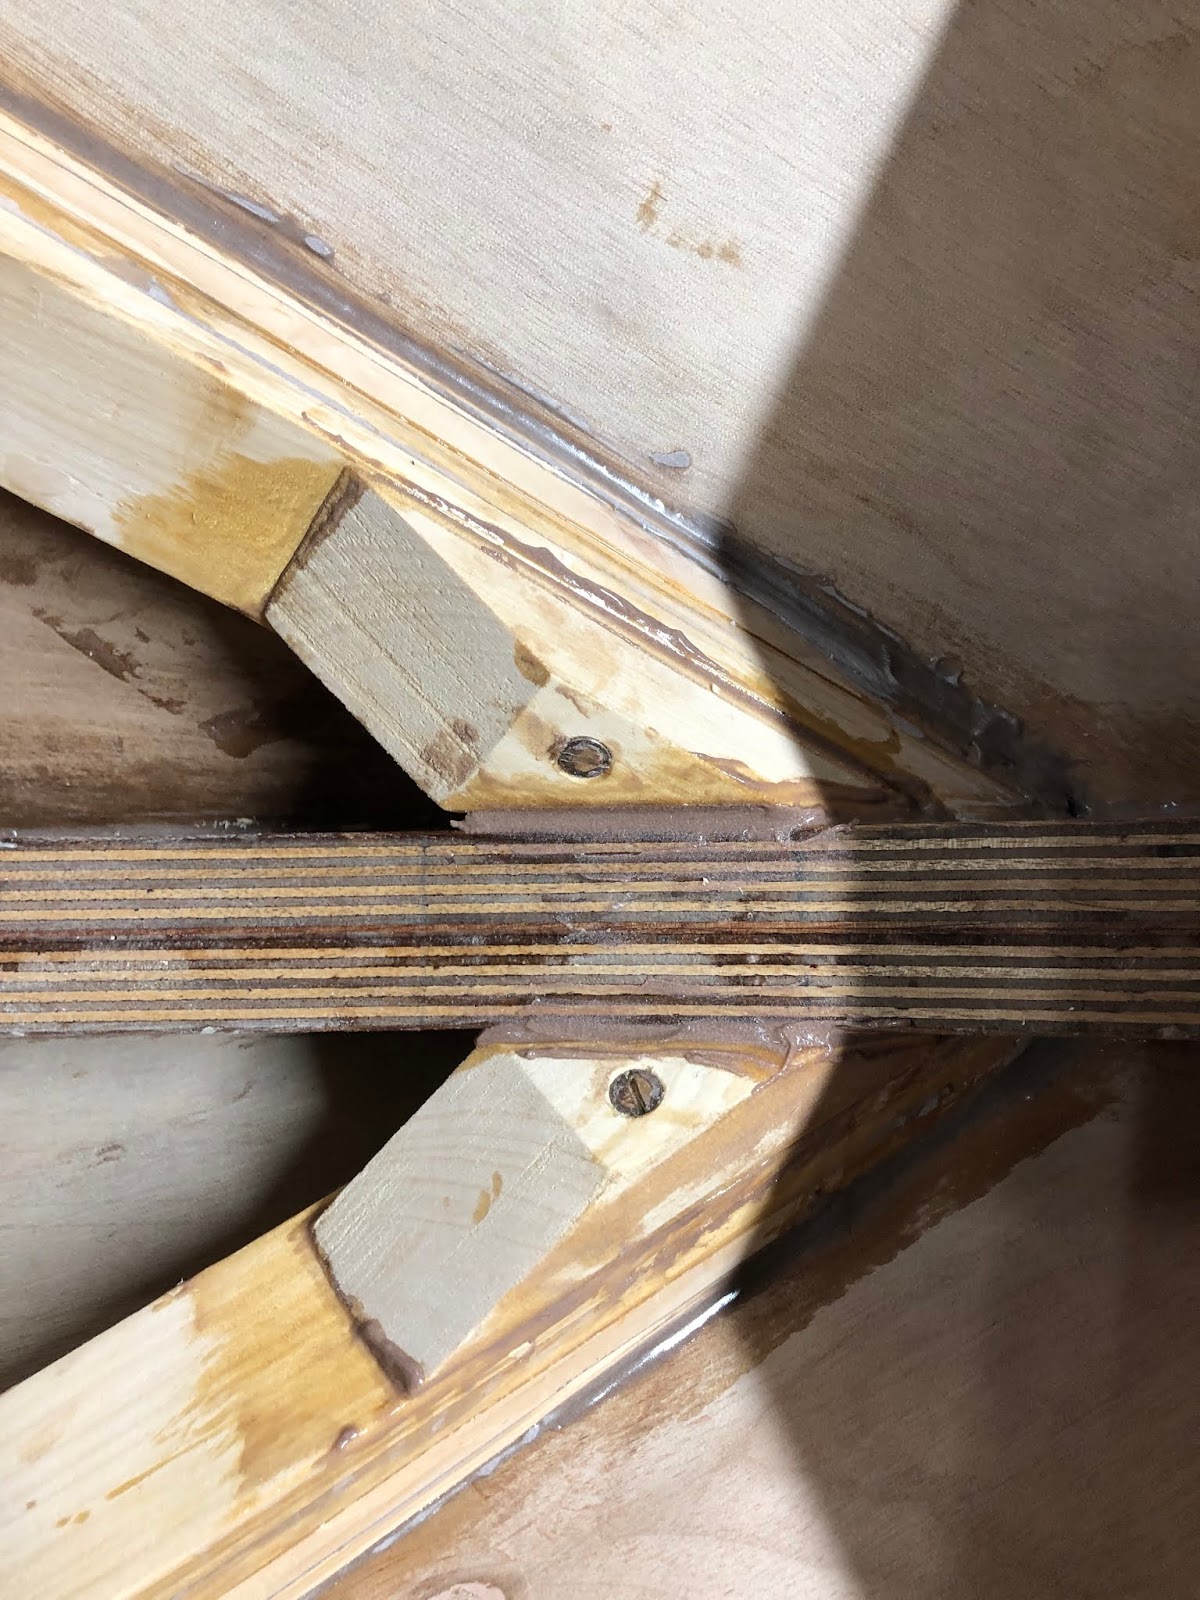 |
| Chine-stem junction strengthening |
The external support framing for the hatch was installed to follow the curvature of the rear deck beams. Blocking holds the framing in place.
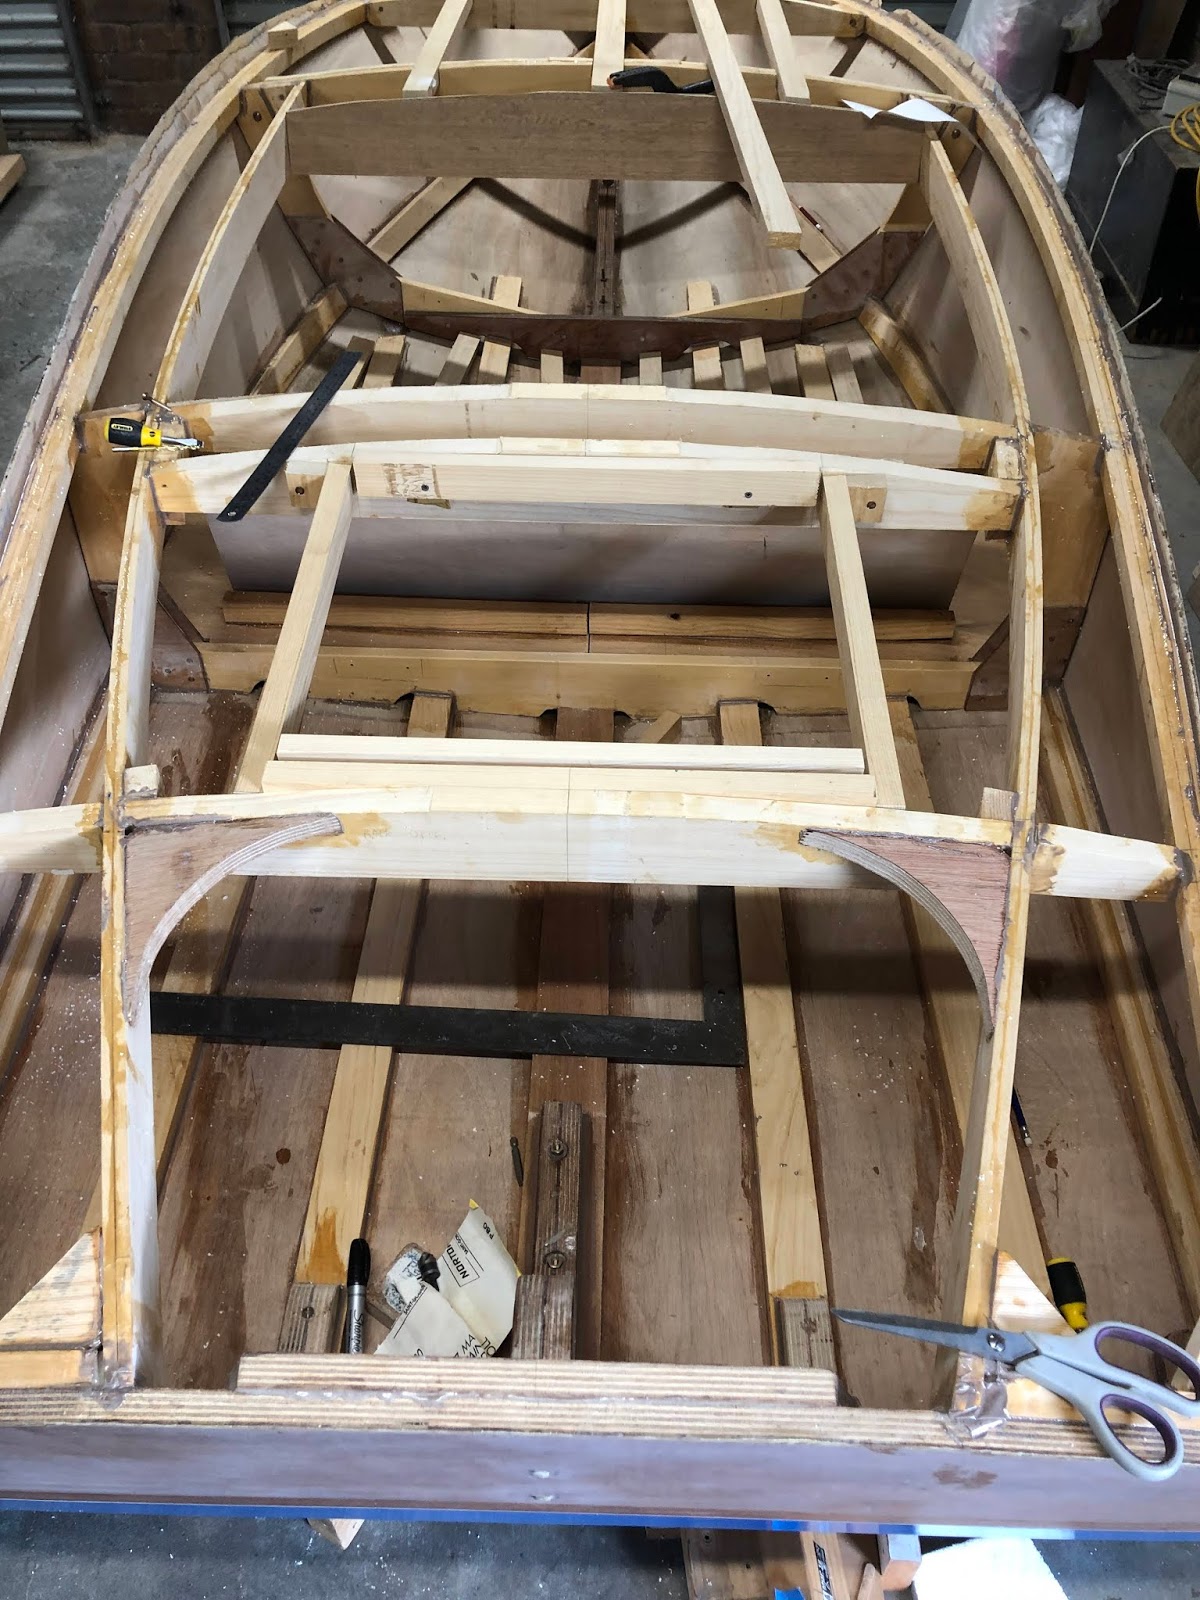 |
| Hatch framing |
The hatch door framing was created such that it will be cut through the middle to create two doors that fold away from each other. The hatch doors will be hinged with stainless steel piano hinges.
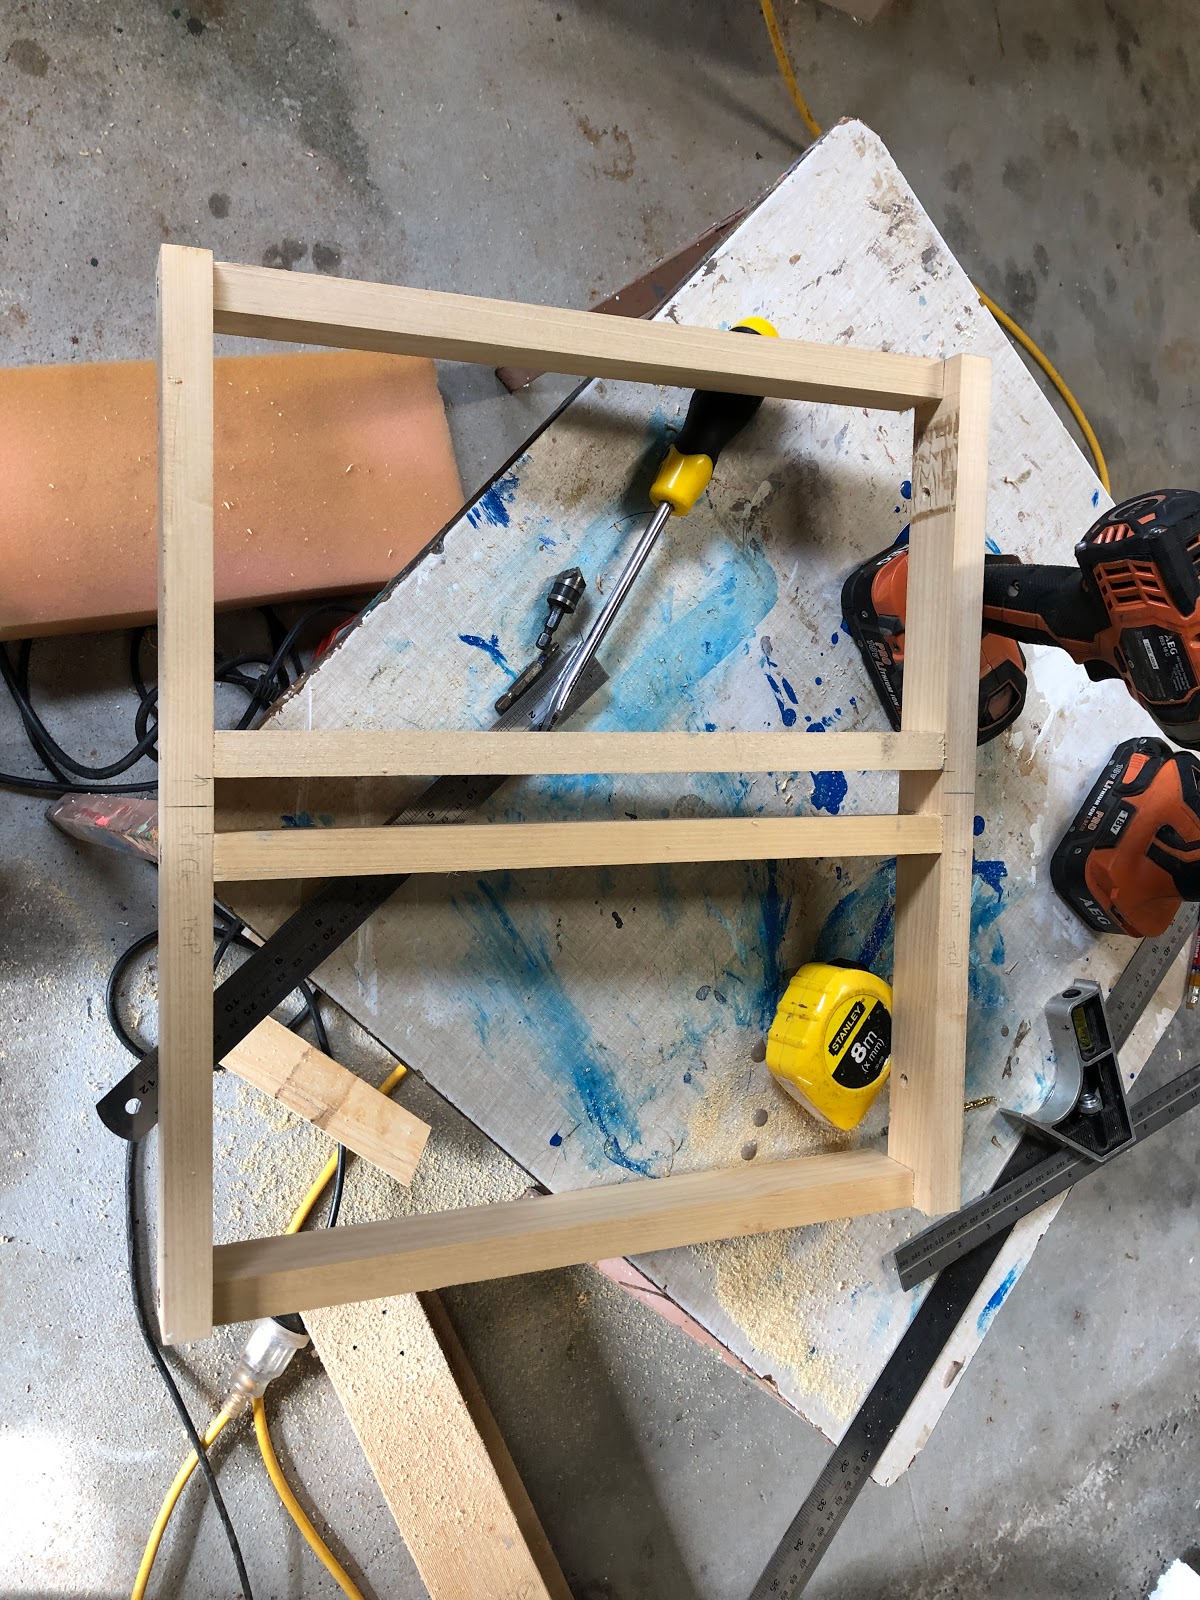 |
| Hatch door framing |
The hatch door framing is held temporarily in place with screws and some wooden spacers. (The wooden spacers are covered in packing tape to ensure the epoxy cannot stick them to the boat.) Once the deck is installed, the hatch will be cut out.
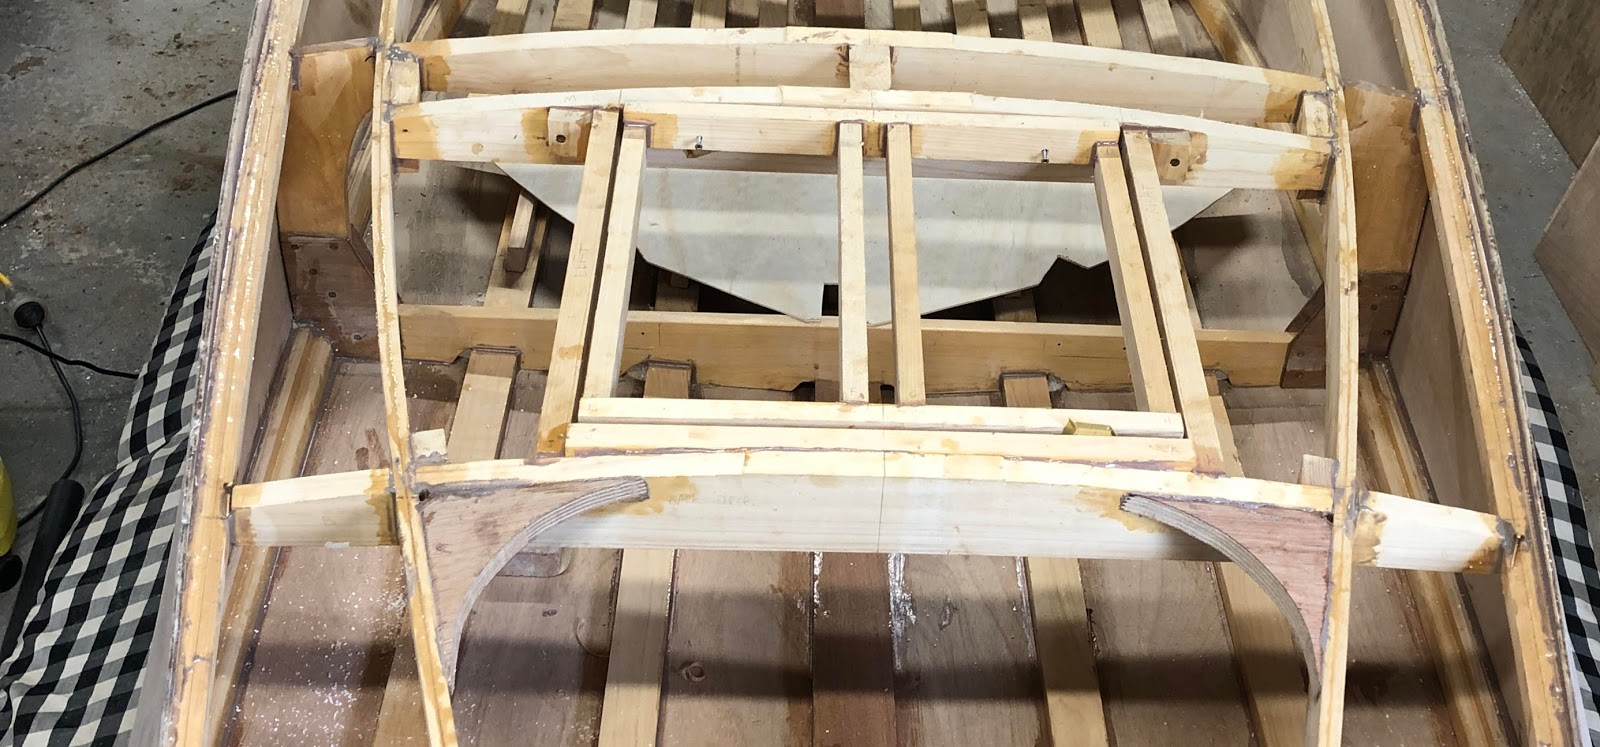 |
| Hatch framing |
Short battens were added between the keel and longitudinal battens to create a suitable floor for the boat. Shaping the short battens was tricky as they needed to conform to the curved shape of the hull. They were glued down with bricks while the epoxy cured.
 |
| Epoxying the battens in place |
There was a bit of work filling up all the gaps between the battens and the plywood with thickened epoxy. As the floor is a place that will see quite a lot of water, I didn't want any gaps beneath battens for water to get into and cause rot. I am pleased with the final result and think it is a much better solution (in terms of weight and looks) than adding plywood flooring.
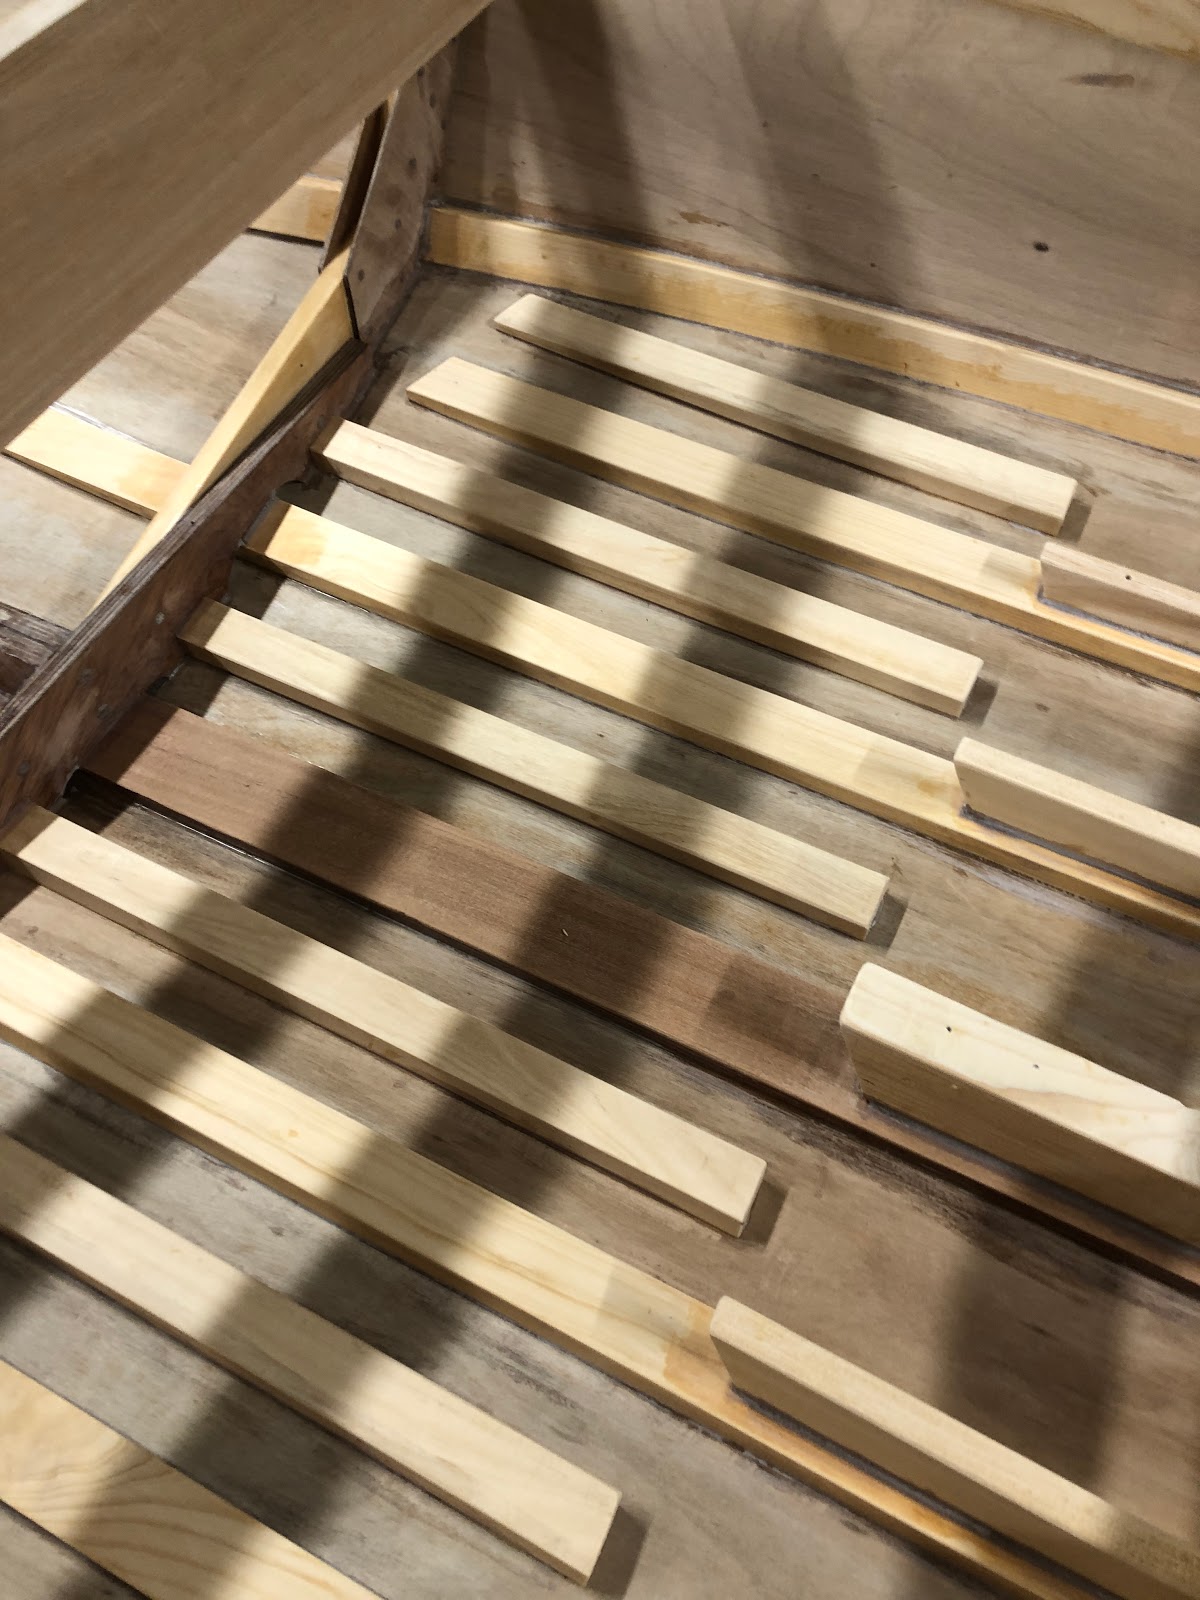 |
| Battens glued in place |
Small boats are required to remain afloat if filled with water and hence buoyancy foam is usually required to lower the combined density of the vessel. The advantage of a wooden boat is that wood typically has a slight positive buoyancy. I did some calculations to determine a predicted overall density of the boat with the engine and auxiliary componentry. These calculations involved measuring the density of the different woods used and the volume of timber in the boat. I determined an estimate of how much additional foam would be required to ensure the boat does not sink.
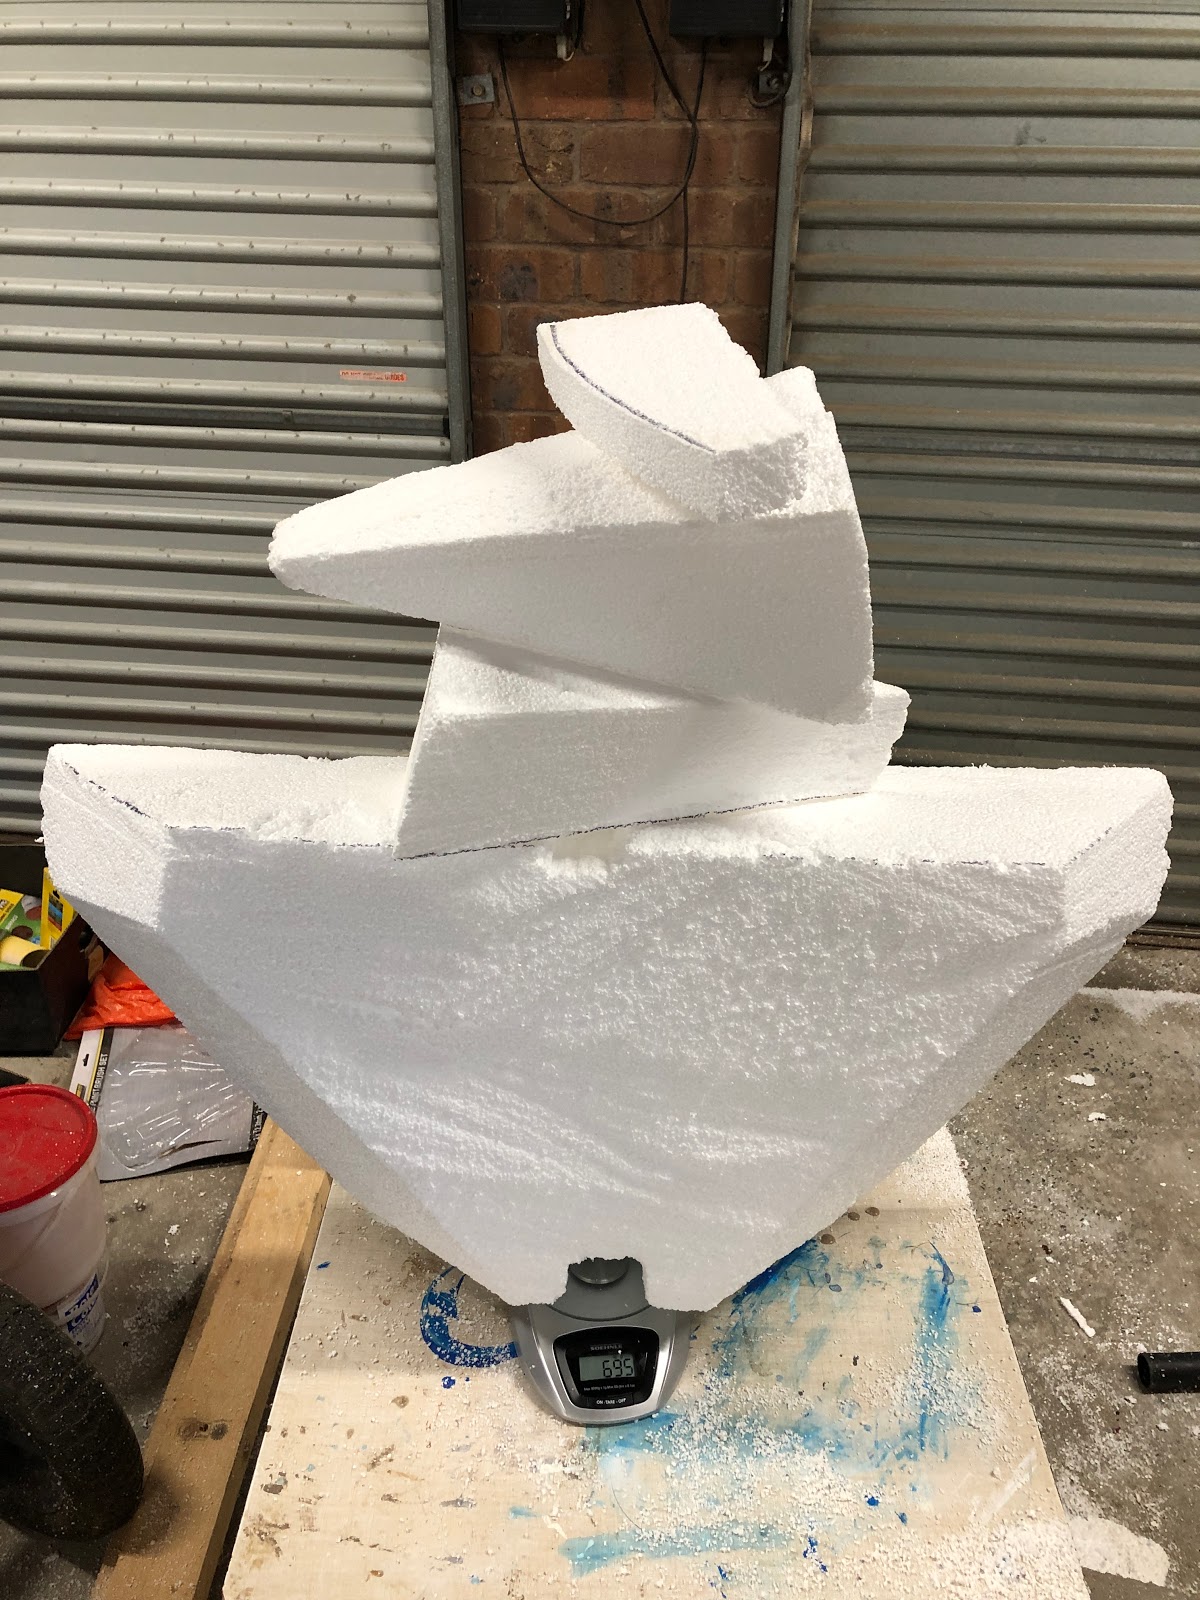 |
| Weighing the flotation foam |
The logical place for the buoyancy foam is in the front of the boat as this not a very useful place in this particular boat.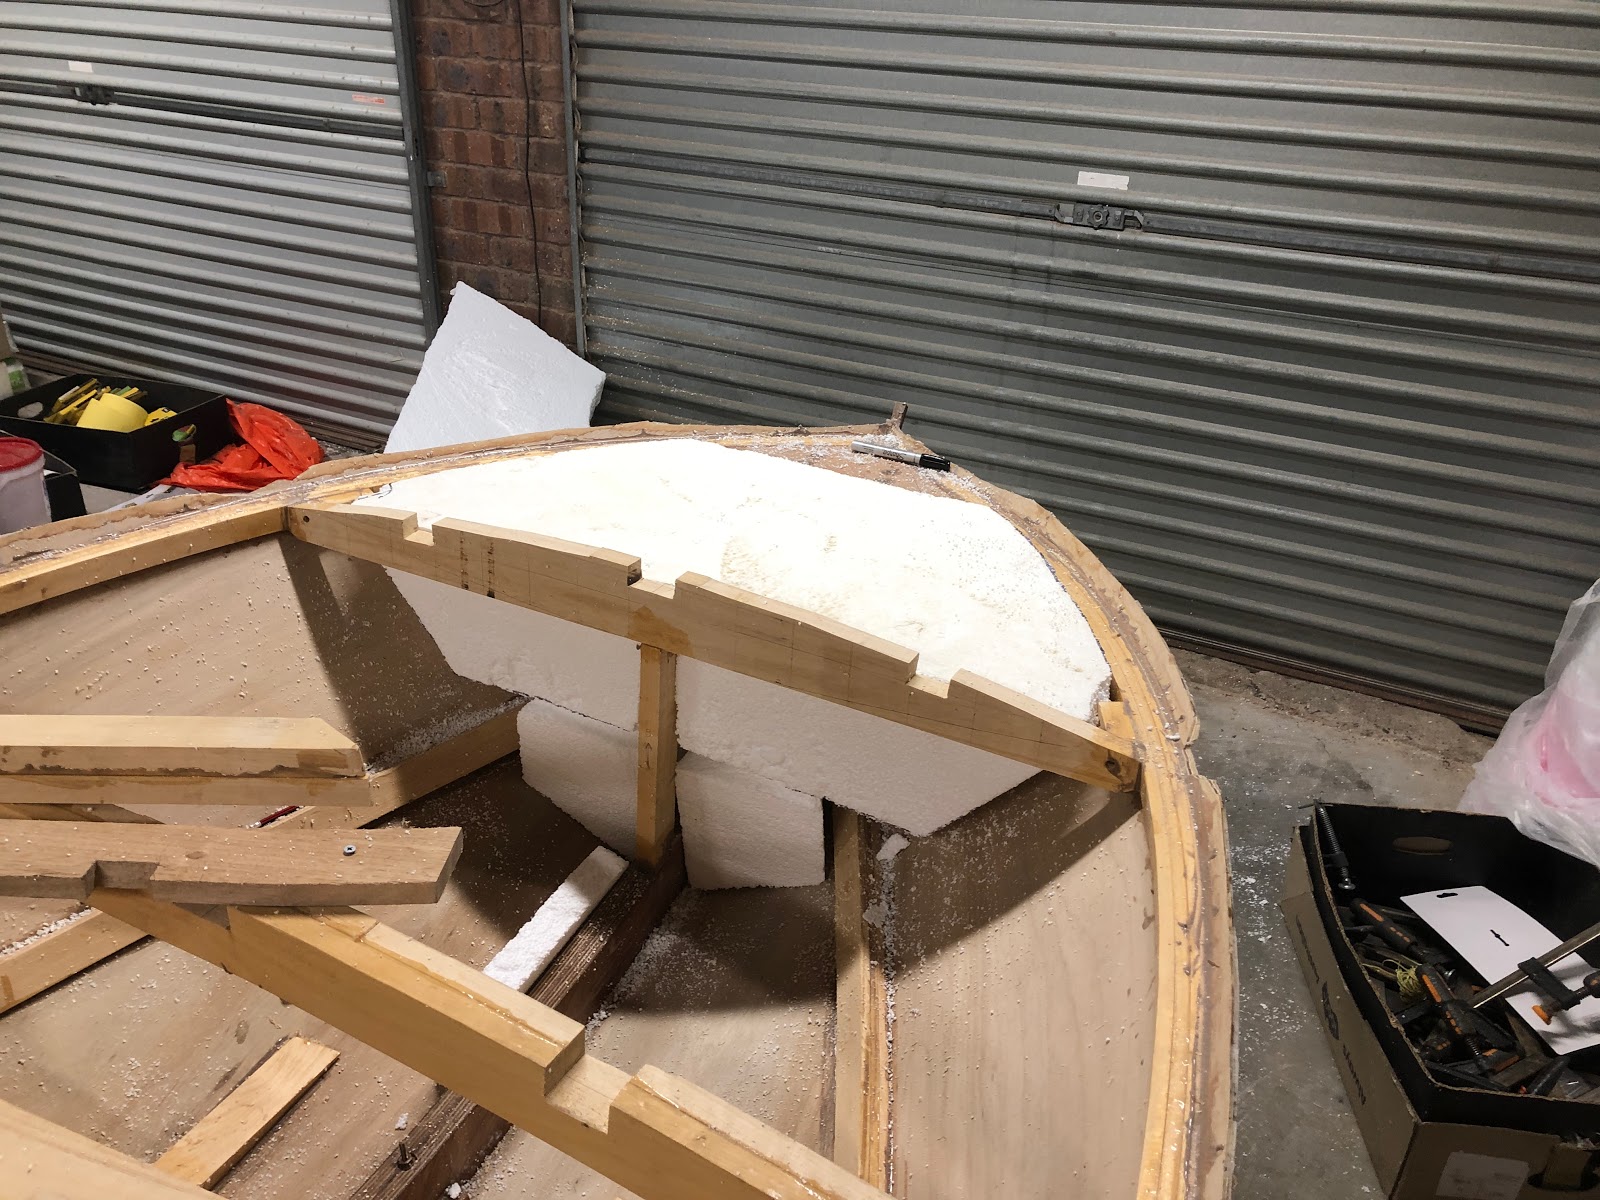 |
| Flotation foam installed |
Although I made a crazy mess sawing up polystyrene, I ultimately decided not to use the polystyrene because it dissolves in petrol and hence is not an approved material for flotation foam.
I decided to press on with the build and worry about the flotation foam later - even if it means I will have to do lots of climbing into the front of the boat at a later stage.
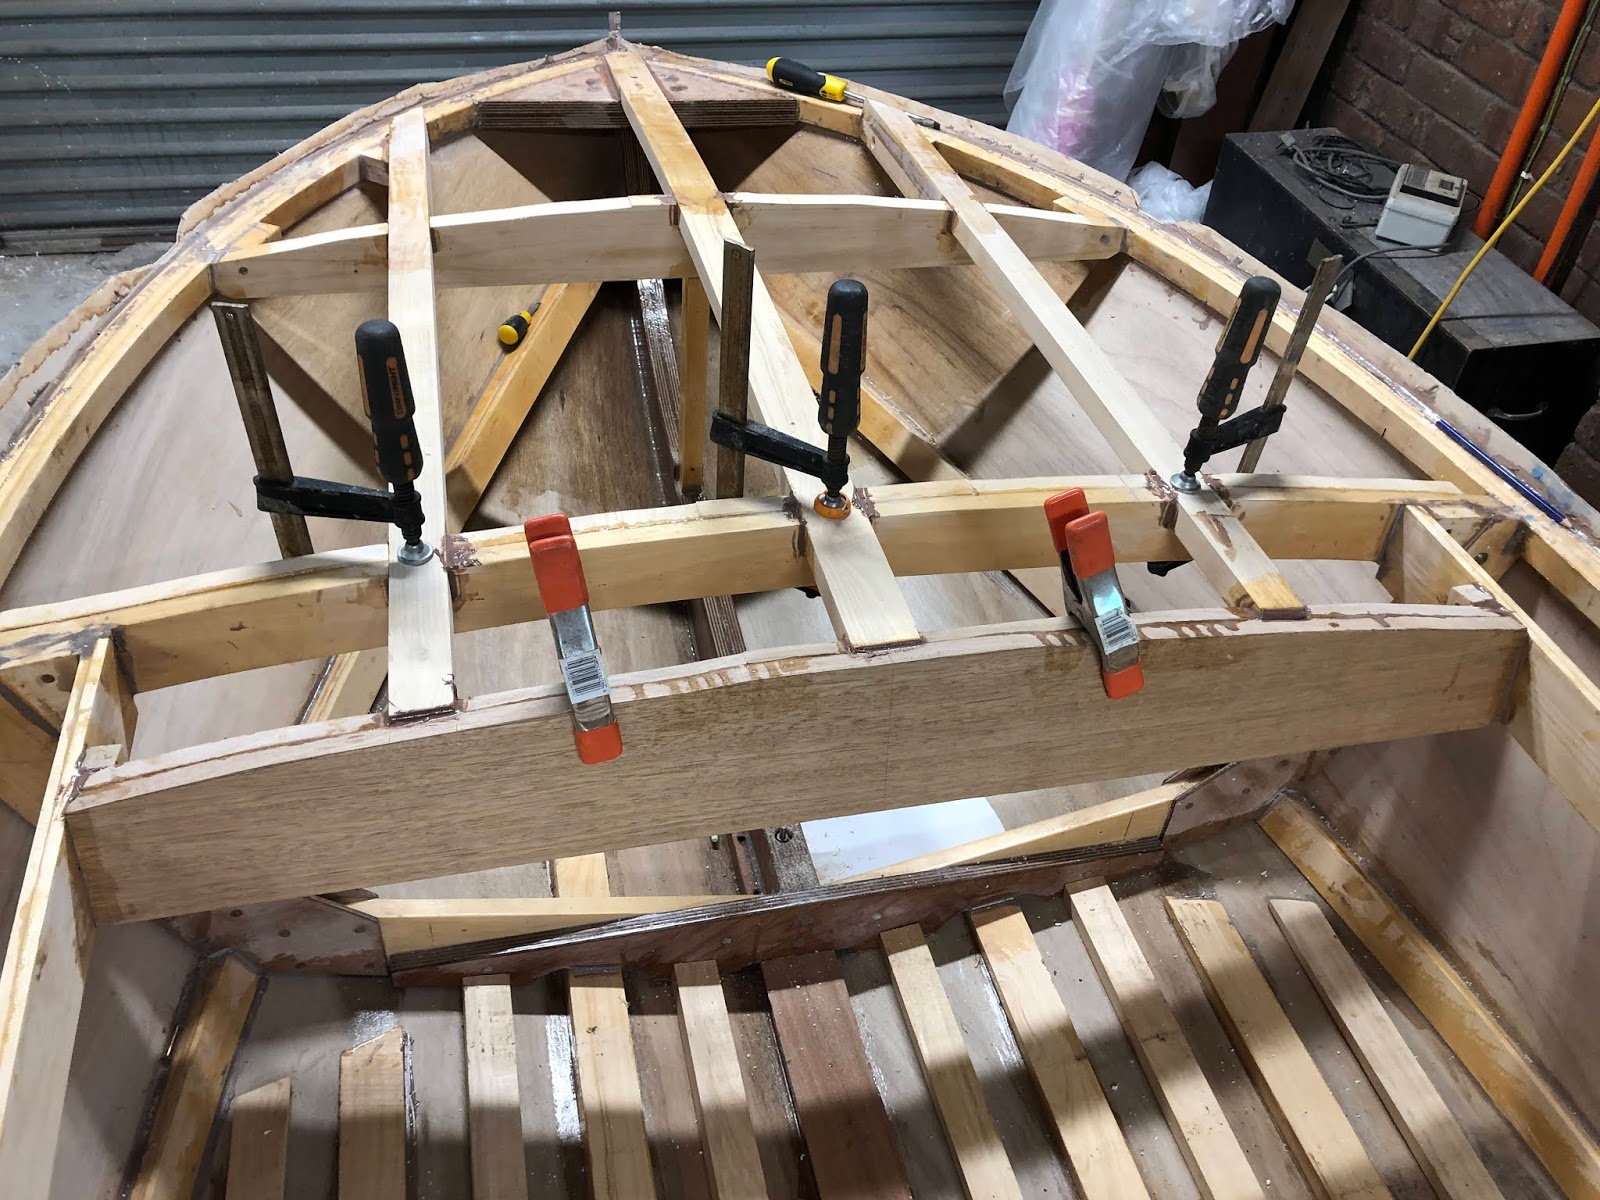
The deck beams were notched free hand with the router and blocking was added for the deck battens and dash.
 |
| Deck battens and dash glued in place |
 |
| Deck battens and dash glued in place |
The central deck batten was glued and screwed firmly down to the breasthook. There is a significant amount of tension in the central deck batten.
 |
| Central deck batten glued to breasthook |
The outer deck battens were fastened to the sheer with blocking.
 |
| Deck batten fastened to sheer |
 |
| Deck batten glued in place with blocking to sheer |
With all the framing elements in place, the next step was to fair the deck ready for the installation of the decking plywood. The deck was faired with the help of my trusty abrasive disk and a block plane.
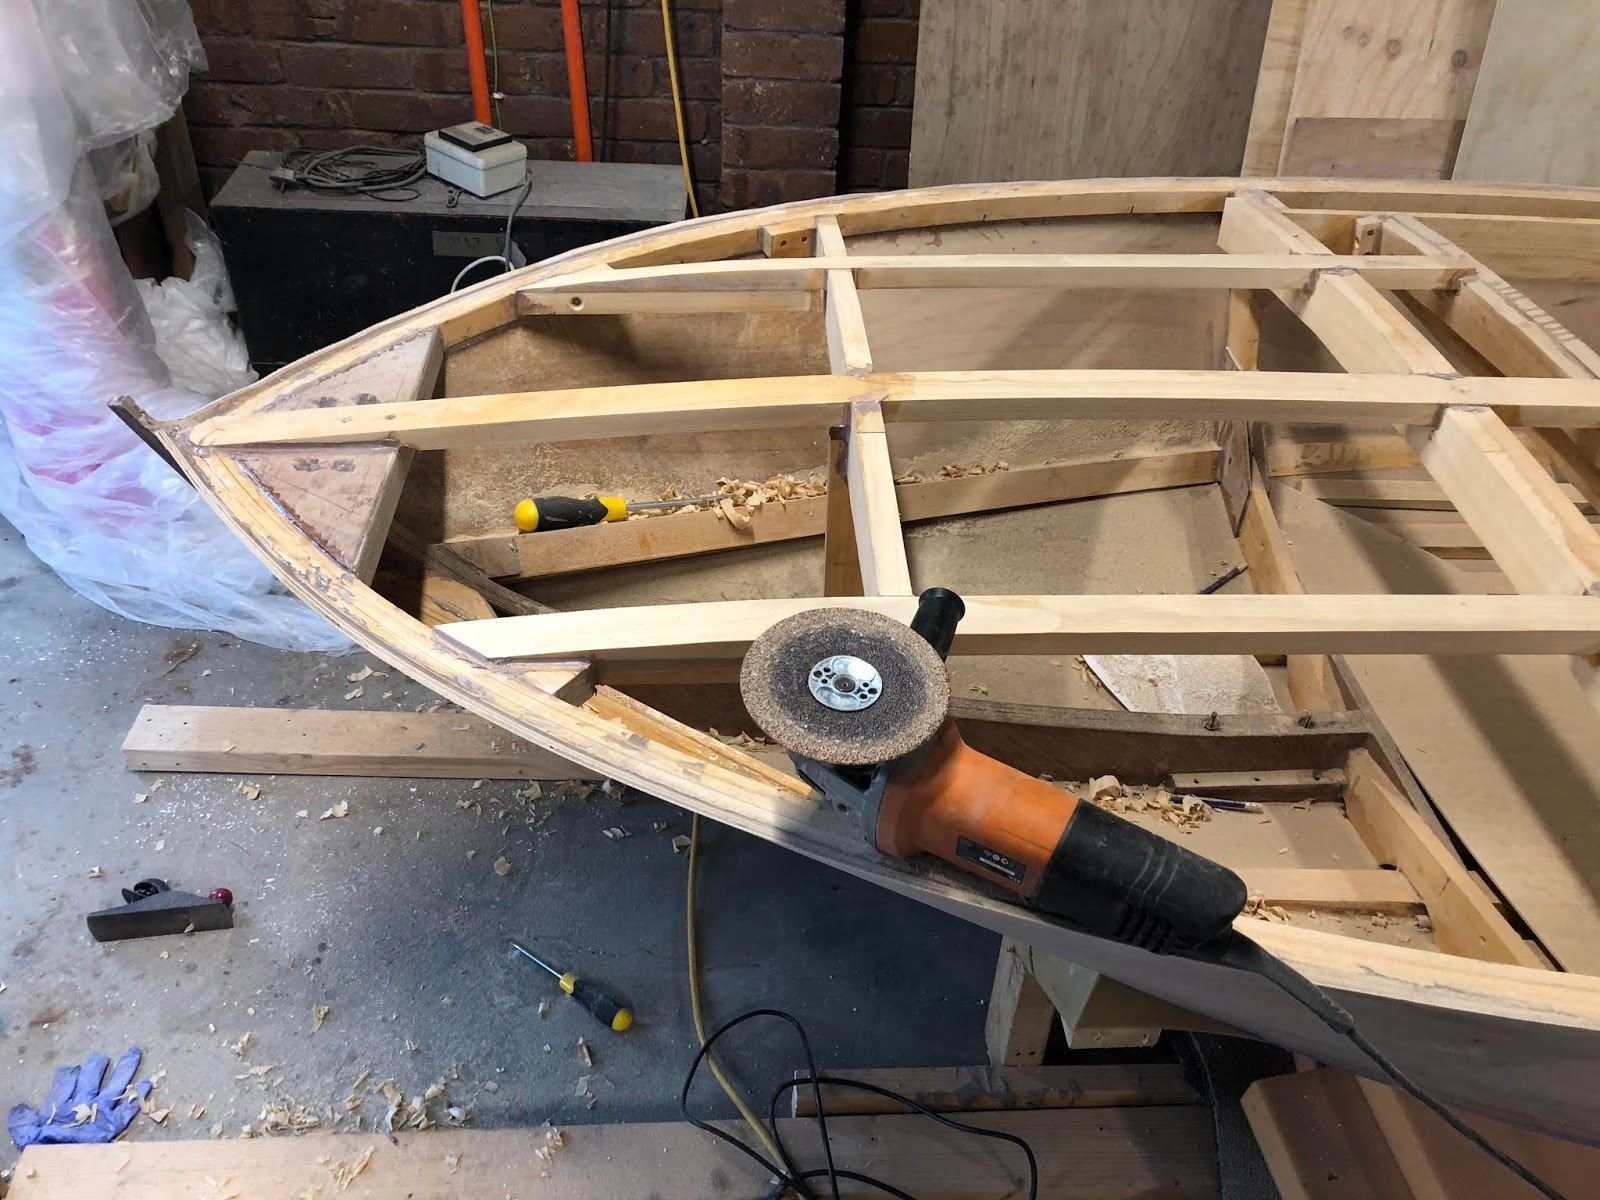 |
| Fairing the deck |
Creating the internal framing was a rewarding part of the boat build because it felt like I was achieving a lot in a short time.
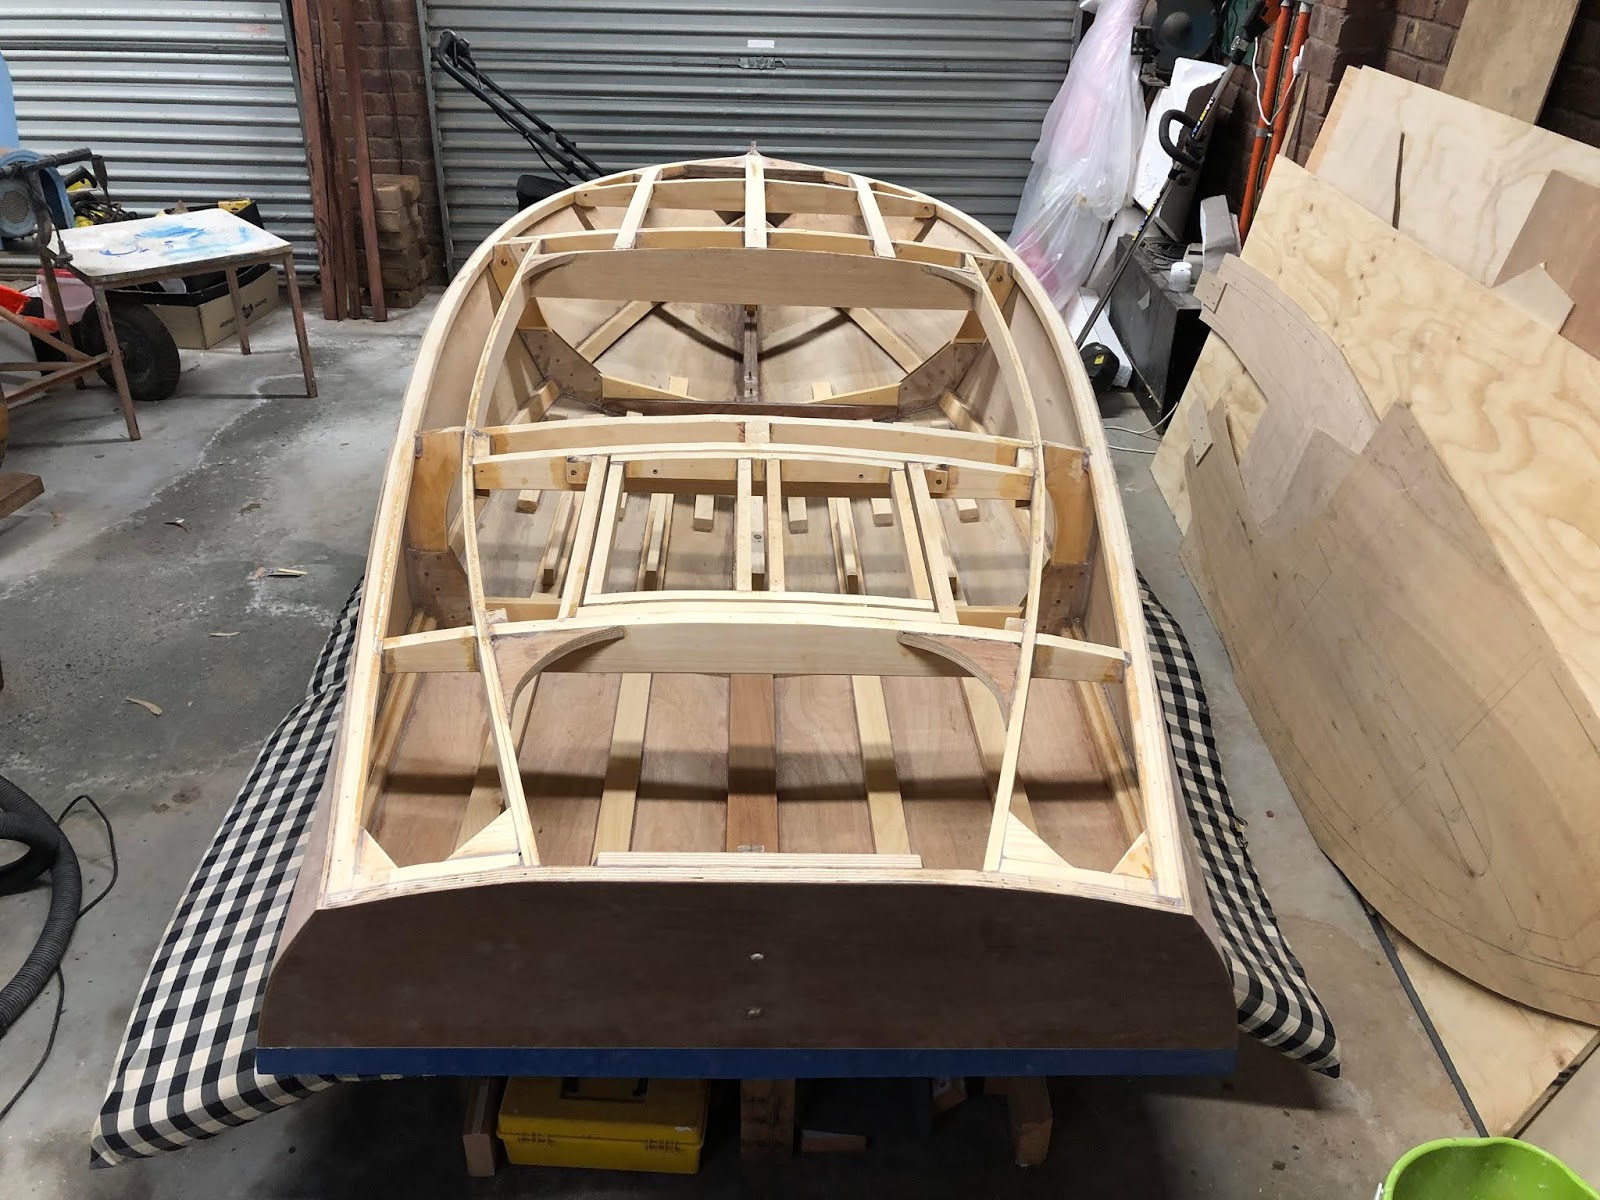 |
| Completed internal framing |
The next task was a daunting one - sanding the entire inside of the boat. I did a bit of sanding each day after work and got it done in a week. The next step was to give it a generous coating of epoxy. I decided to use Boat Cote with the NY hardener because it has good 'non-yellowing' characteristics and goes on thicker than the West System epoxy.
 |
| Bote-Cote epoxy with NY hardener |
I did three coats of epoxy sealing and it took almost a whole day! The epoxy was rolled on with a short-nap mohair(or fake mohair) roller. This works a lot better than foam rollers because the foam quickly disintegrates when used with epoxy.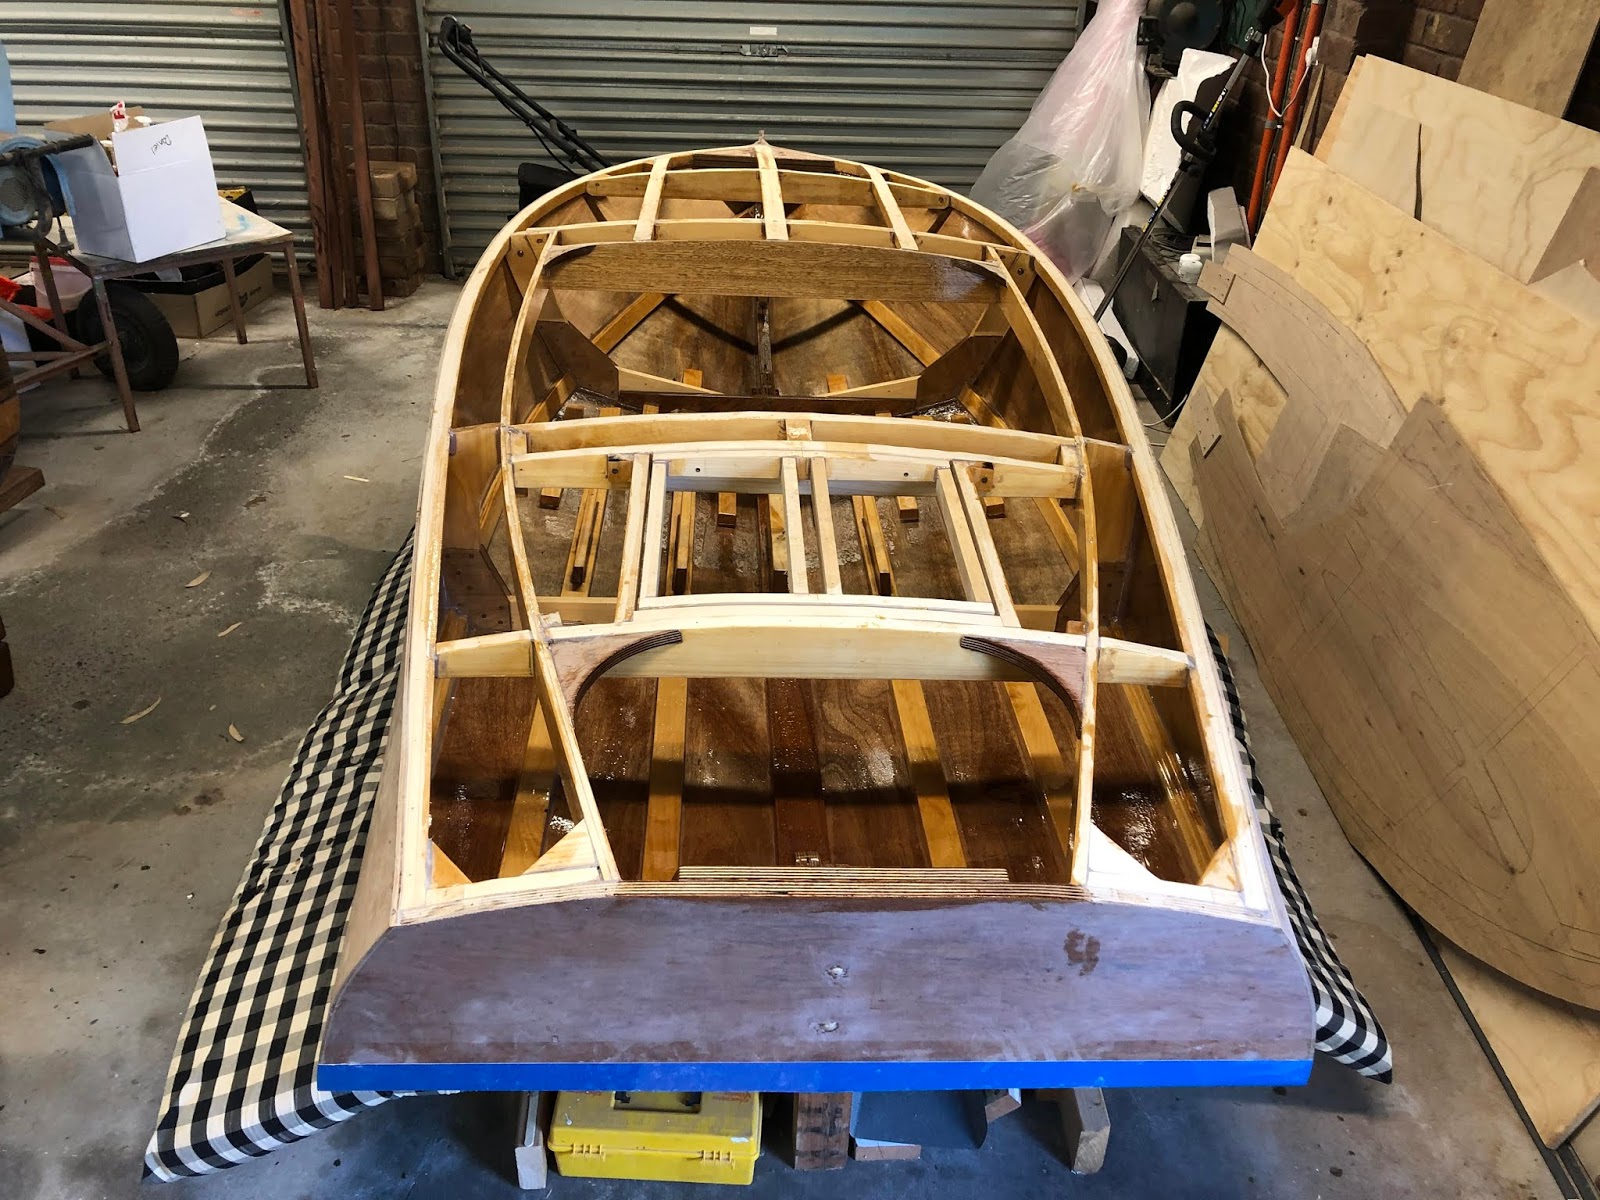 |
| Completed epoxy sealing |
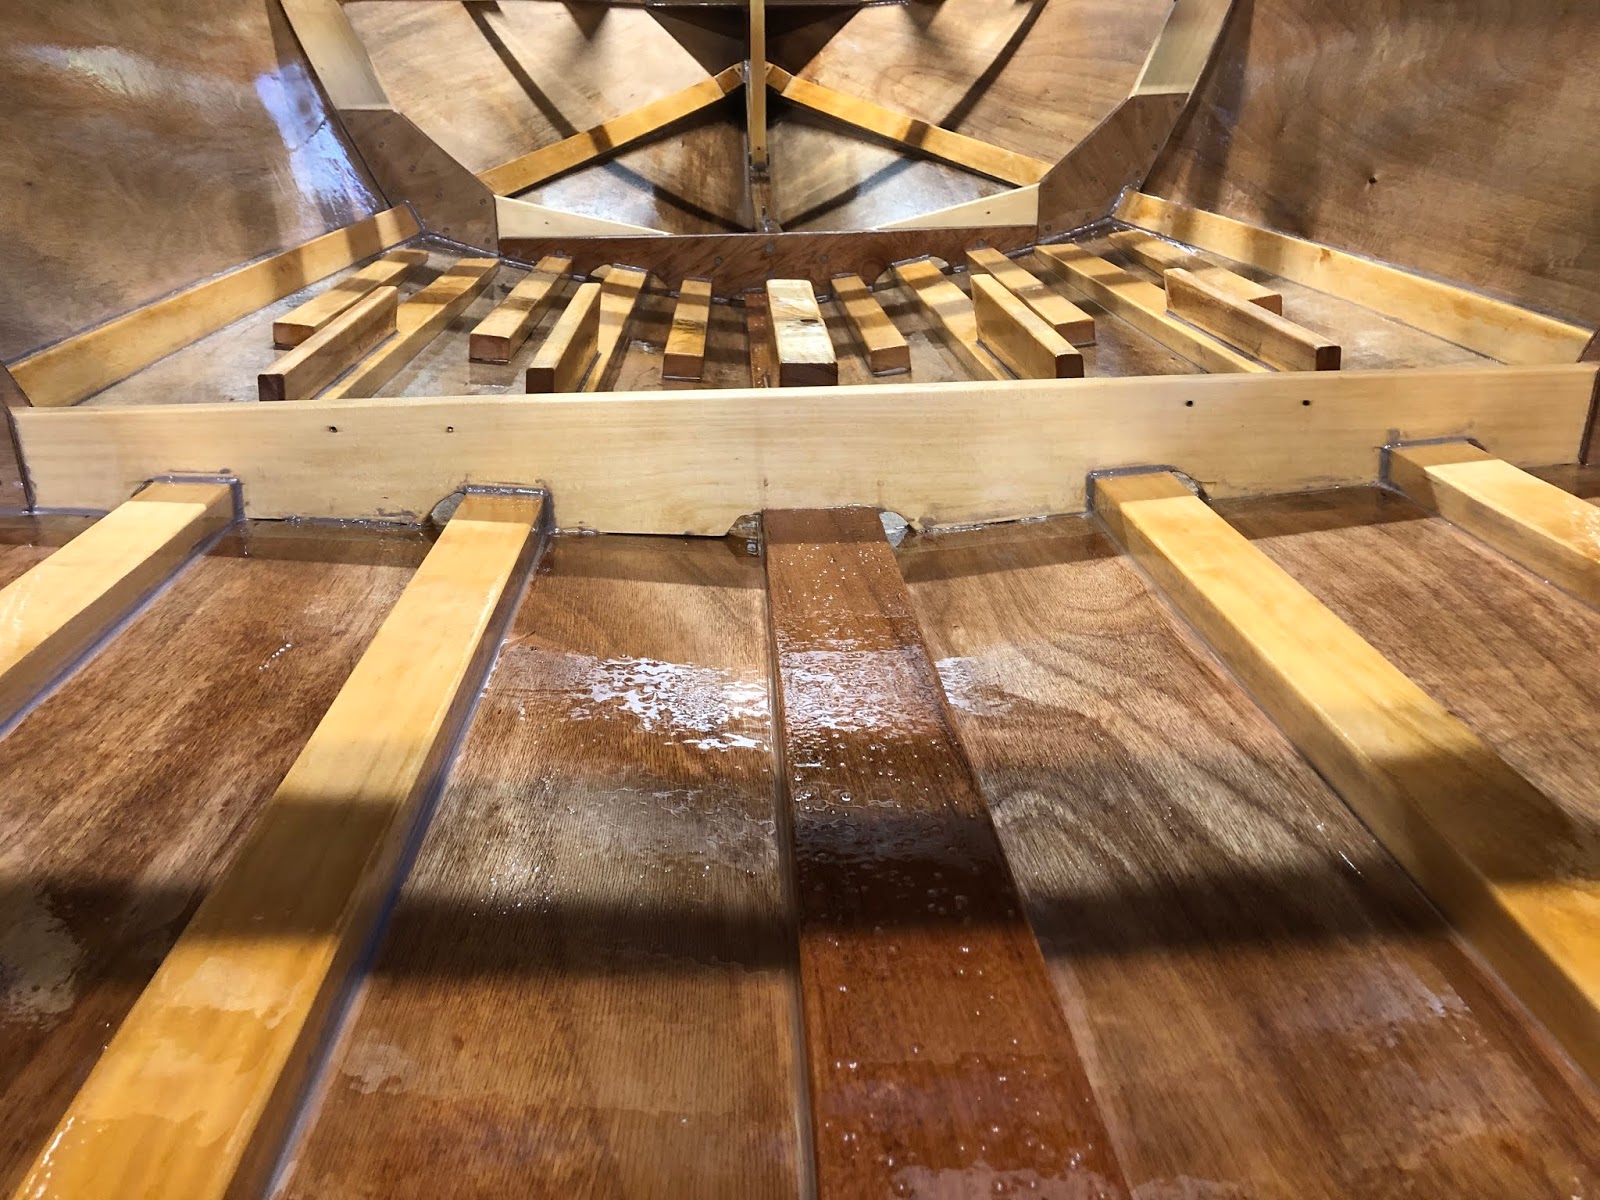 |
| Closeup of epoxy sealing |
The next blog post will be about the installation of the deck - one of the most exciting steps in the build!
No comments:
Post a Comment