The progress on the boat has been slow and steady over the past 2 months.
Its been one year since I began my boat!!!!
Its been one year since I began my boat!!!!
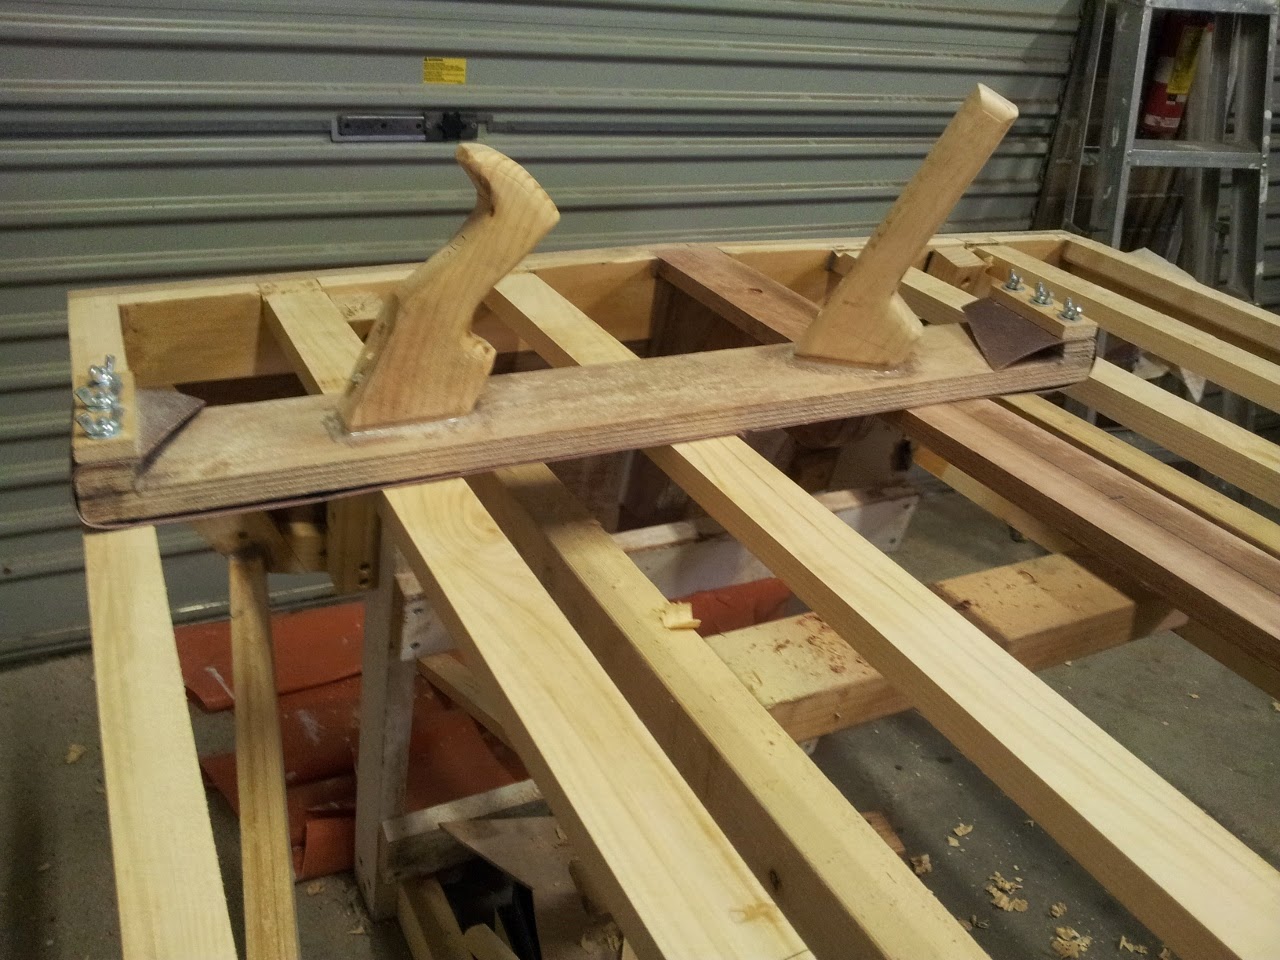
Once the sheers were completed, I started thinking about how to begin the fairing process. I read the chapter on fairing in 'Boatbuilding with Plywood', along with peoples explanations and comments in their blogs. It seemed to me that the best tools would be hand planes, long sanders and rasps. I decided to save a few precious dollars and waste a whole saturday making some long sanders as shown in the picture below.
.jpg) |
| Long Sander |
The long sander does seem to work quite effectively on the boat's flat bottom. The long sander uses power sander belts.
.jpg) |
| Fairing the bottom of the boat at the stern |
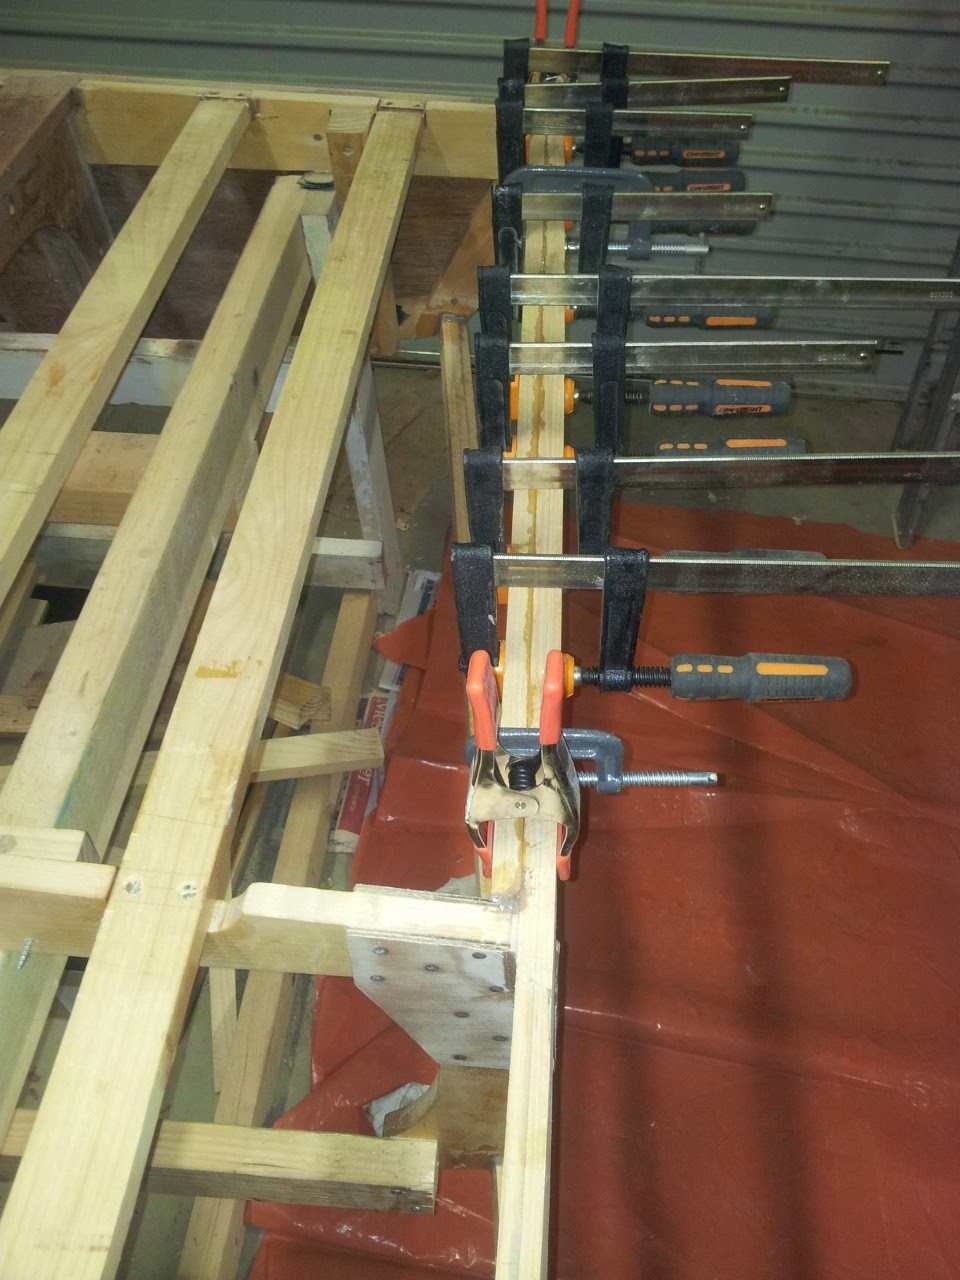
When preliminarily clamping plywood to the side of the boat near to the transom, I noticed that the chine would flex quite a bit due to the curve in the transom. Hence, it was decided to increase the strength of the chine between the transom and frame 1. This was achieved by laminating another piece of wood to the inside of the chine as shown below.
.jpg) |
| Increasing chine strength |
All the information I read seemed to suggest that the Rabl method works really well for doing the fairing at the bow. An explanation of the rabl method is shown in the picture below.
 |
| Rabl method explanation |
I positioned pieces of string (held at each end by small nails) the whole way along the chine, sheer and keel/stem. Laying the strings on the floor I divided them into an equal number of sections. (18 if i remember rightly). Returning the strings to the boat I used a permanent marker to mark on the positions as can be seen on the chine in the photo below.
.jpg) |
| Rabyl method |
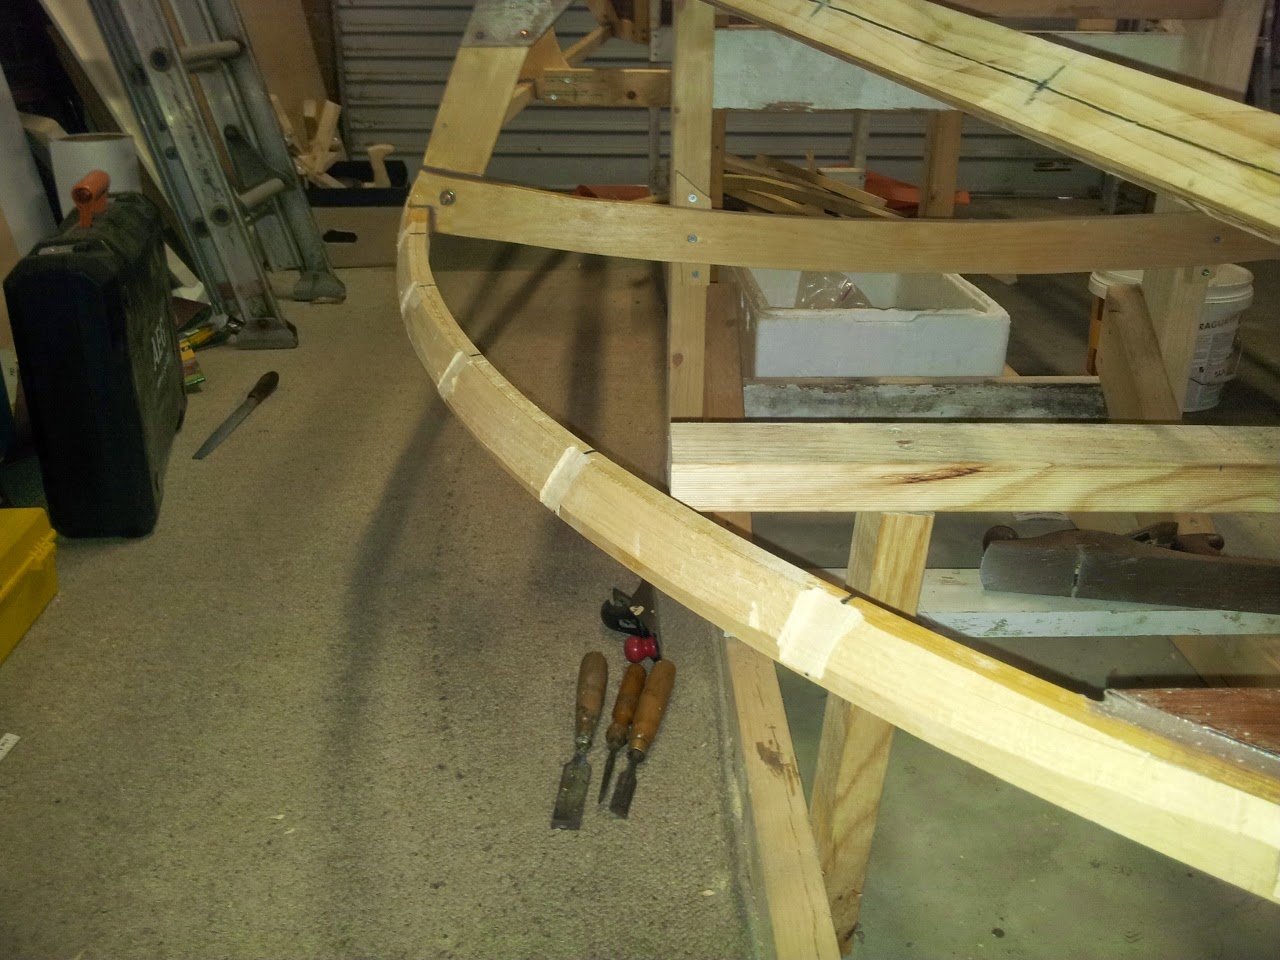
Using a wood rasp, I removed the sheer material so that a strait edge could sit flat on both the chine and sheer. I found this to be a very easy process taking only a couple of hours to do both sides. Very little material needed to be removed from the chine.
After the notches were completed in the sheer (as per the rabl method) I set to work with a small hand plane to take out the material between the notches. I worked up a bit of a sweat doing this and got a blister or two but overall it was a very simple and easy process. The results can be seen in the photo below.
.jpg) |
| Rough fairing |
The next process was to fine tune the fairing to conform perfectly to the plywood. I did this by clamping a piece of piece of plywood to the side of the boat and noting where material needed to be removed. Progressing along the side of the boat in this way worked quite quickly and effectively.
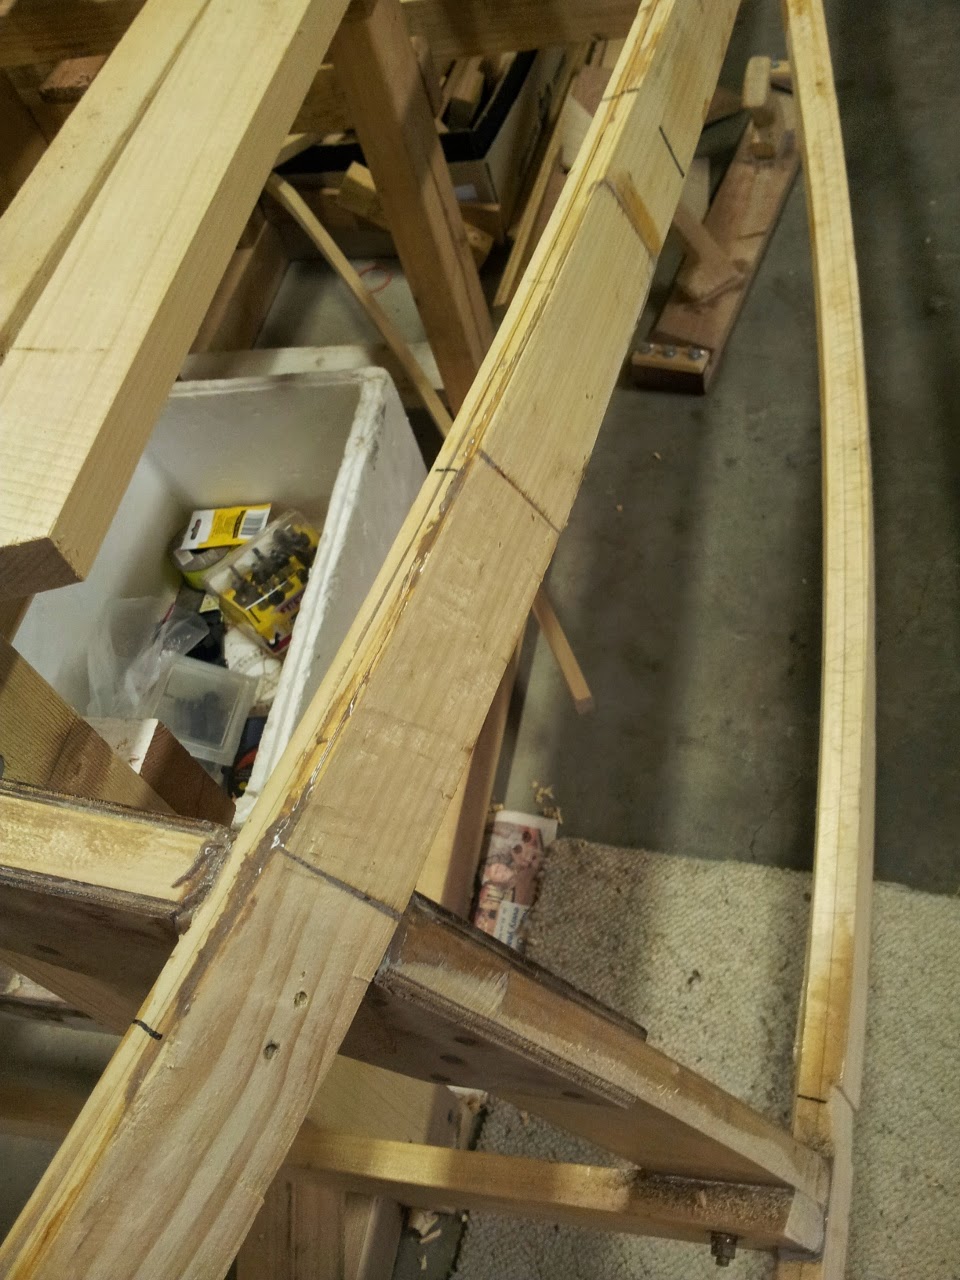
As shown below, I had to add some extra material to the chine to facilitate the fairing process. This is mainly a result of adding the shim to the chine. The chine now smoothly transitions from the shim to the original chine material.
.jpg) |
| Adding material to chine |
The main question was: Scarf joint? or Butt joint?
I decided to go with the scarf joint for the side planking because it apparently bends better than a butt joint. After researching ways to effectively cut a scarf joint on the 1:12 ratio, I decided to build a jig and use my router.The jig I built can be seen in the pictures below.
 |
| Dimensions of scarfing jig |
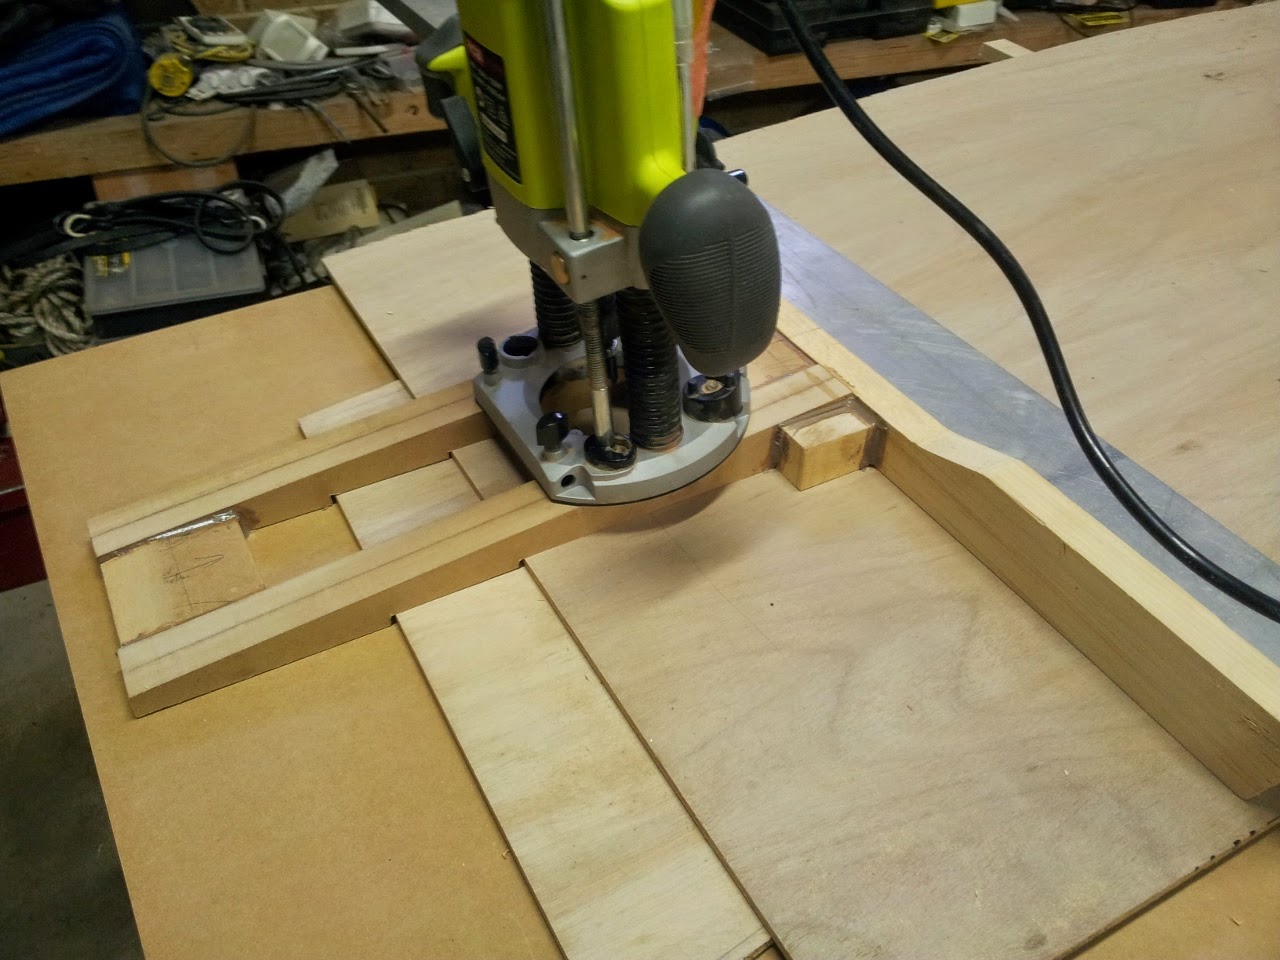.jpg) |
| Completed scarfing jig ready for scarfing |
The next step is to scarf my plywood together so I can finish the fairing of the sides of the boat. Unfortunately winter has arrived here in Australia which means working in the shed is cold and epoxy curing times are quite a bit longer. But at least it no too cold to be unable to use epoxy at all as would no doubt be the case in some countries.
Adios till next time brother of boat building.