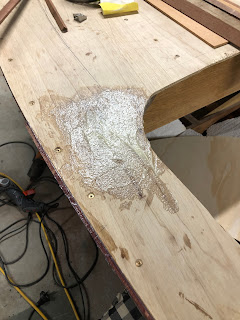
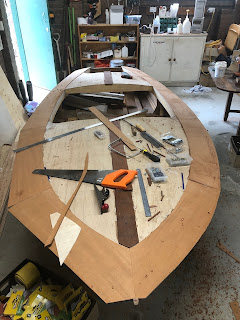
With the boat epoxy sealed on the inside it was time to install the decking.
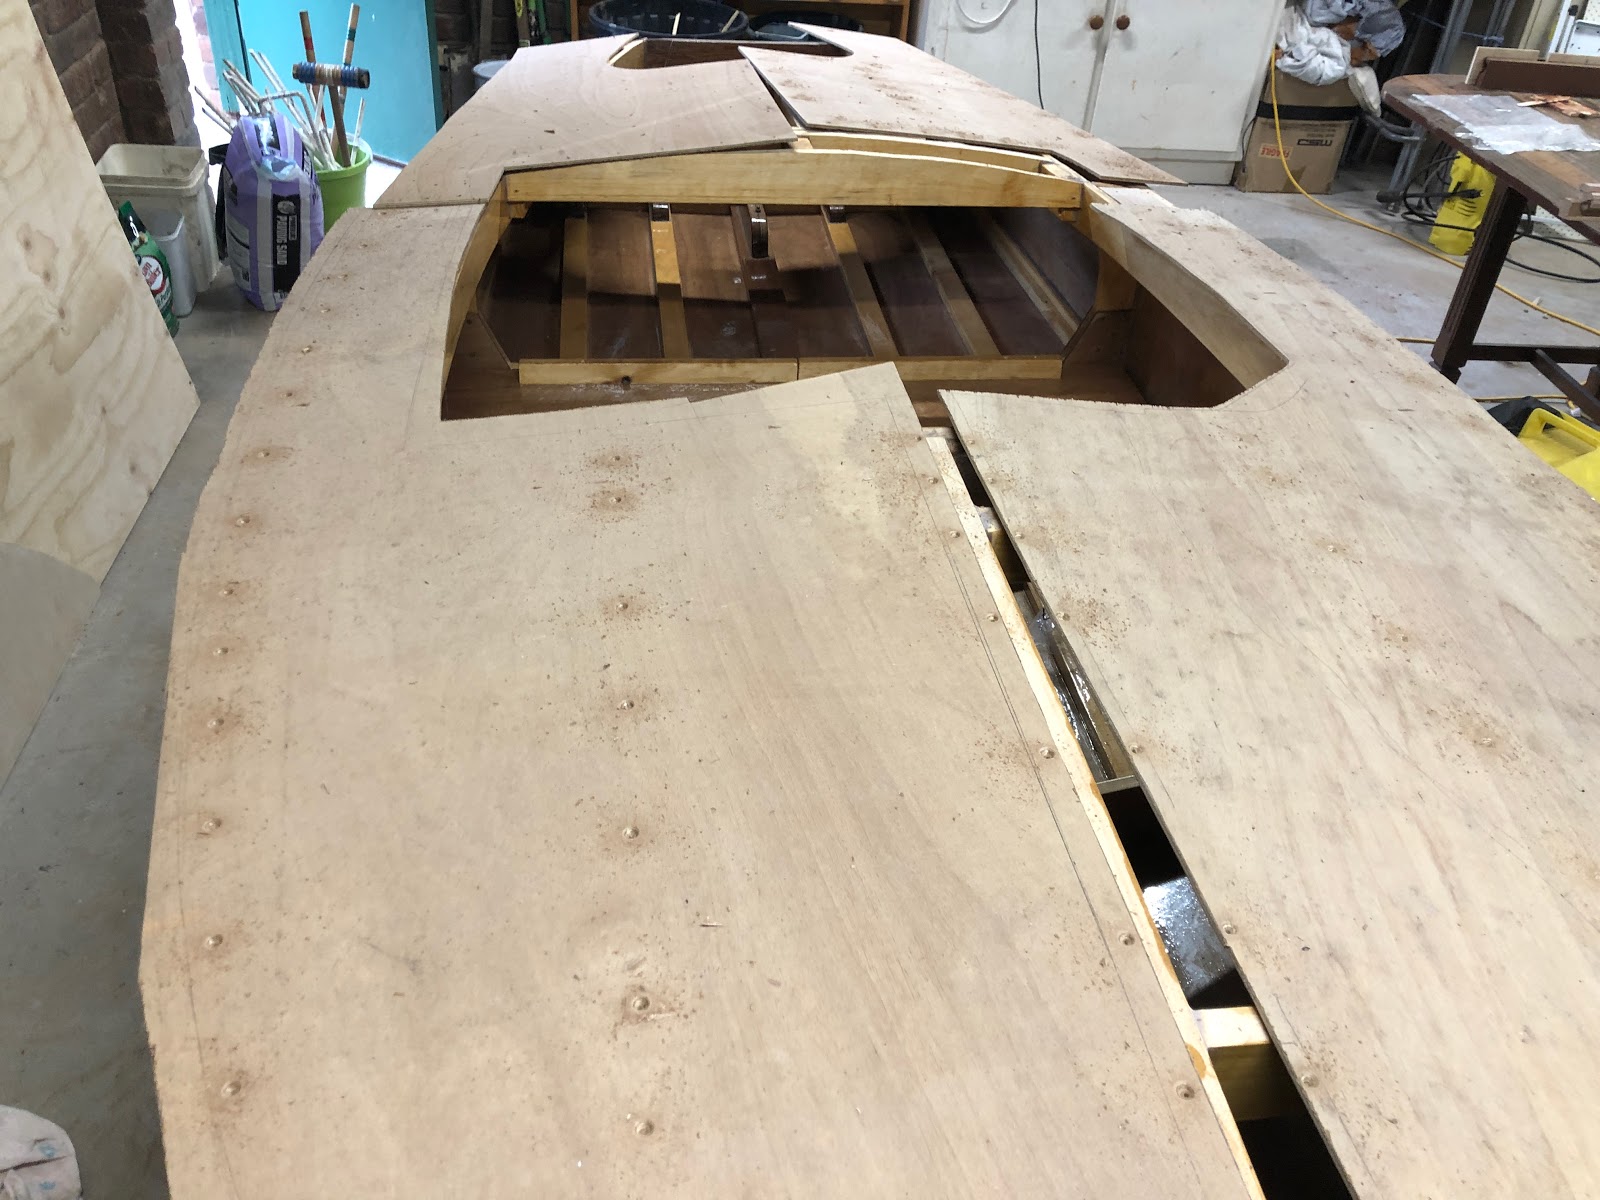
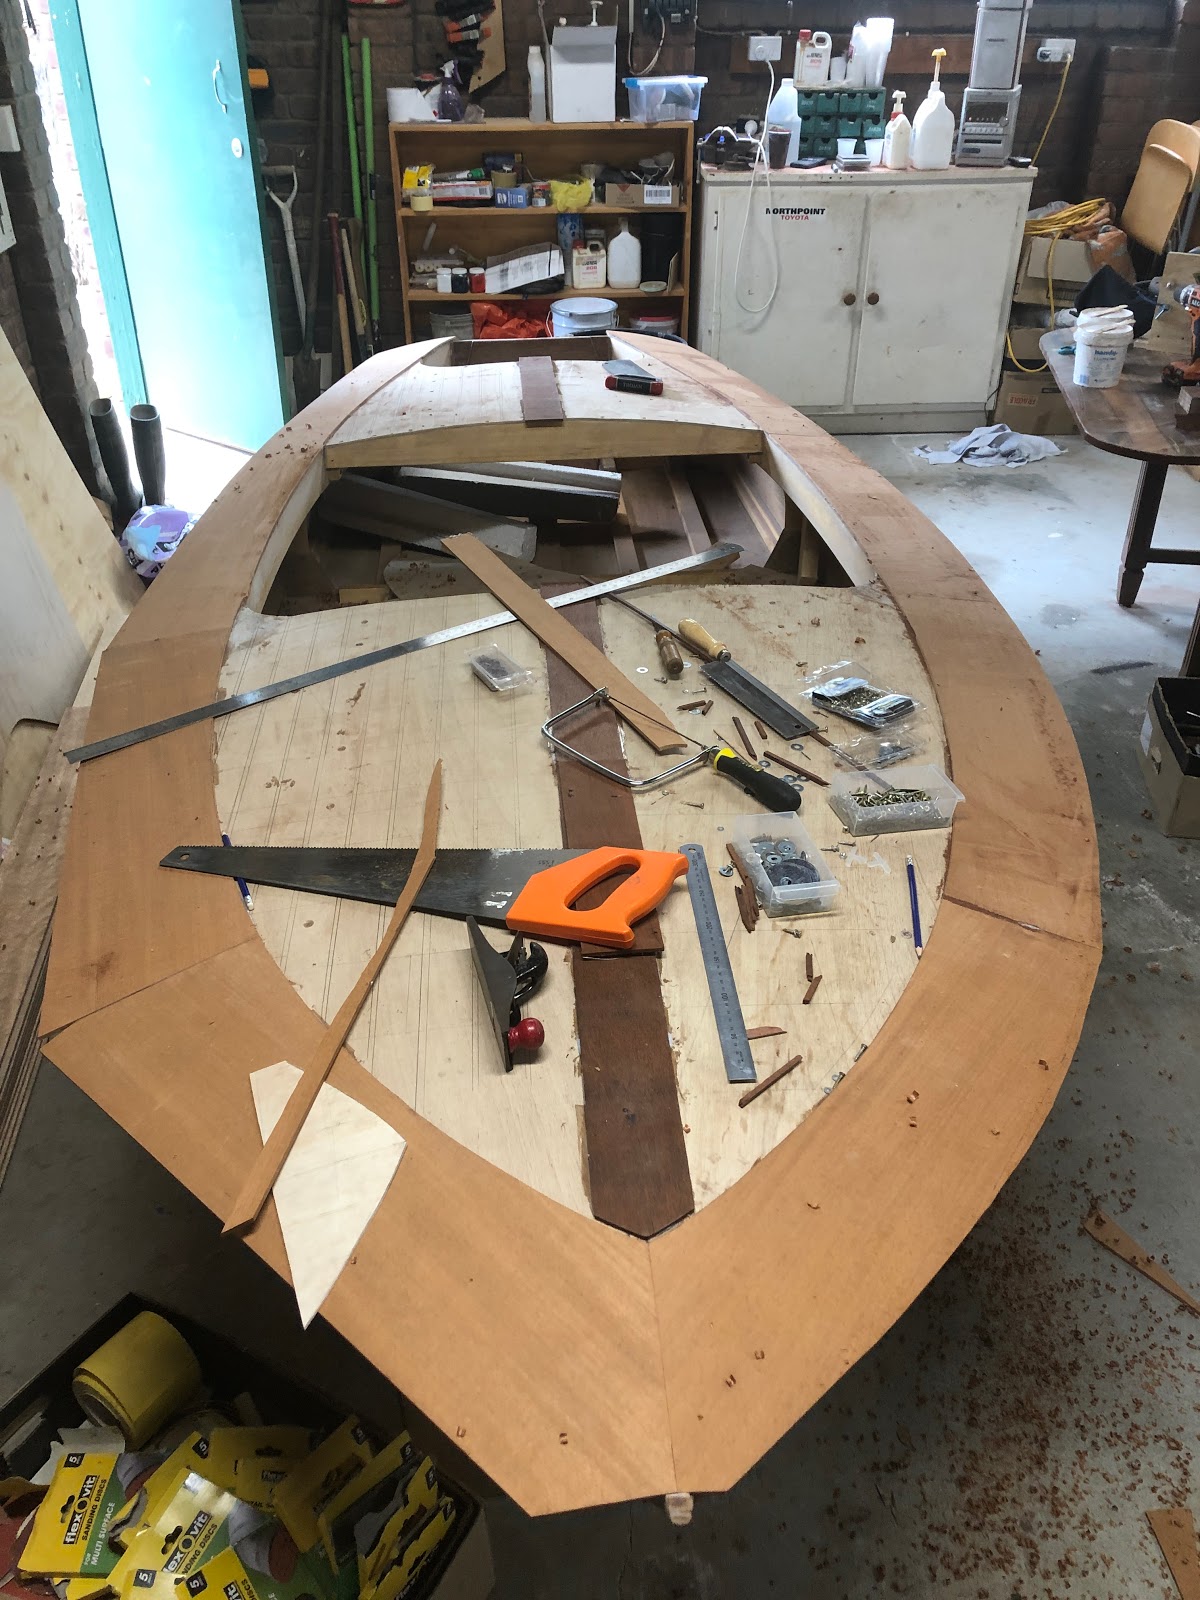
6mm marine plywood was laid on the deck and cut to the basic shape. To get the locations for the screws, I weighed the plywood down with bricks and climbed inside to mark the positions of the wooden framing.
 |
| Decking plywood cut to shape with through holes drilled |
 |
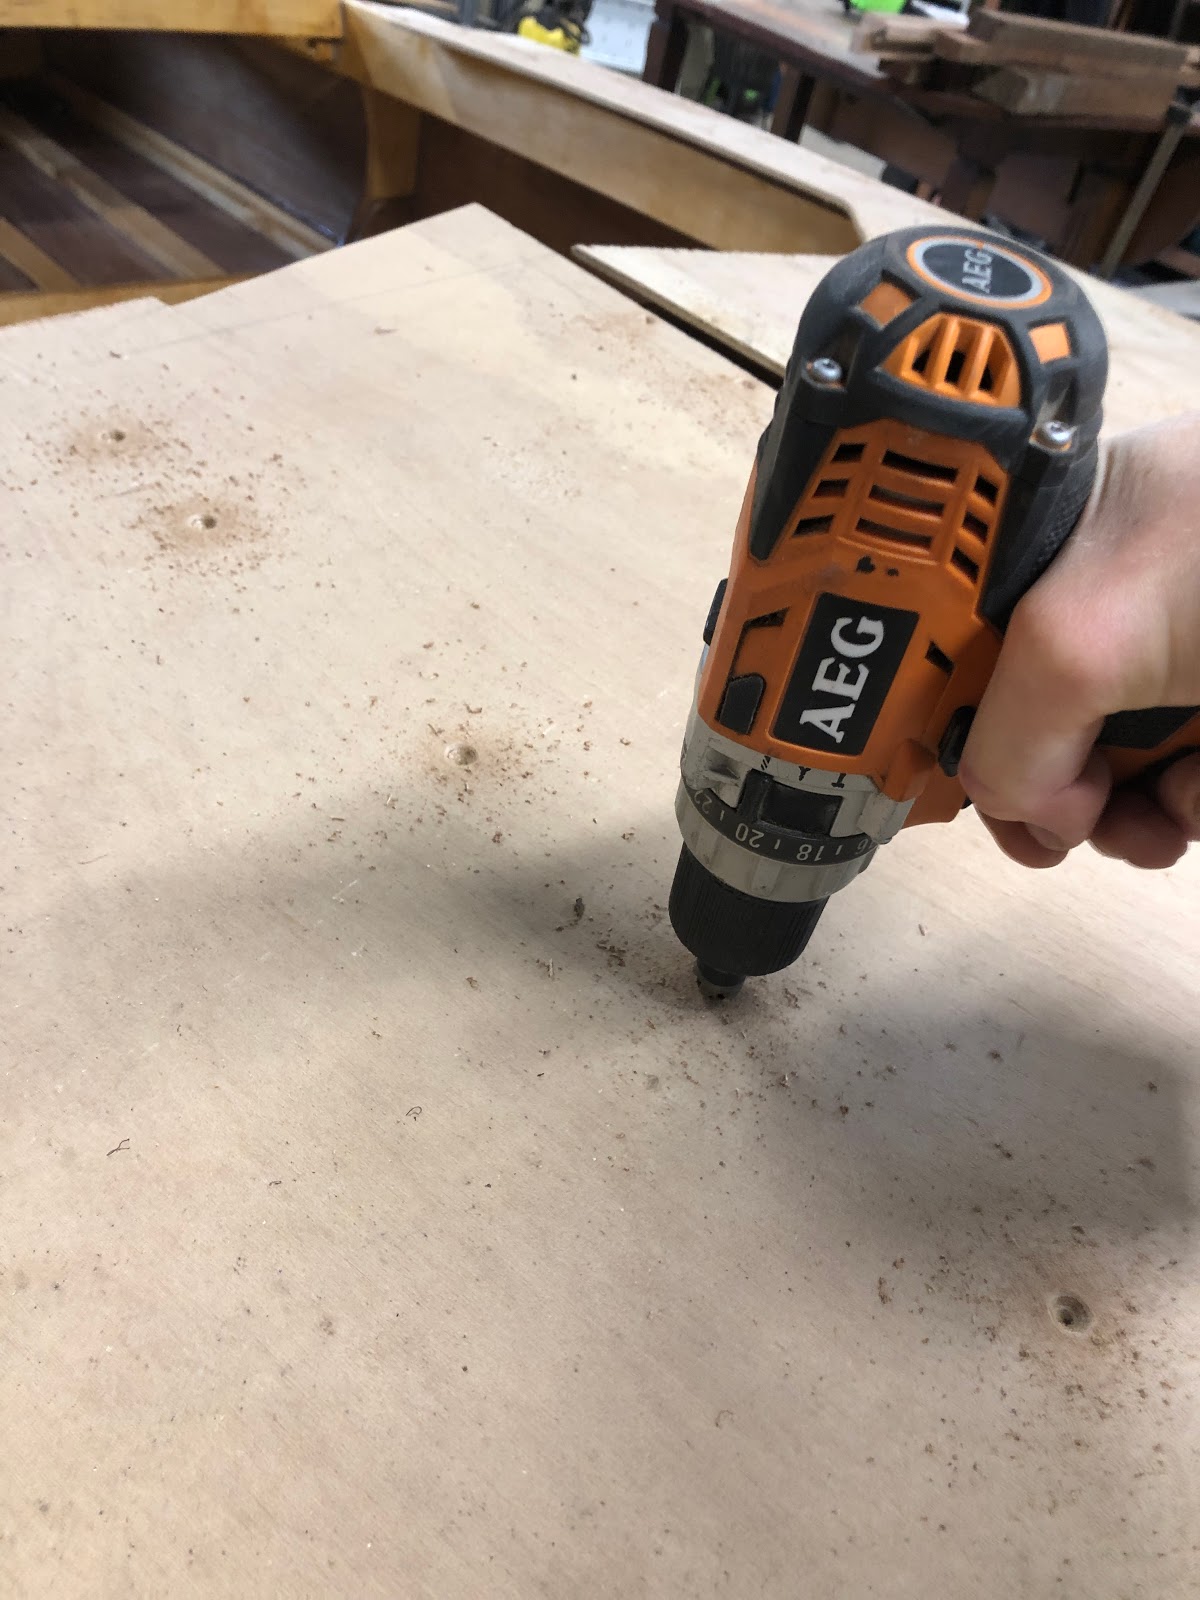
| Countersinking the screw holes |
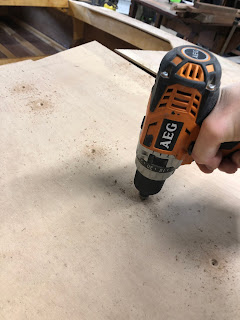
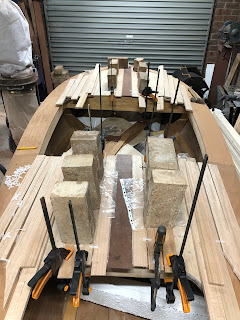
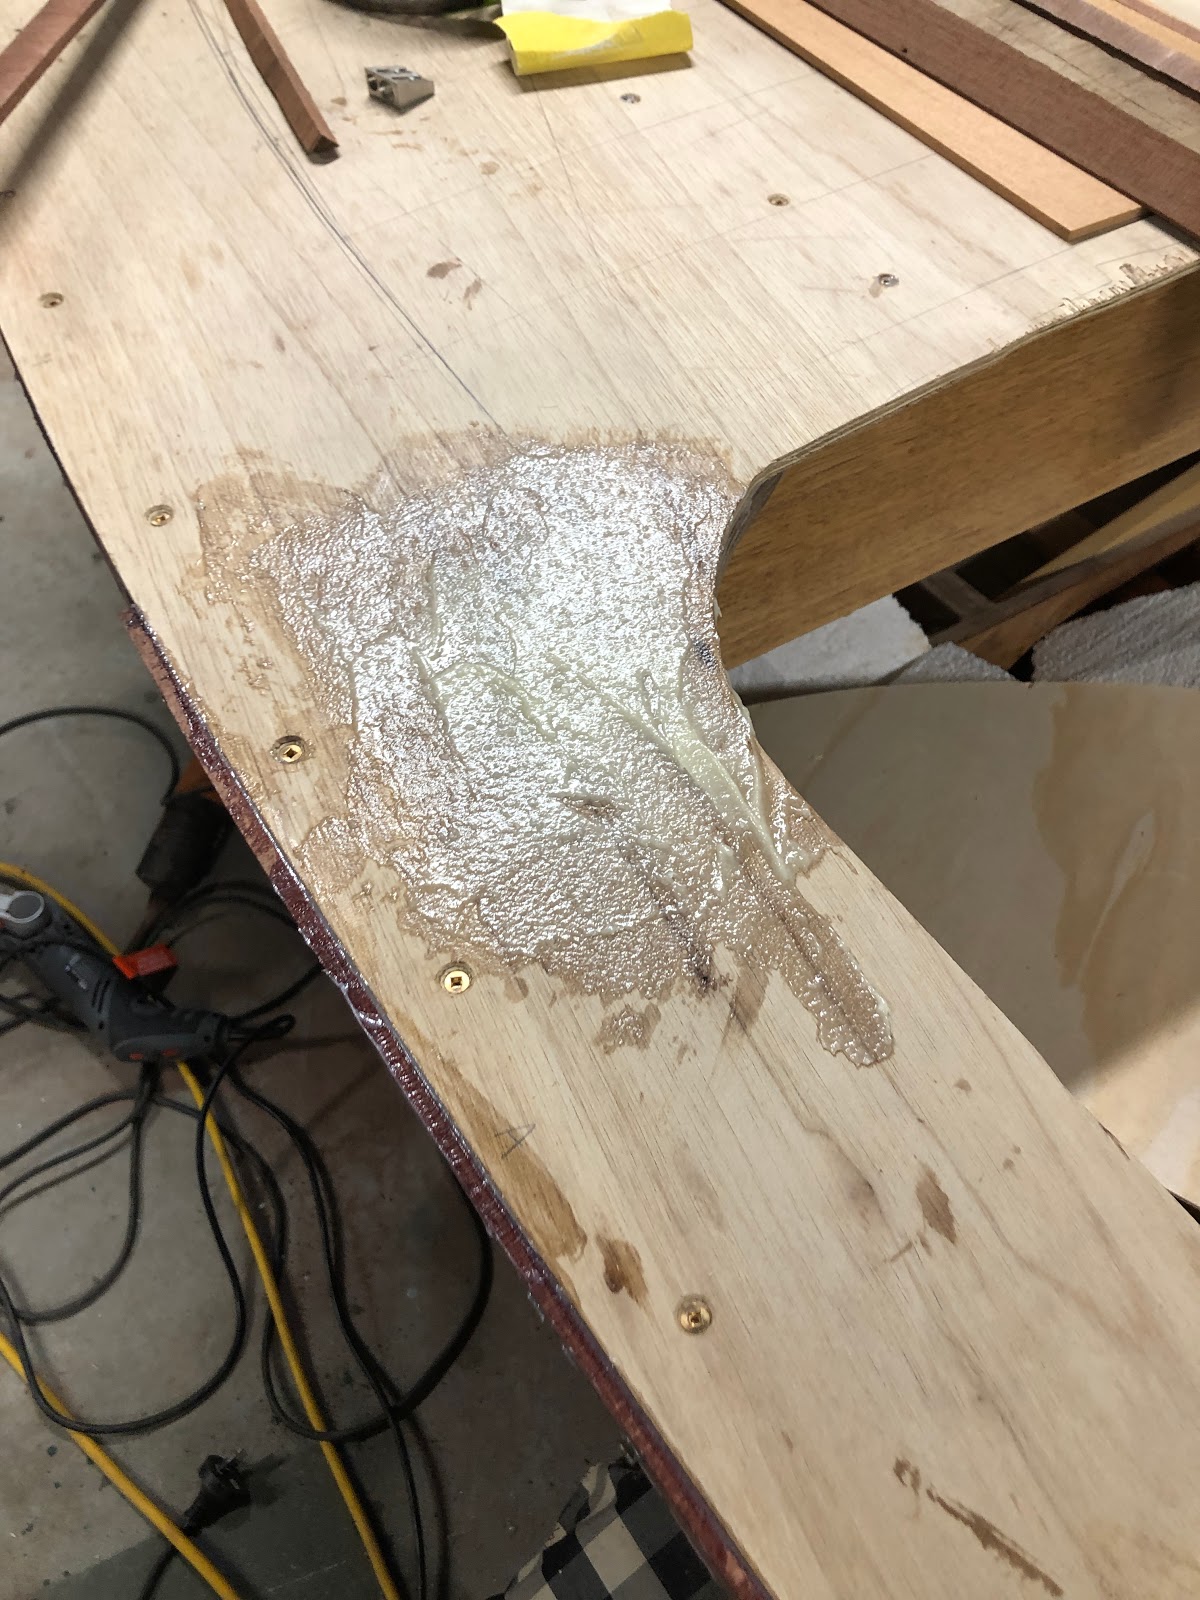
The plywood was temporarily screwed in place with self-drilling wood screws of a smaller diameter than the final silicon bronze screws. The holes left from the smaller screws became pilot holes for the larger screws in the final glue-up.
 |
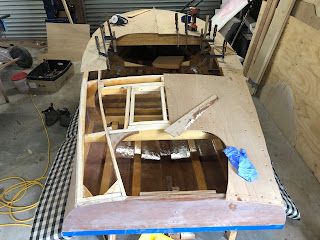
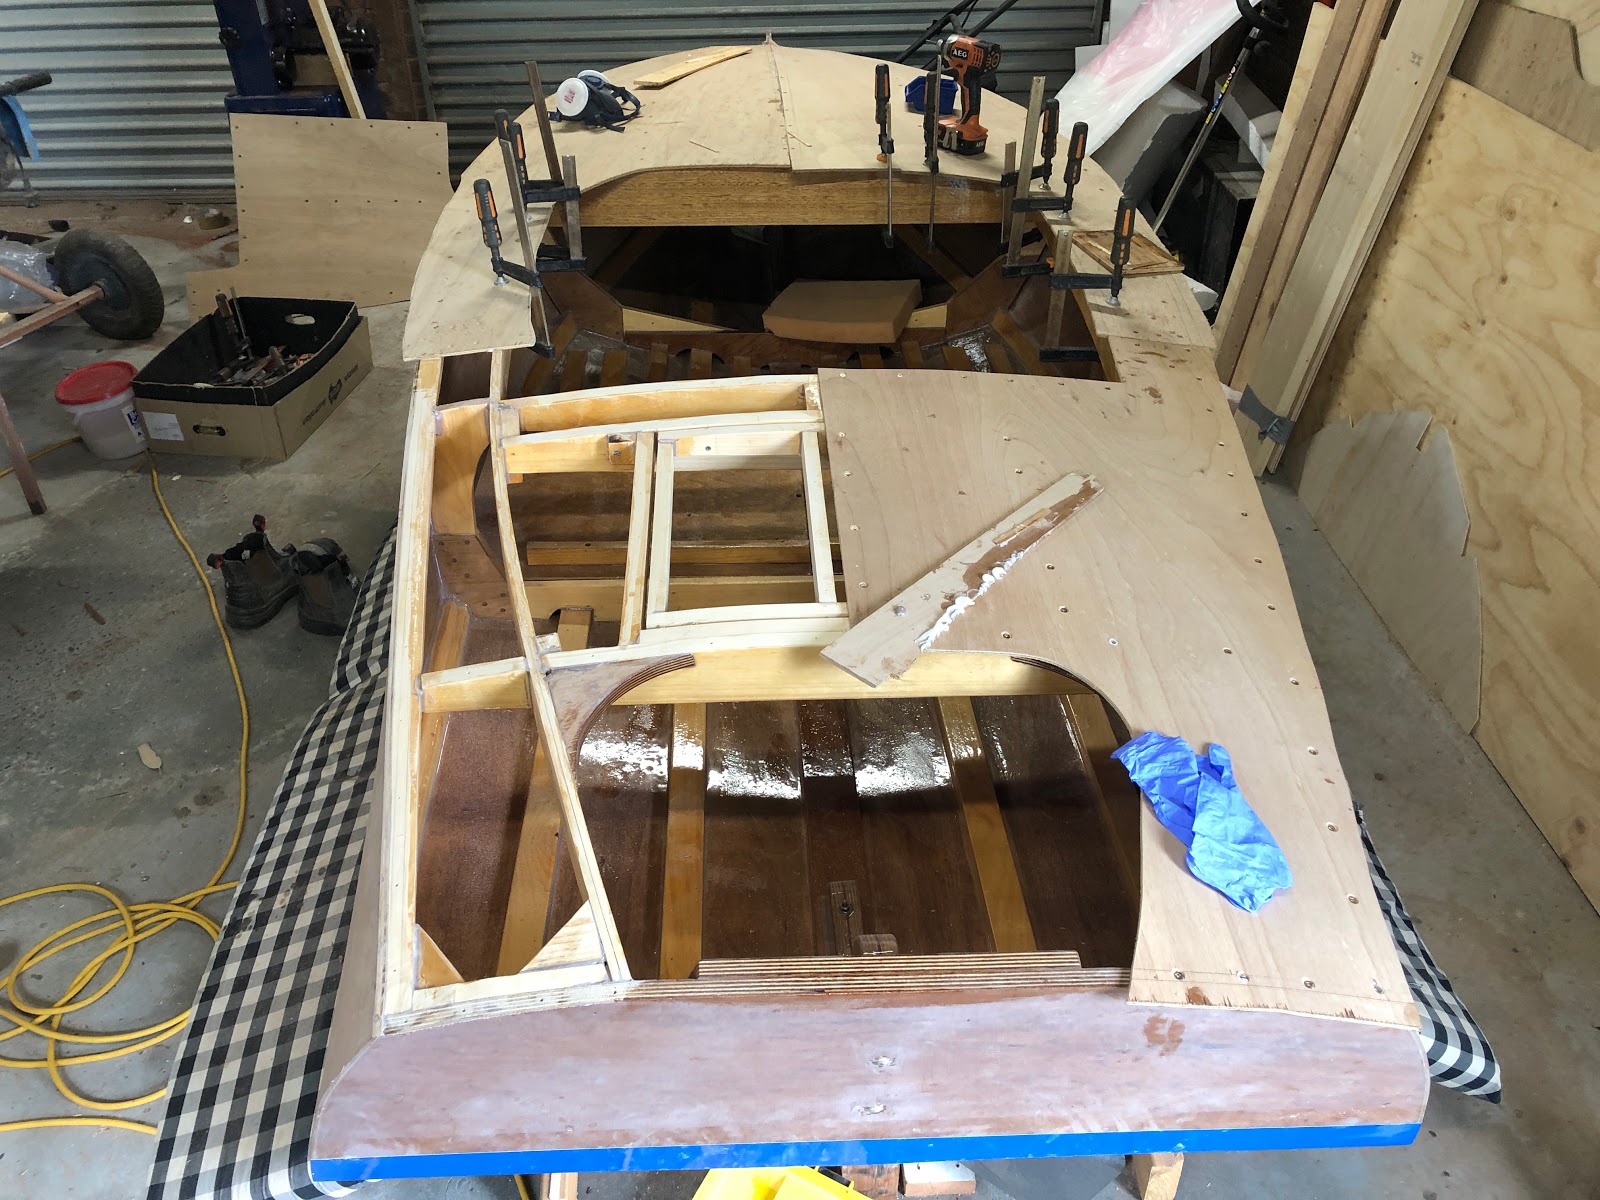
| Plywood deck installed |
The plywood pieces were not quite long enough to reach the front of the boat. I decided this did not matter as I could just patch it up with smaller pieces of plywood.
I have been made aware of a fantastic product called Epoxy E-Glue which I will be using for all my subsequent boat building glue joints. I highly recommend this product for all forms of woodworking! It is simply BoteCote epoxy with a thickening filler already mixed in. More filler has obviously been added to the hardener as it is a 1:1 ratio (compared to the liquid epoxy 1:2 ratio). The advantage of a 1:1 ratio is that the need for accurate measuring is reduced and it becomes very easy to visually determine if you have equal parts by volume. Testing has shown that you simply need to scoop out two approximately equal size dollops of resin and hardener and then mix them together. The E-Glue has thixotropic properties which means that it is quite viscous(thick) at rest but becomes less viscous (more flowing) when stirred together. It is perfect for gluing joints or doing fillets as it can hold its shape without dripping (for about 1 cm). The best thing about it is that it saves time by eliminating the fiddly process of mixing powder into liquid epoxy to get the right glue consistency. It also removes the hazard of breathing in airborne filler dust.
 |
| Epoxy E-Glue |
The deck was screwed and glued in place. There was a lot of climbing into the boat to do the fillets underneath the plywood. I wore safety glasses for this as I certainly do not want epoxy in my eyes. If anyone has a bullet proof method to stop safety glasses fogging up please let me know! I got a lot of epoxy on my clothes in this process.
 |
| Gluing the deck onto the boat |
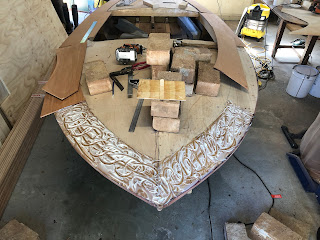
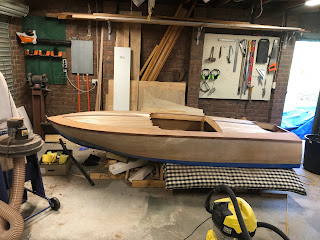
The edges of the decking were trimmed flush with the side of the boat. The angle grinder with abrasive disk was used with great care along with my orbital sander. The decking plywood surely increases the strength and rigidity of the boat immensely.
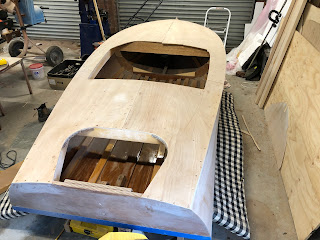 |
| Decking in place and trimmed around edges |
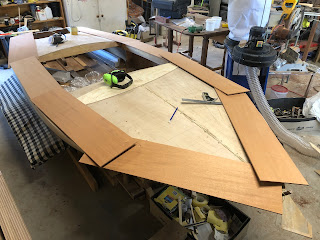
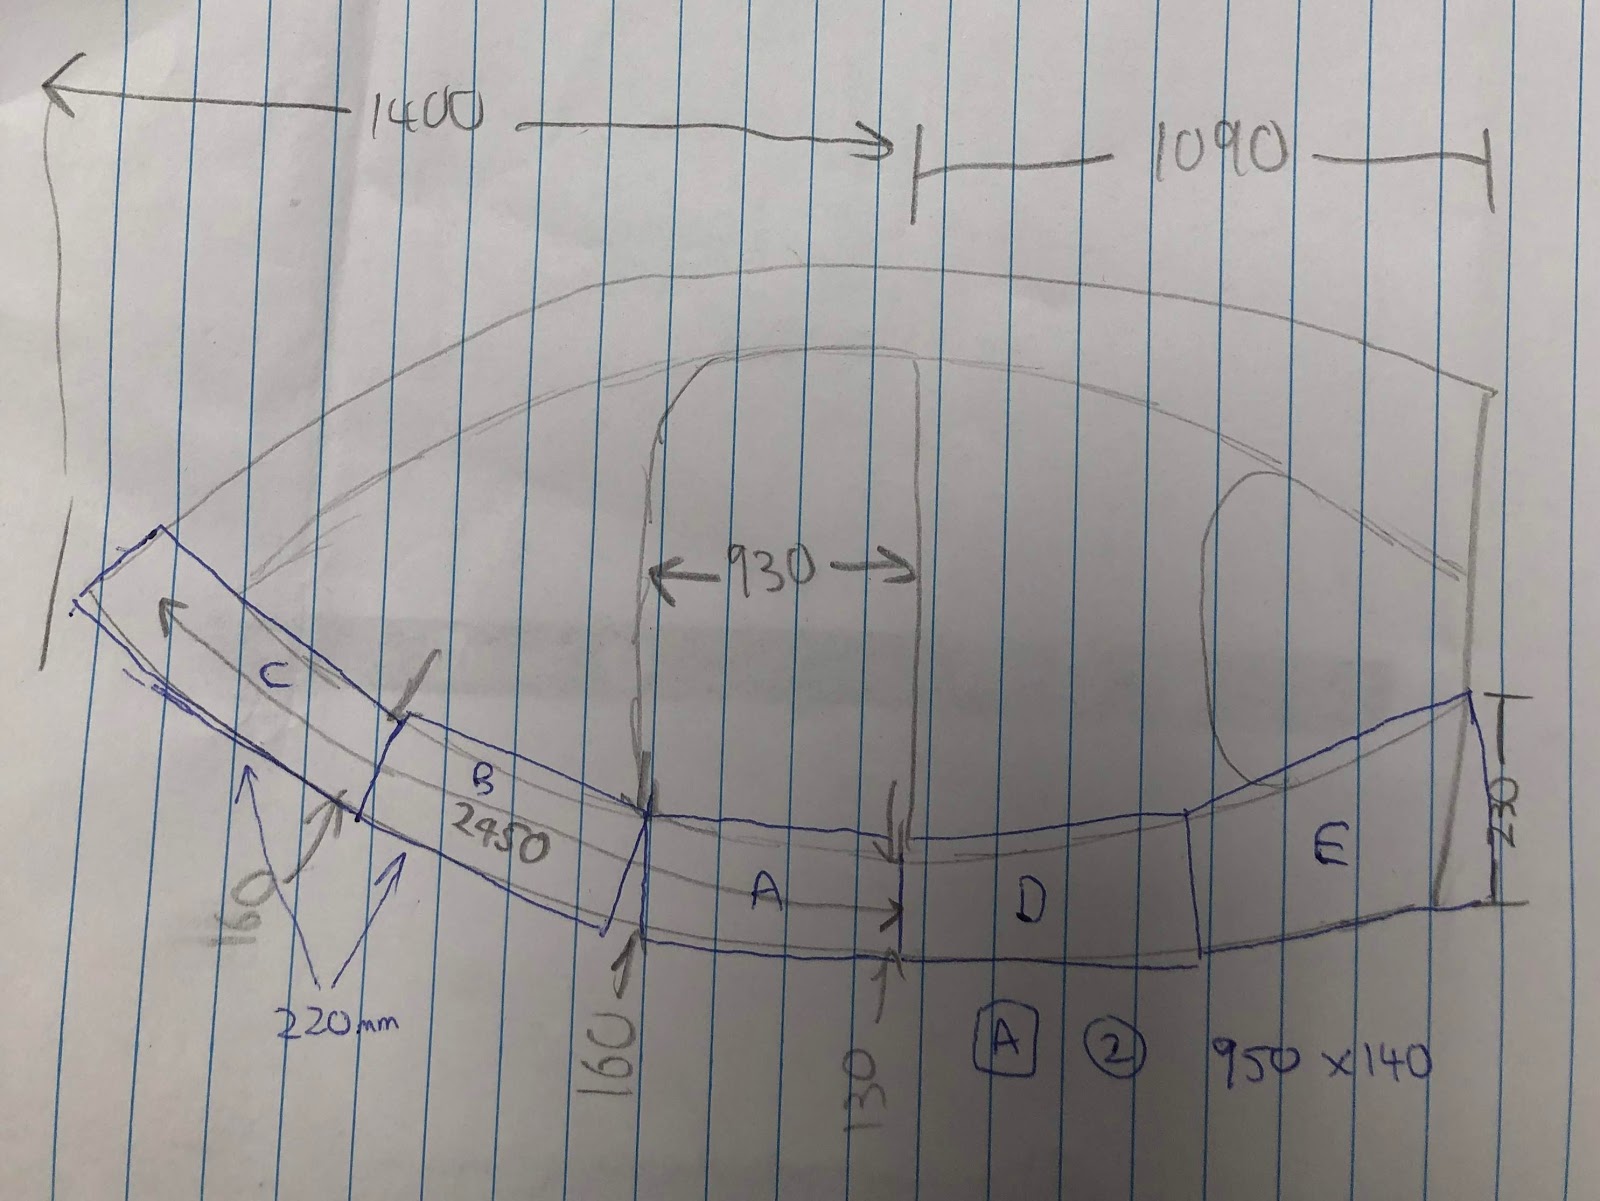
The next step was to work on the decorative decking on the boat. I drew up a plan of the sizes of wood I would require and then went to a timber store to see what species they had.
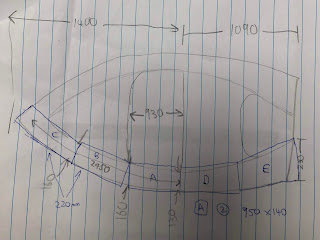 |
| Working out wood quantities for decorative deck |
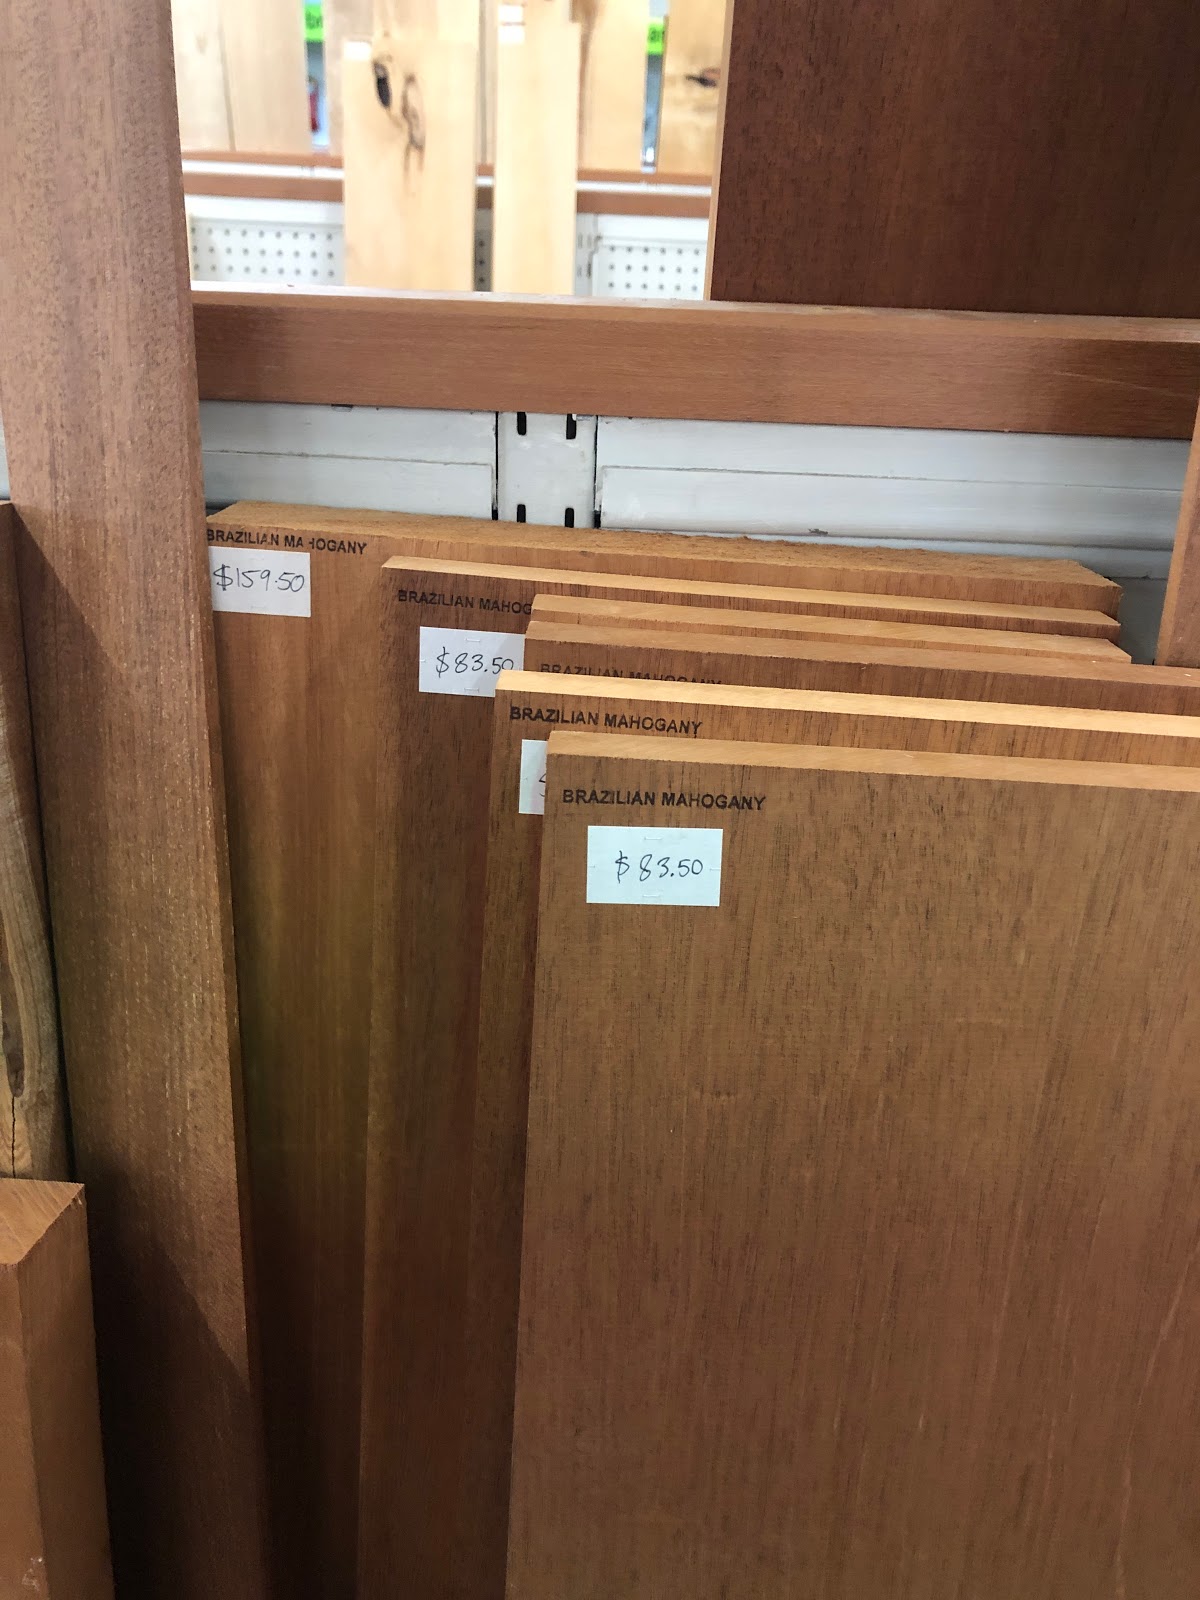
I decided to use Brazilian mahogany because it is a traditionally used wood on clinker style wooden boats. I love the beautiful brown and perfectly straight grain. I got it machined down on a drum sander to 5mm thick. It wasn't cheap but it was a no-regret purchase! I chose 5mm because it needed to be of sufficient width for sanding without adding too much weight to the boat.
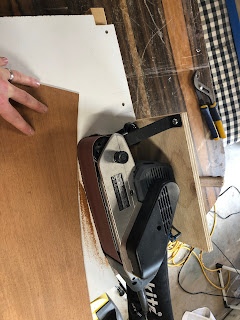
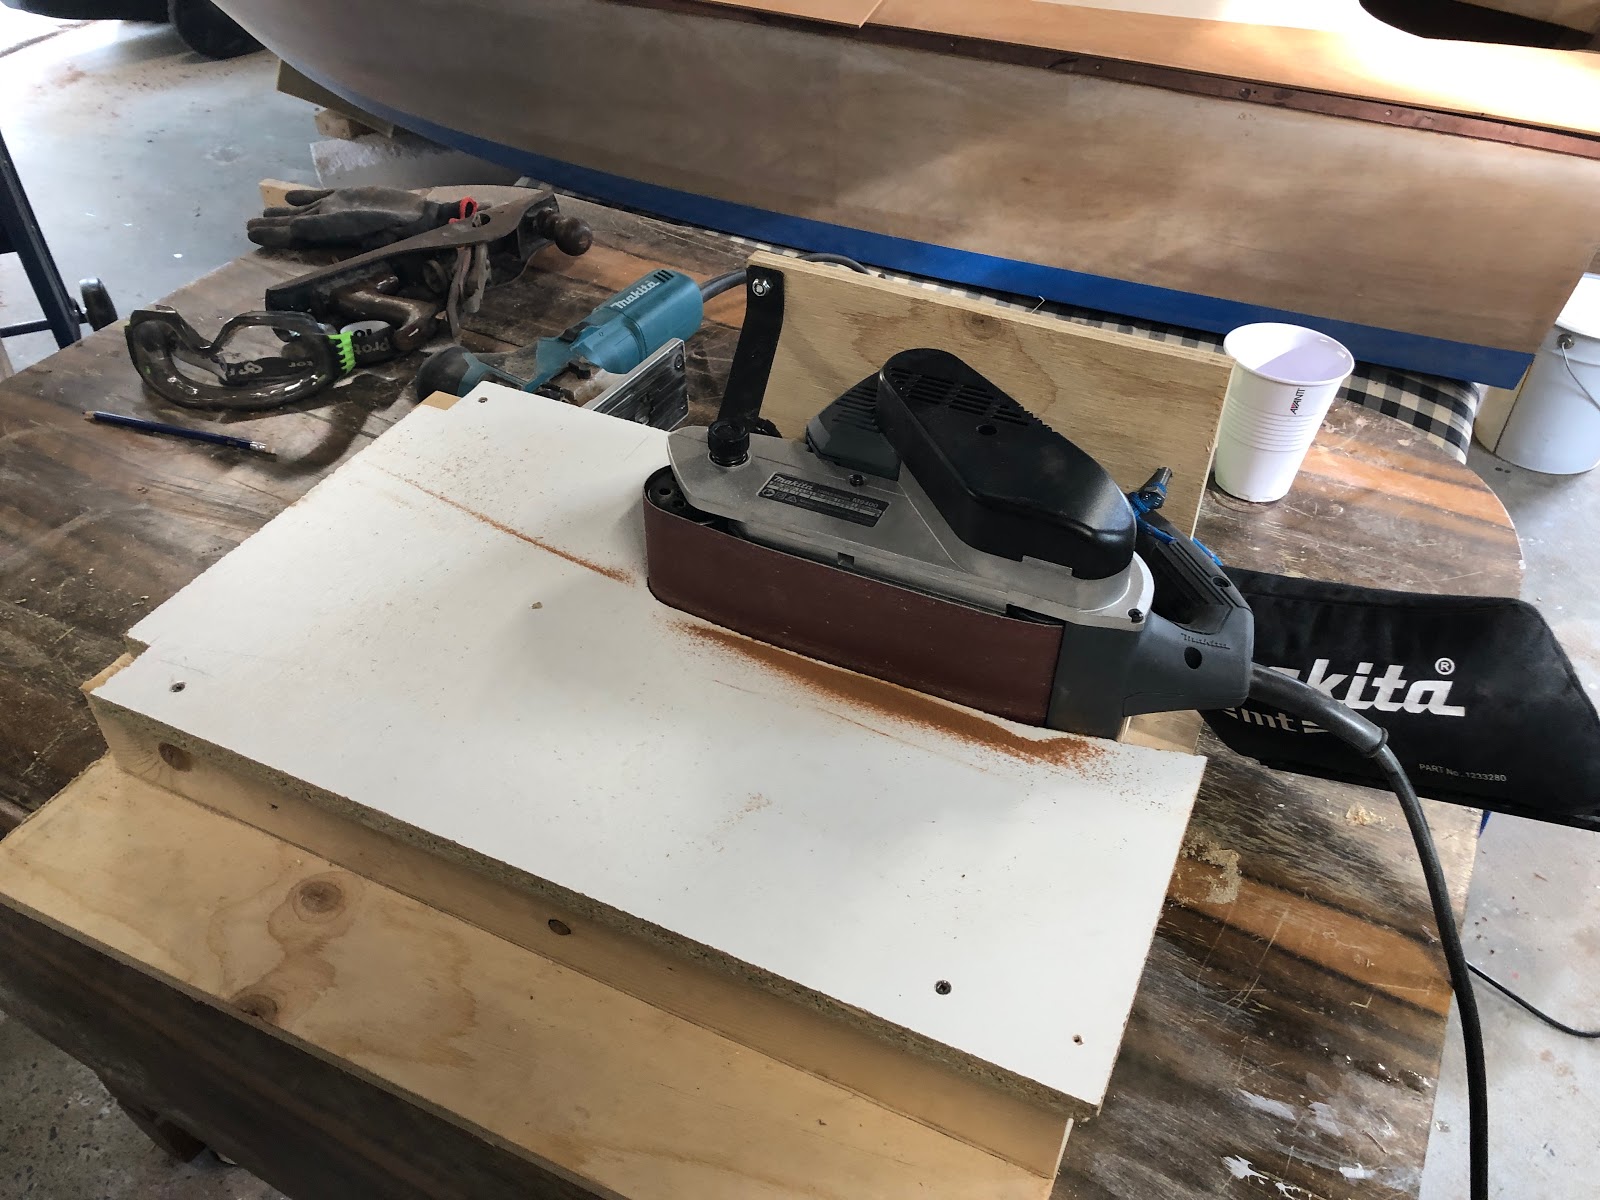
The decorative deck required some precision machining of wood to a tolerance of +- 1mm. A hand held belt sander mounted sideways made for a relative cheap and effective way of accurately machining convex and concave surfaces. In my opinion this is a much more useful tool than a disk sander with is unable to machine concave surfaces.
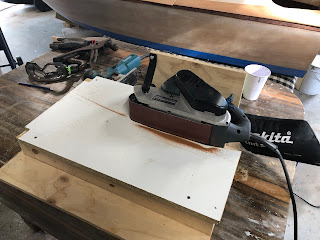 |
| Belt sander table |
Before installing the decorative deck, I needed to work out if the deck was symmetrical. I created a template for the deck curve. The curve was cut on the bandsaw and then a flexible rod (the type used by electricians for routing cables) was used to draw a smoother curve which was then accurately finished on the belt sander.
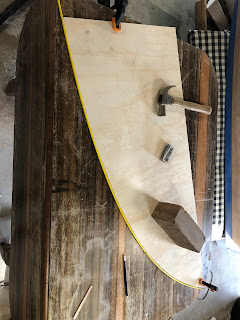 |
| Getting smooth curve on template for decorative deck |
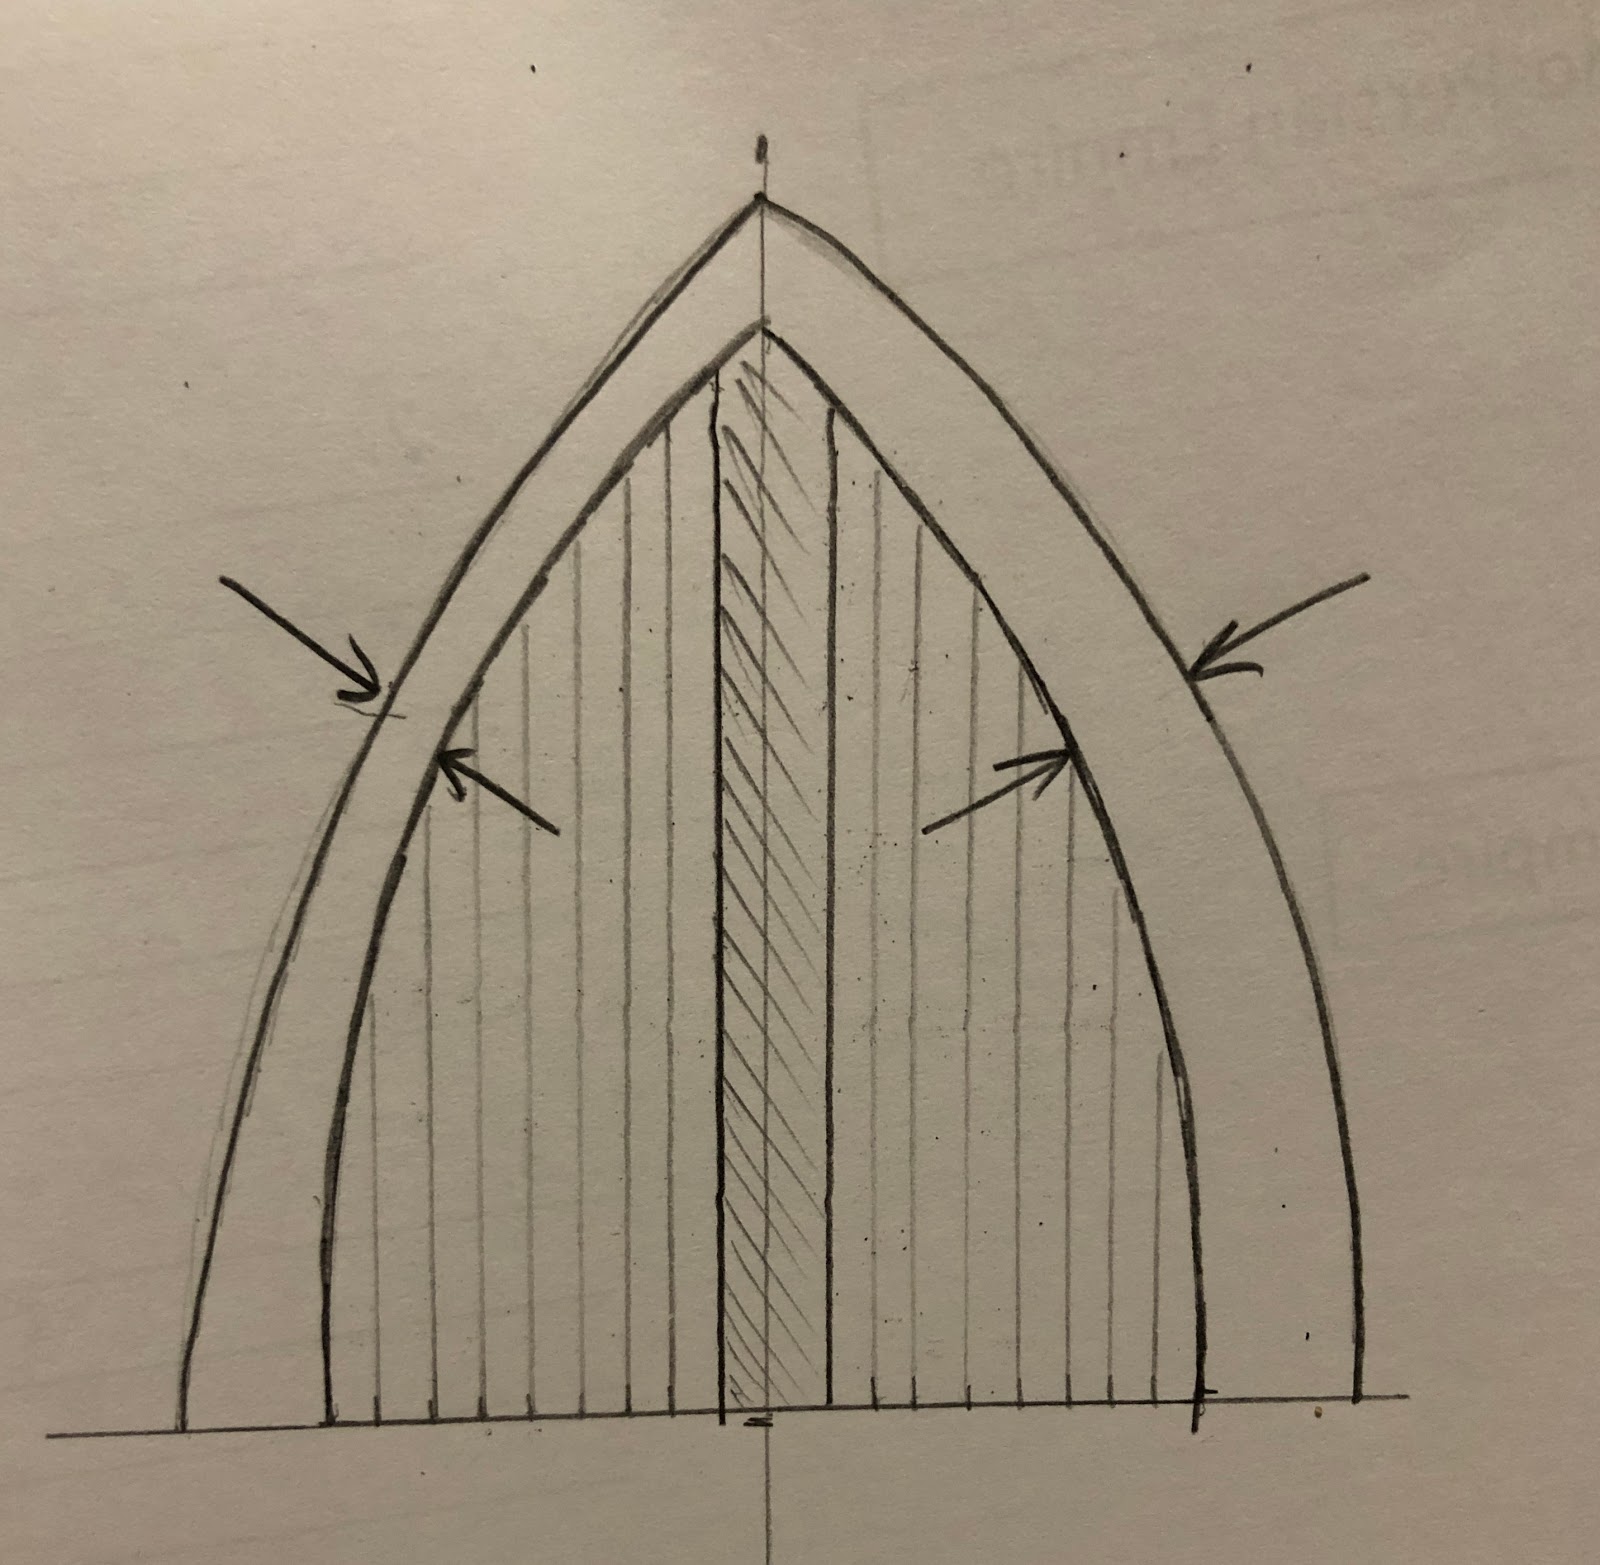
Using the template to draw the curves on the deck quickly showed that the deck was noticeably asymmetrical. Asymmetry is common in wooden boats and is only a aesthetic problem.
The figure below illustrates the asymmetry of the deck.
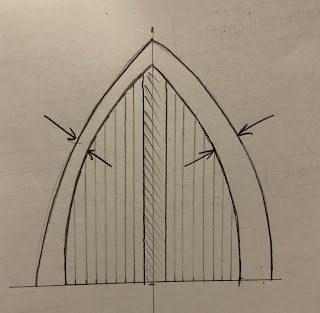 |
| Deck asymmetry |
One solution I considered was to used different curves each side of the boat. The problem with this solution was that the longitudinal deck strips would be different lengths on each side.
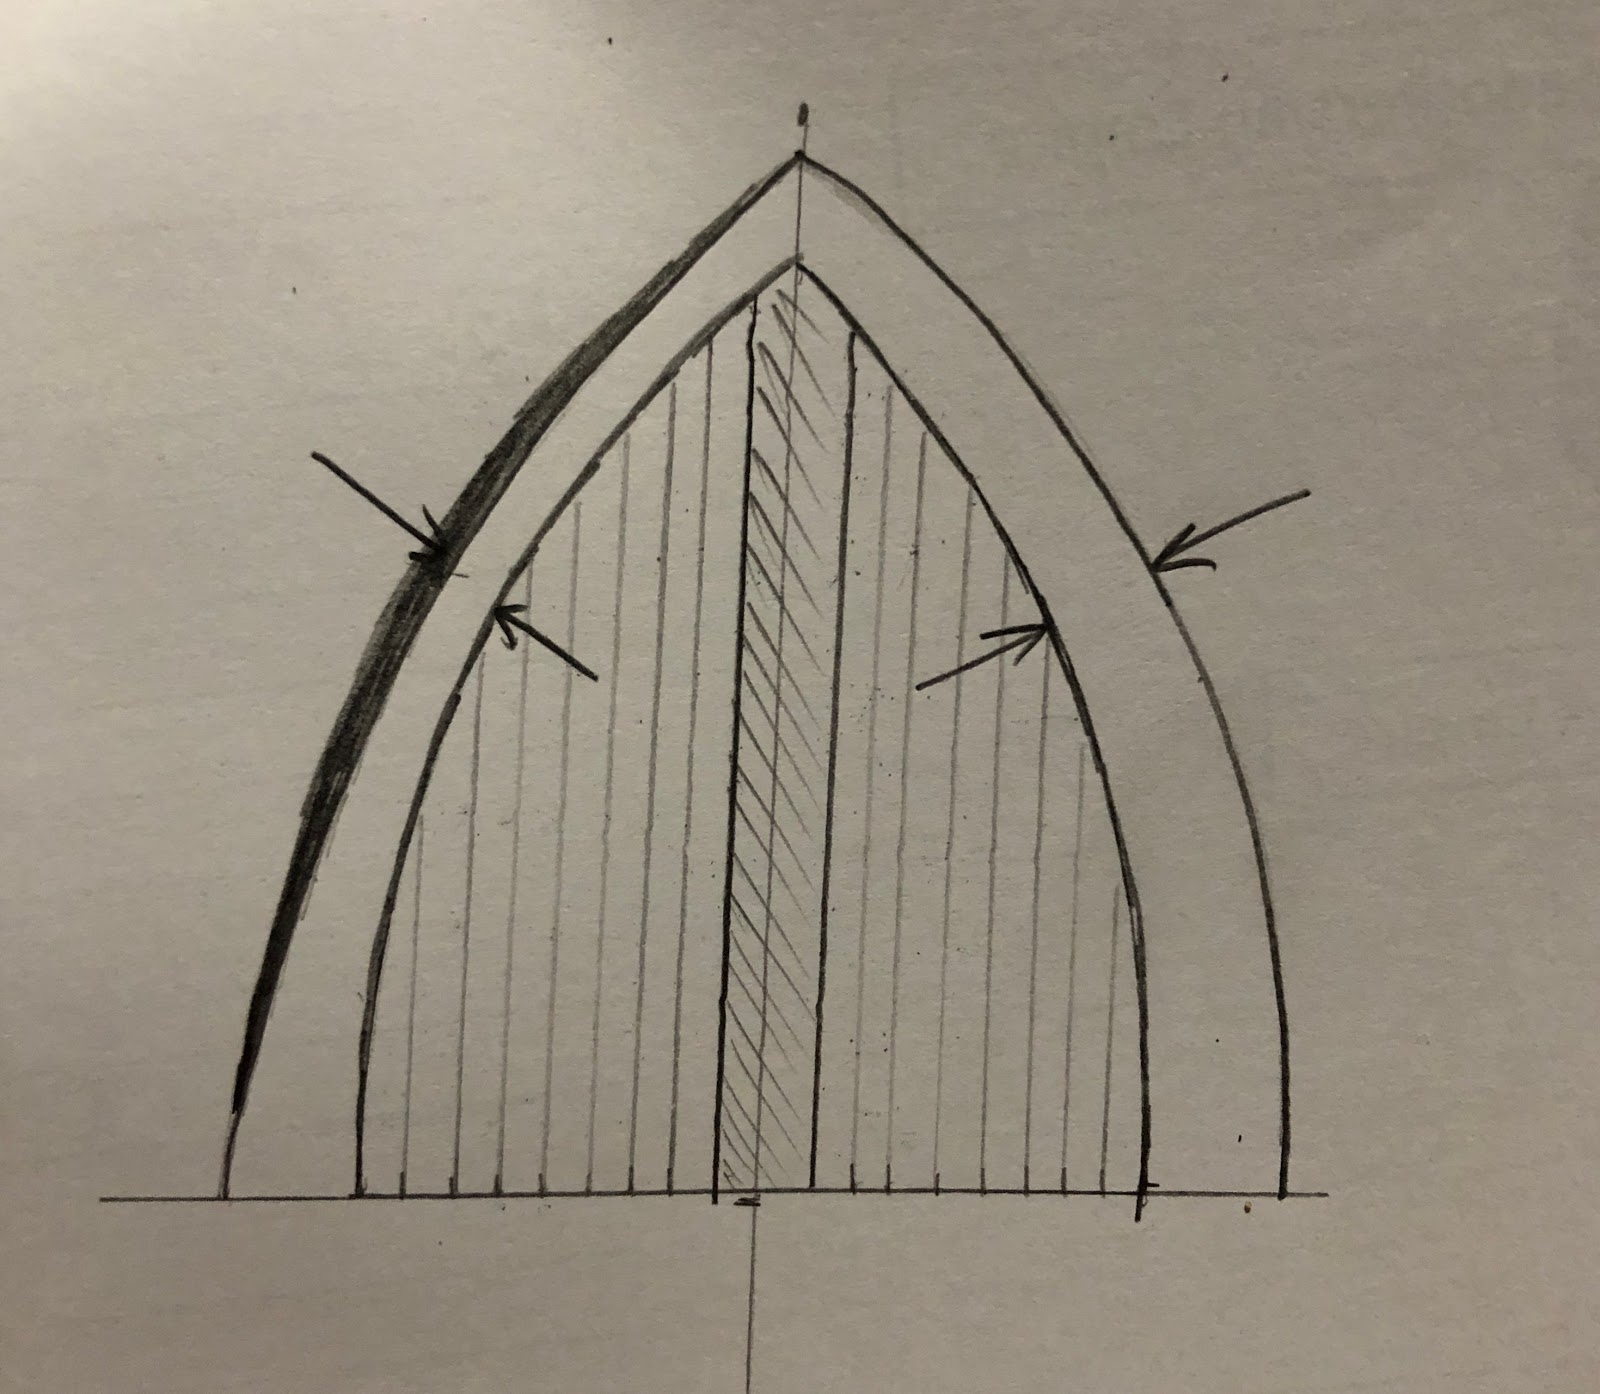
Jo had a good idea about how to make the deck symmetrical. The idea was to add a wooden rub strip to the boat that is thicker on one side. The following image demonstrates the concept with the dark line indicating the wooden rub strip to be added. This proved to be a very effective solution!
 |
| Fixing deck asymmetry |
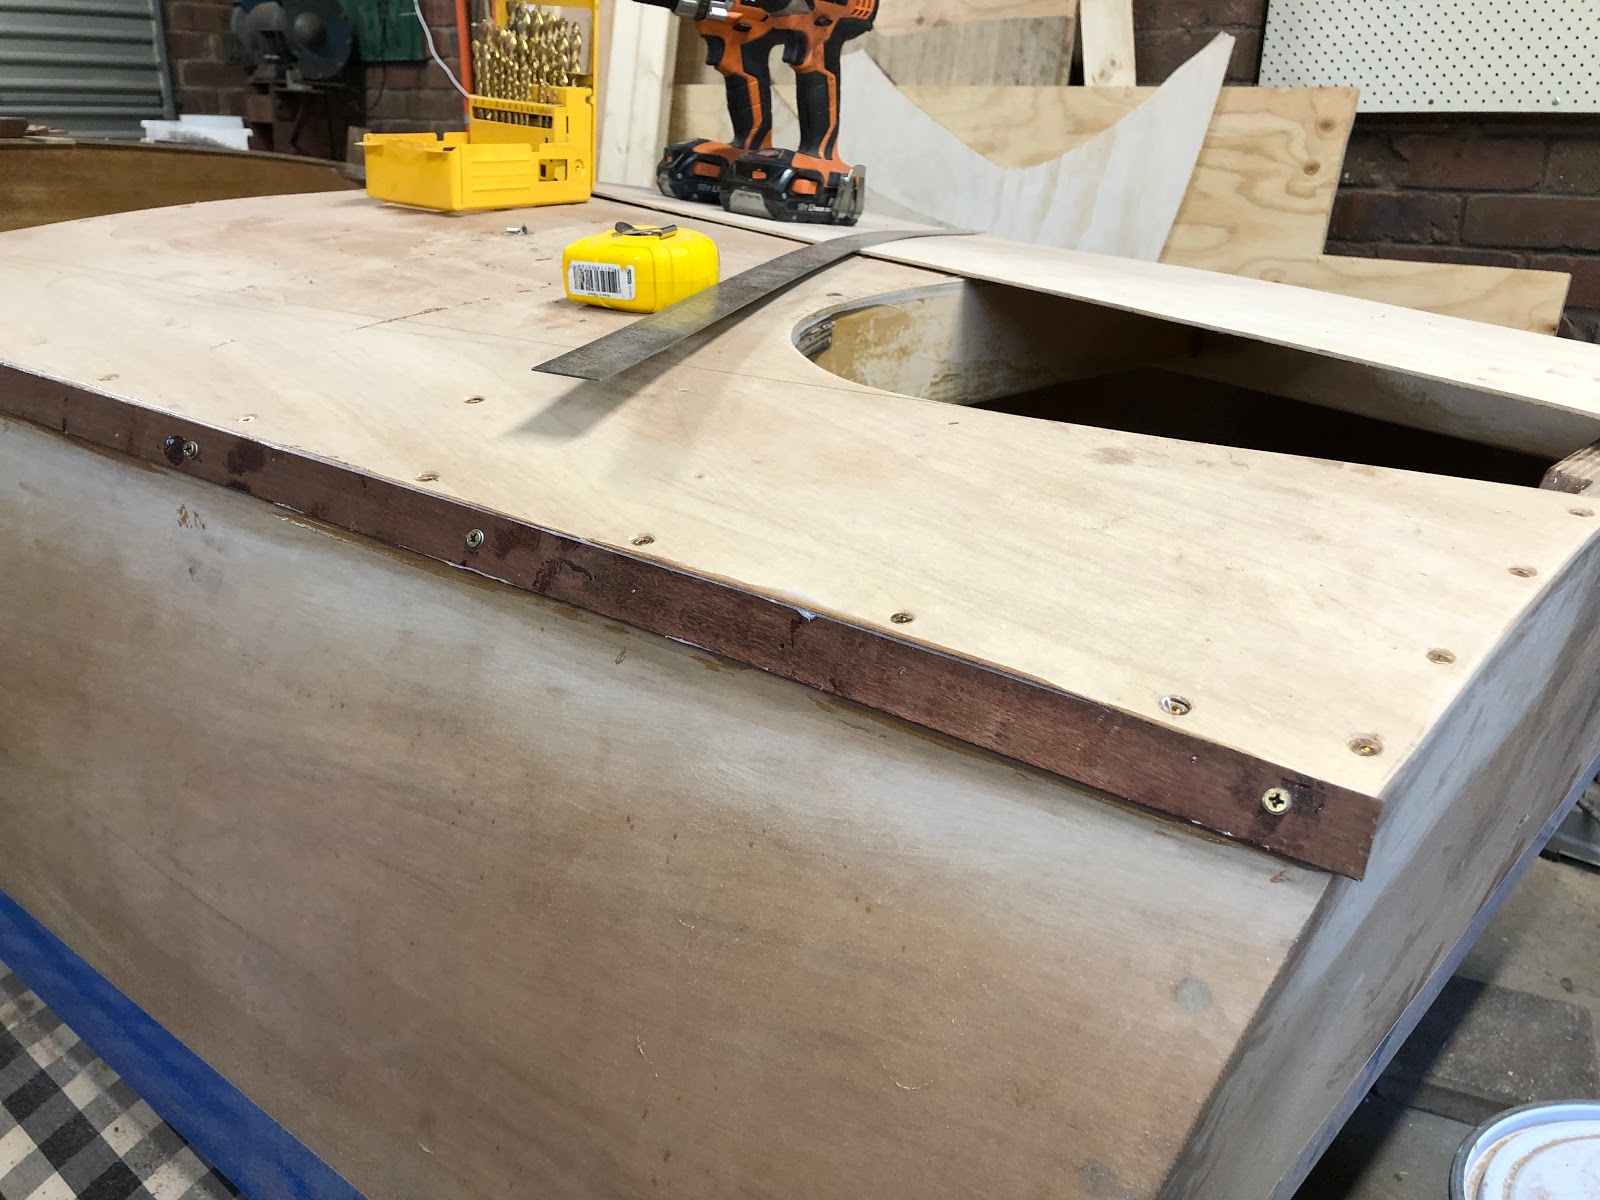
The wooden rub strip was made of jarrah. The first pieces were cut into thin strips with a triangular cross section to match the angle of the hull. It was quite difficult to match the curvature of the hull and so a lot of epoxy was used to fill in voids between the three laminations. On one side the deck the rub strip protrudes no further than the edge of the deck whereas on the other side it protrudes an additional 10mm. The result was such that the deck is now symmetrical under the scrutiny of an untrained human eye.
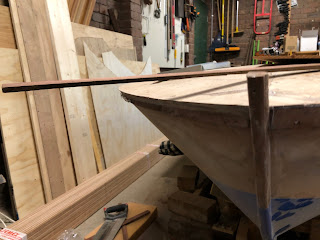 |
| Installing wooden rub strip |
The rub strips looked quite nice in the end. I am debating whether to ultimately paint them or leave them natural wood colour.
 |
| Rub strips at stern |
Some fairing was undertaken in the region of the dash to allow the decorative decking to transition smoothly.
 |
| Fairing deck near dash |
The mahogany was laid on the boat ready for marking out the curves with the template
 |
| Laying out mahogany |
The curves were cut to basic size on the bandsaw and sanded to the line with utmost care on the belt sander.
 |
| Trimming the mahogany to size. |
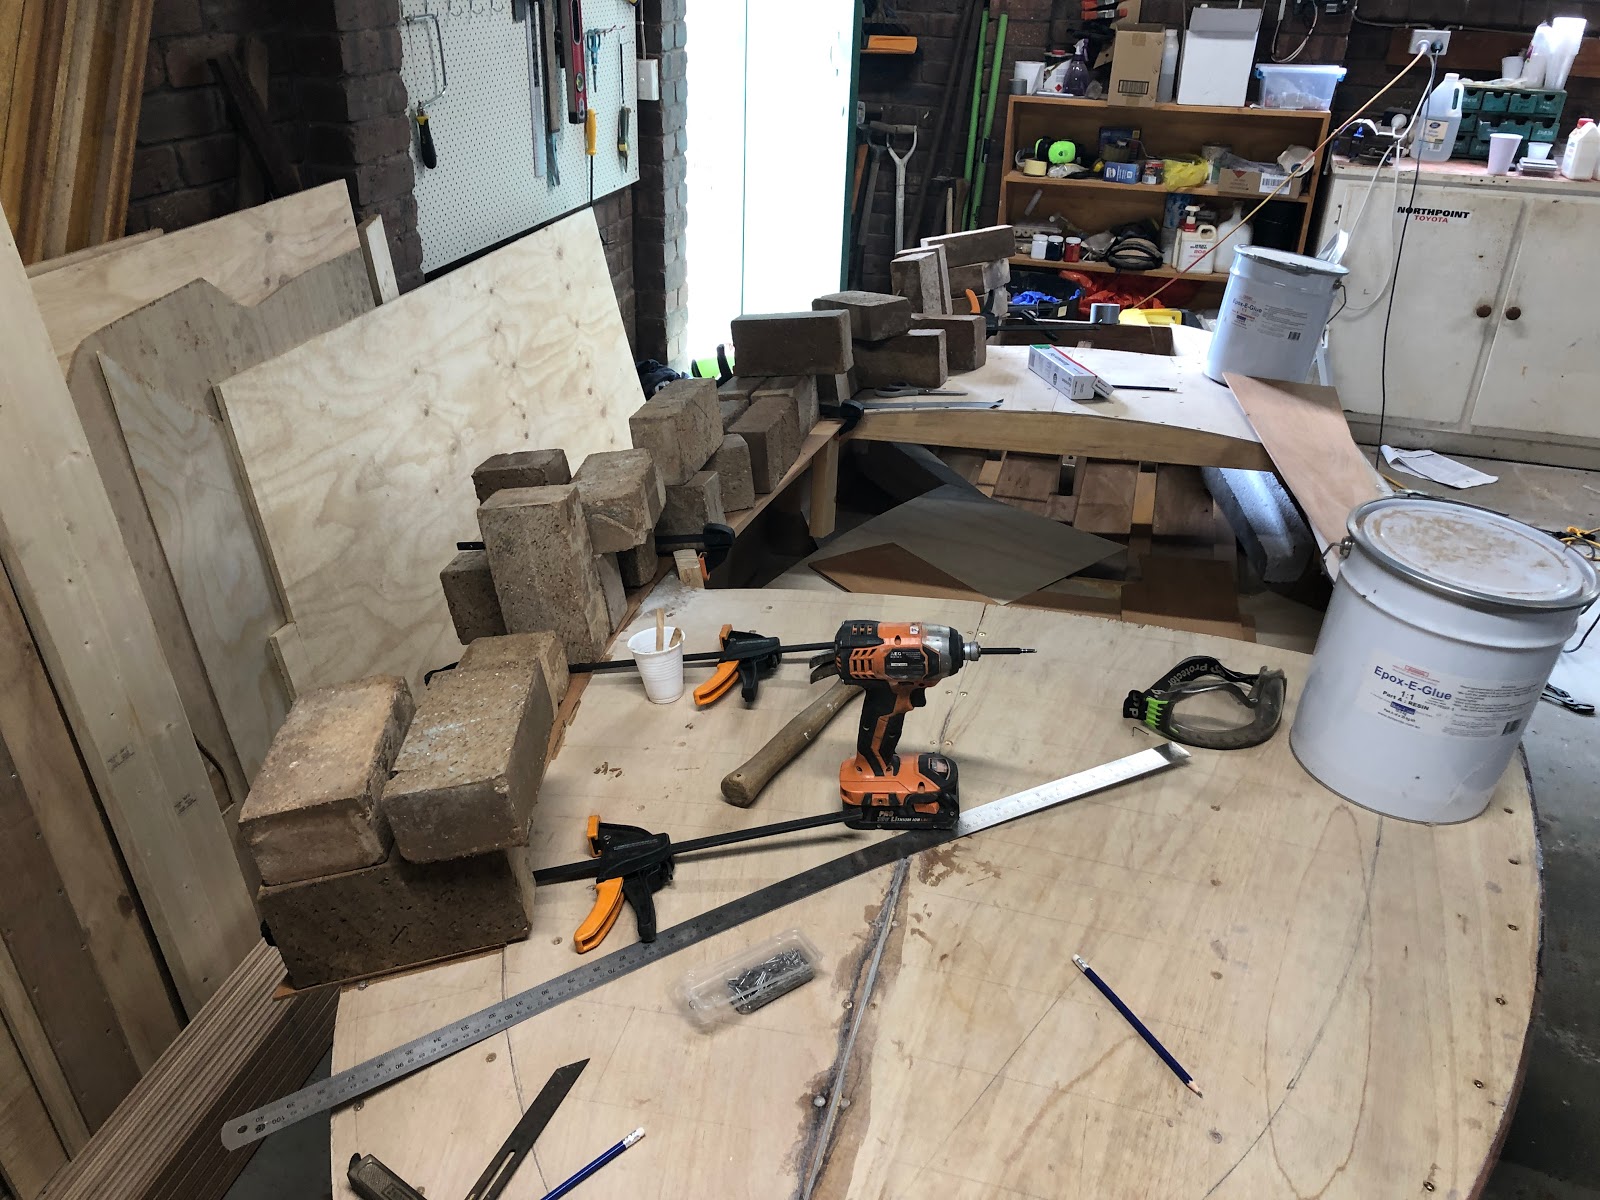
The mahogany was glued to the deck using the epoxy E-glue and lots of bricks to hold it down. The boat was listing significantly to one side from the weight of the bricks. Nails were used with clamps to hold the mahogany in place and prevent it sliding off the boat.
 |
| Gluing on mahogany |
 |
| Glue in place and about to glue on. |
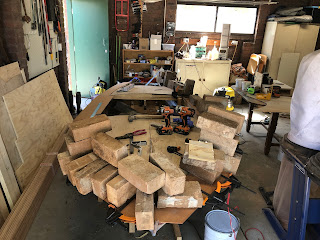 |
| Lots of bricks! Thanks gravity. |
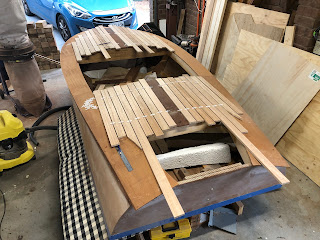
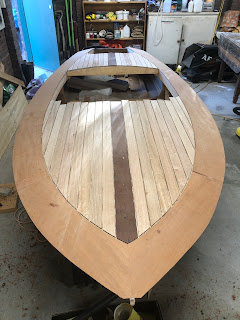
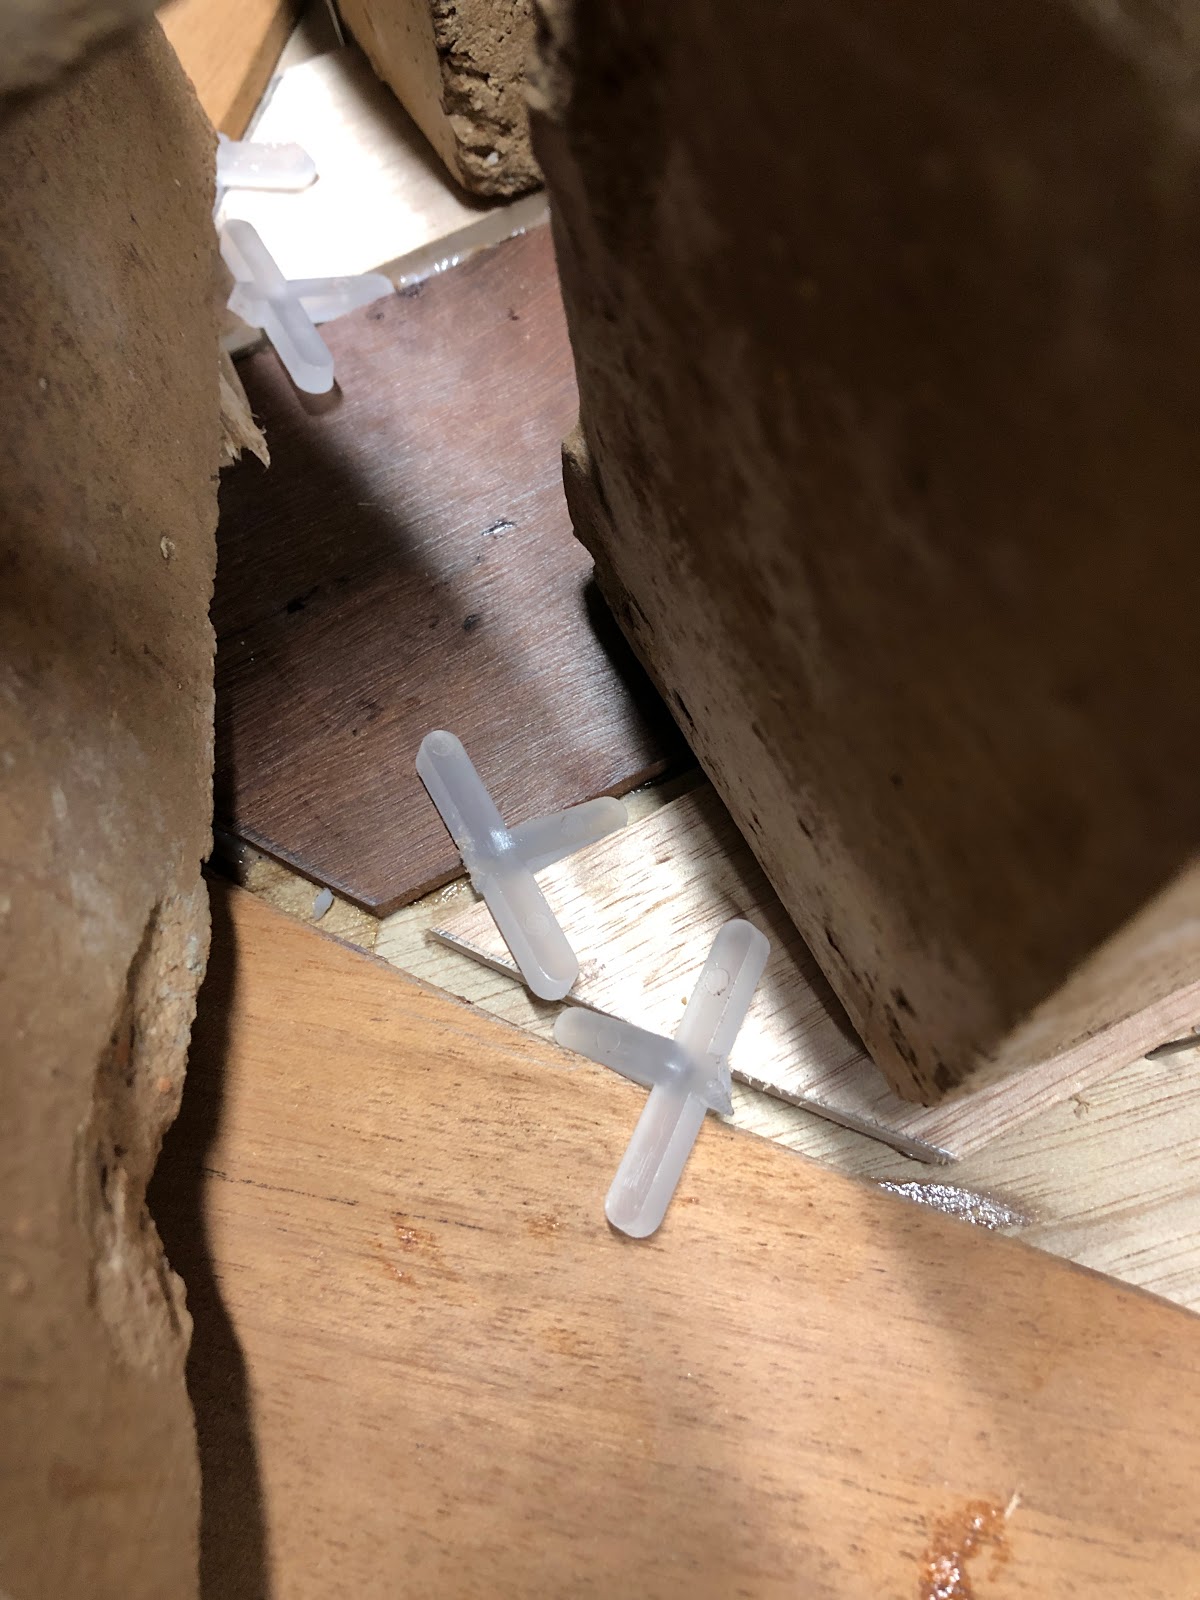
Once the mahogany was glued in place, the next step was to install a king plank down the centre of the deck. I ripped a piece of jarrah on the bandsaw and then ran it through the thicknesser to get it down to 5mm thick. The jarrah was obtained from a friend who had removed it during some house renovations. 5mm tile spacers were used to set the distance between the jarrah and mahogany. The 5mm gap will ultimately be filled with epoxy caulking. After some initial apprehension about using jarrah instead of mahogany for the king plank I am very glad I chose the jarrah as it is a good contrast against the mahogany.
 |
| King plank installed |
After some deliberation I decided on purchasing Tasmanian oak floorboards for the main decking boards. The oak was machined to the required width on the bandsaw and thicknesser. Each piece had to be resawed to 5mm thick on the bandsaw which turned out to be a significant task. The Tasmanian oak seems to be an incredibly hard wood and I went through two bandsaw blades resawing it all. I laid out the pieces of wood to get symmetrical colouring on each side.
 |
| Decking laid out ready for resawing |
 |
| Tile spacers used for a consistent gap |
One by one I resawed the wood, contoured the ends to match the mahogany and glued in place.
 |
| Gluing wood in place |
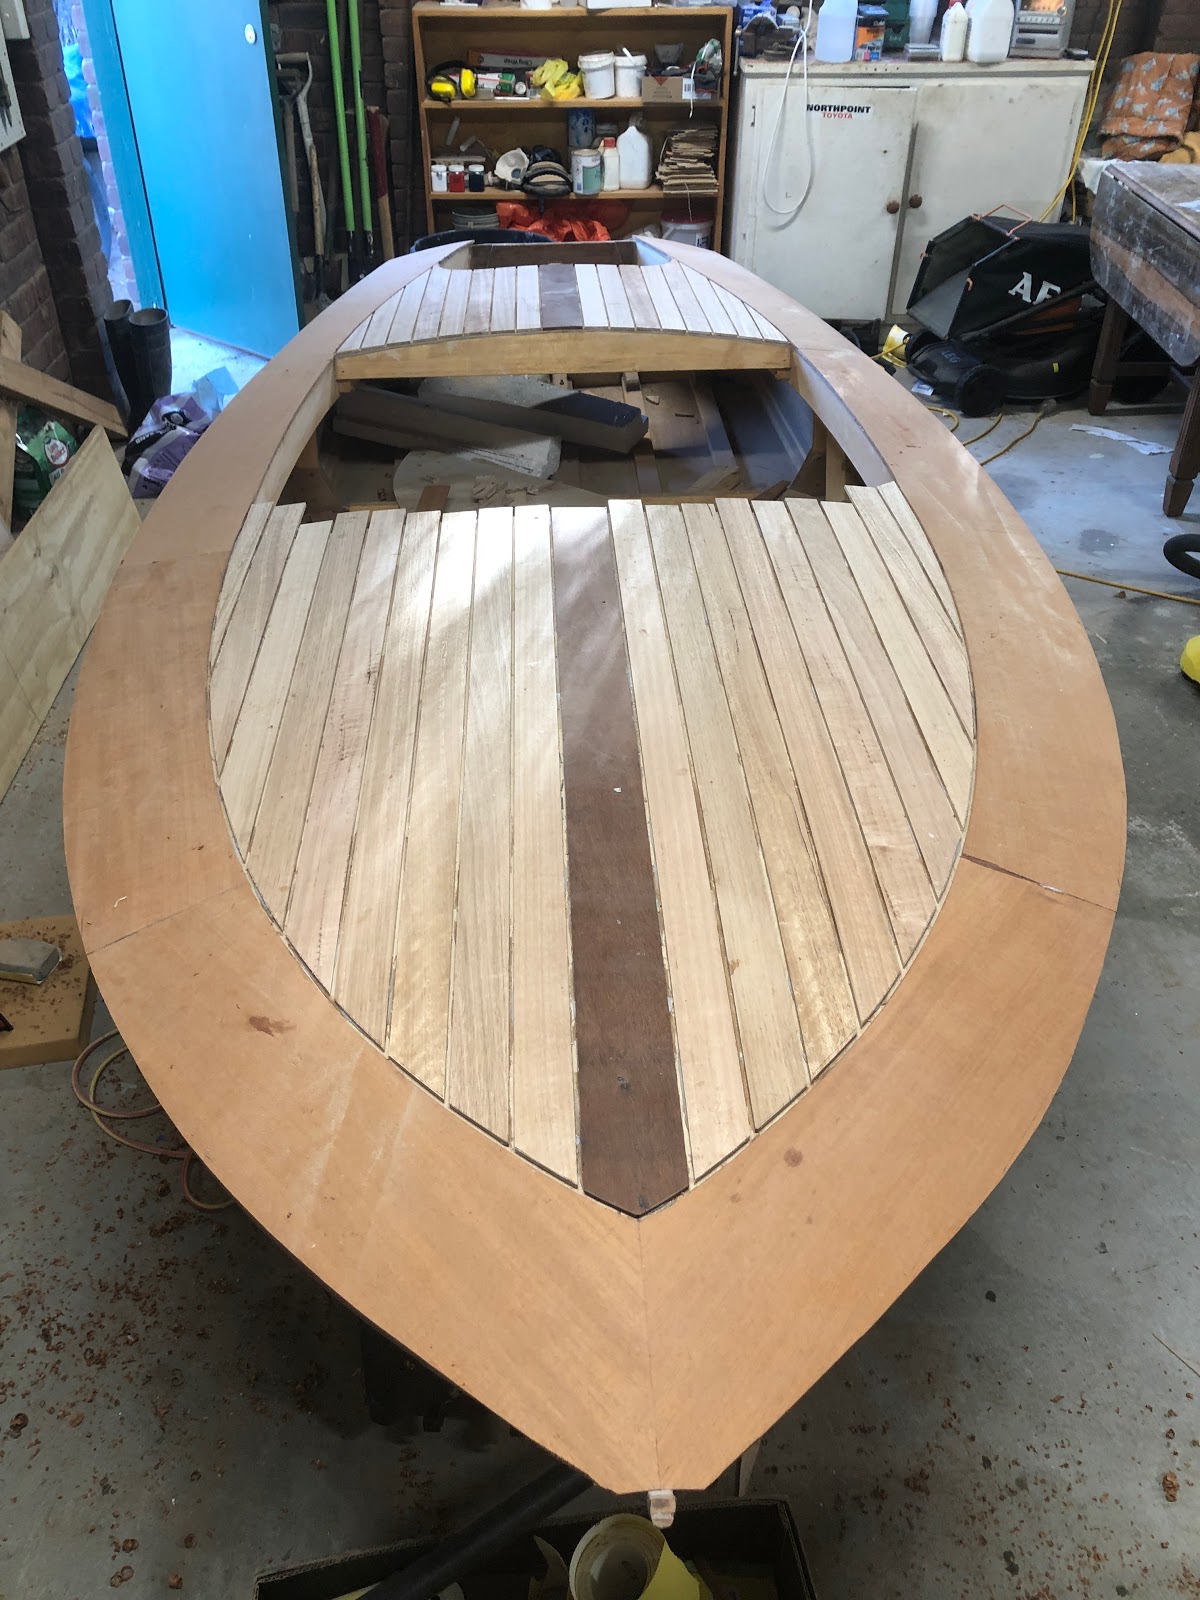
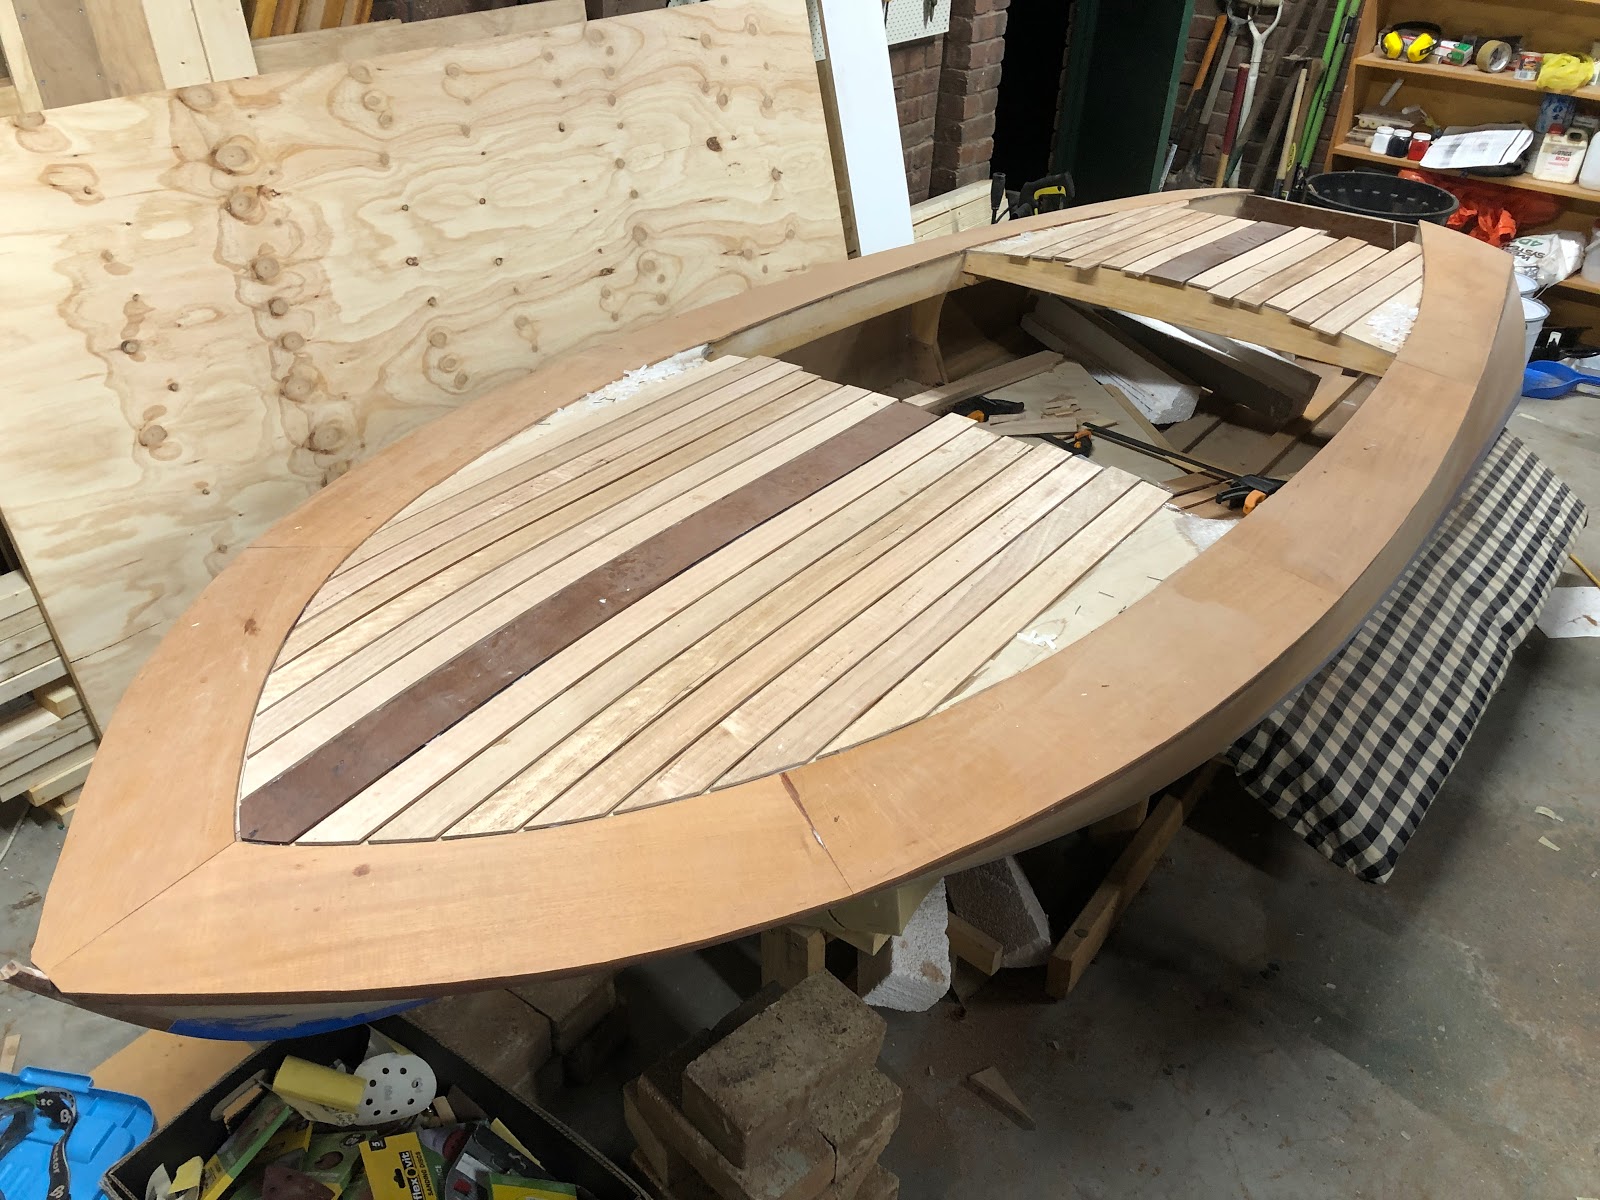
I am very happy with the results of the deck - it has exceeded my own expectations and I can't wait to see it with a coat of epoxy and ultimately several layers of varnish.
 |
| Looking pretty streamlined |
 |
| Future GoPro aspect |


I have enjoyed reading through your Blog! Do you have any updates to share? I'd love to see the final product with epoxy on top!
ReplyDeleteI am about to start my own Squirt build and I have been reading through various posts and the Glen-L page as well. I'm excited to start this journey.
Hello !!!
ReplyDeleteCongratulations. Excellent building
I would like to ask a question
I have not bought the outboard yet with the control box, and I don’t Know the width that will be enough so that the control box can be placed on the coaming (At the side of the boat and not at the top)
I plan to buy new outboard engine.
what is the width of your coaming? The drawings say width al least 3"
will you put a Side Mounted control box?
Thanks !!!!
Affordable, high-quality deck and fence contractor serving Boise and surrounding areas hardwood decks
ReplyDeleteMost of the time I don’t make comments on websites, but I'd like to say that this article really forced me to do so. Really nice post!
ReplyDeletehouse painting Three Chopt
Loved your post! Your discussion on boat decking really highlights the balance between practicality and elegance. At ABS Wood, we appreciate that same dedication to craftsmanship and durable design.
ReplyDeleteExcellent resource for anyone looking into epoxy flooring! The content is clear, informative, and easy to understand. I particularly liked how you highlighted the long-term benefits and cost considerations of epoxy floors.
ReplyDelete