After a lot of time epoxying and sanding and sanding and sanding I was finally ready to paint the boat! Exciting!
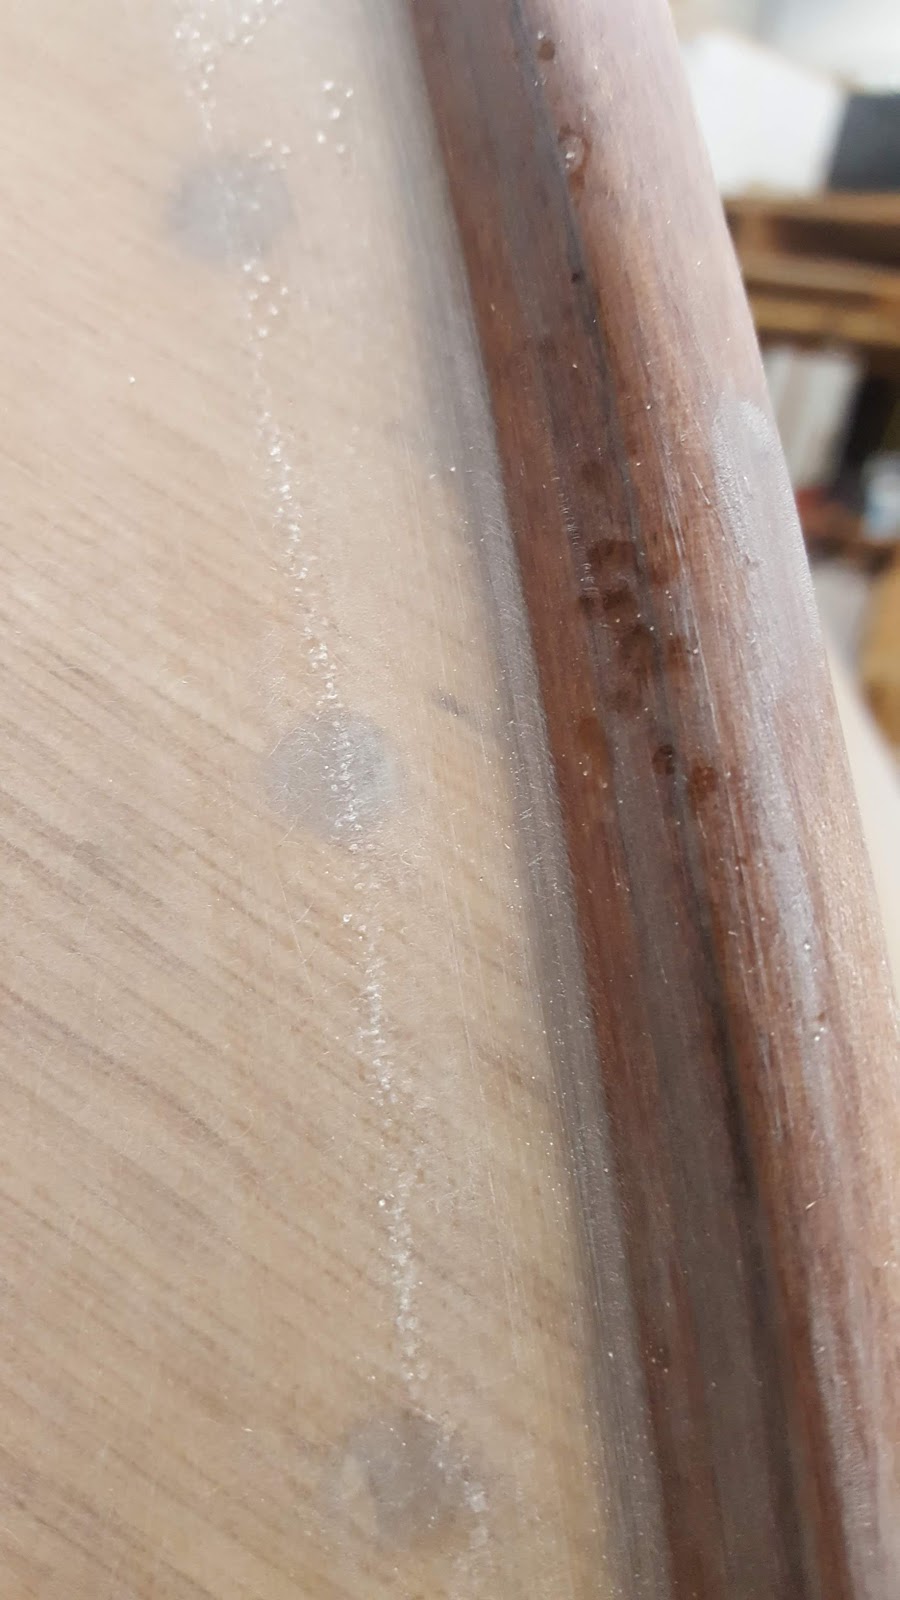 |
| Sanded keel strip |
I purchased the best masking tape I could find at Bunnings because the plan was to leave the tape on for the whole paint job. The yellow tape shown in the image below was advertised to be able to stay on for 60 days without leaving a residue or sticking too strongly. I put a layer of cheaper blue tape below the yellow as I can easily sand off any sticky residue it leaves behind.
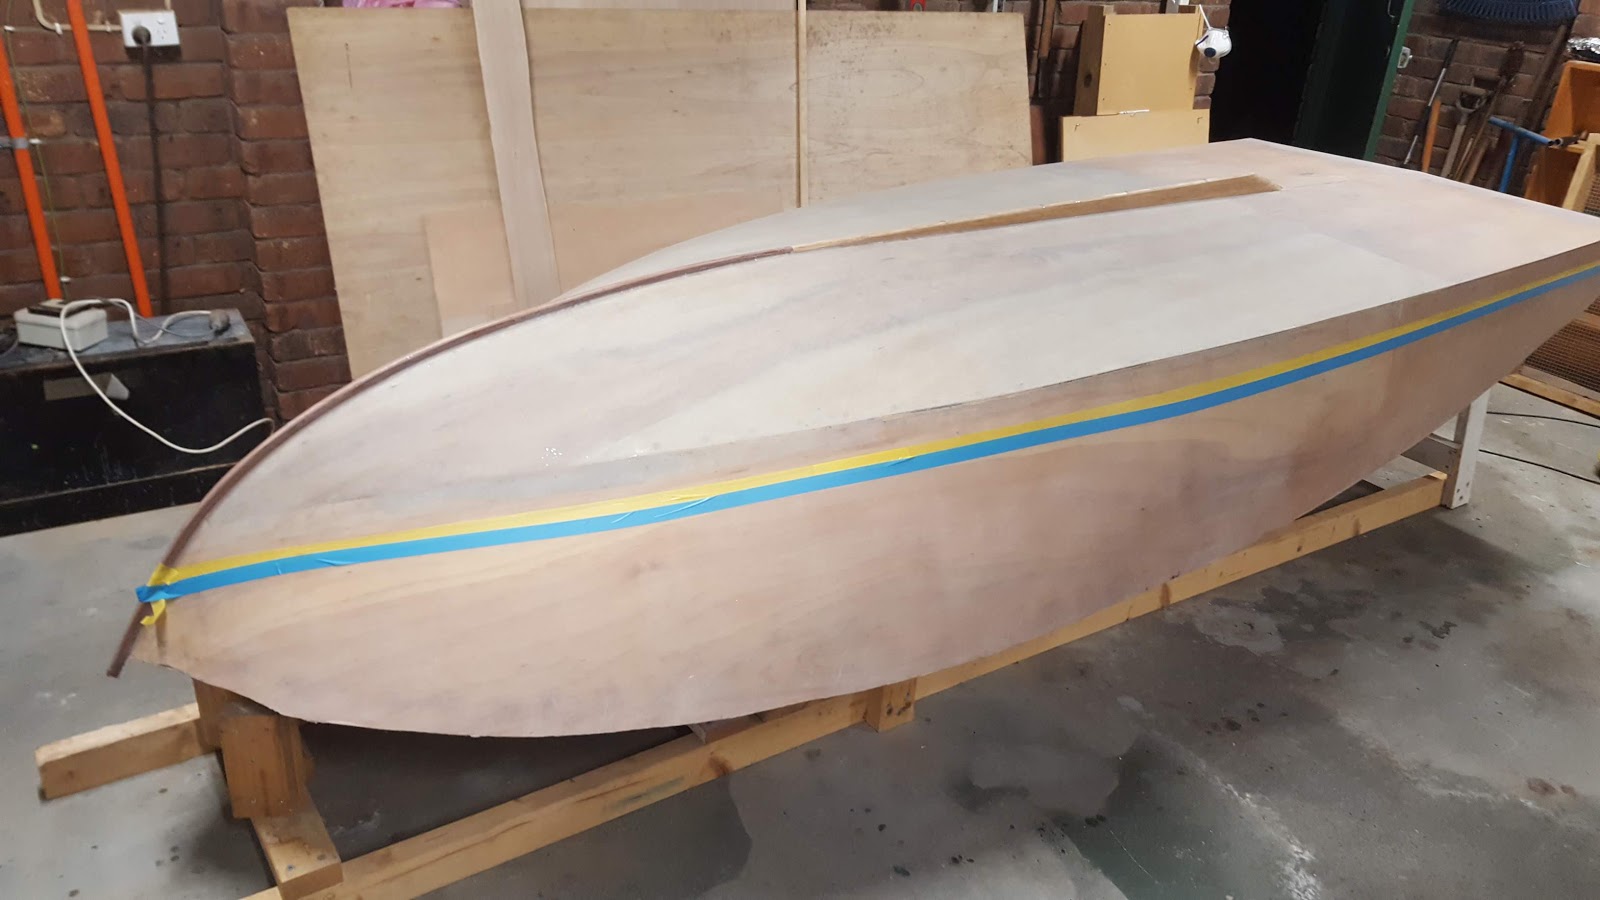 |
| Masking the hull |
It ended up being 223 days before I pulled off the tape! I got distracted by removing my swimming pool and landscaping my yard. Strength and stamina are to demolition what finesse and intelligence are to boat building.
 |
| I won't be using the demo saw on the boat! |
I got the tip of using aluminium foil in paint trays from one of the how to paint booklets produced by International Yacht Paint. It is a great tip which make the clean up a lot easier!
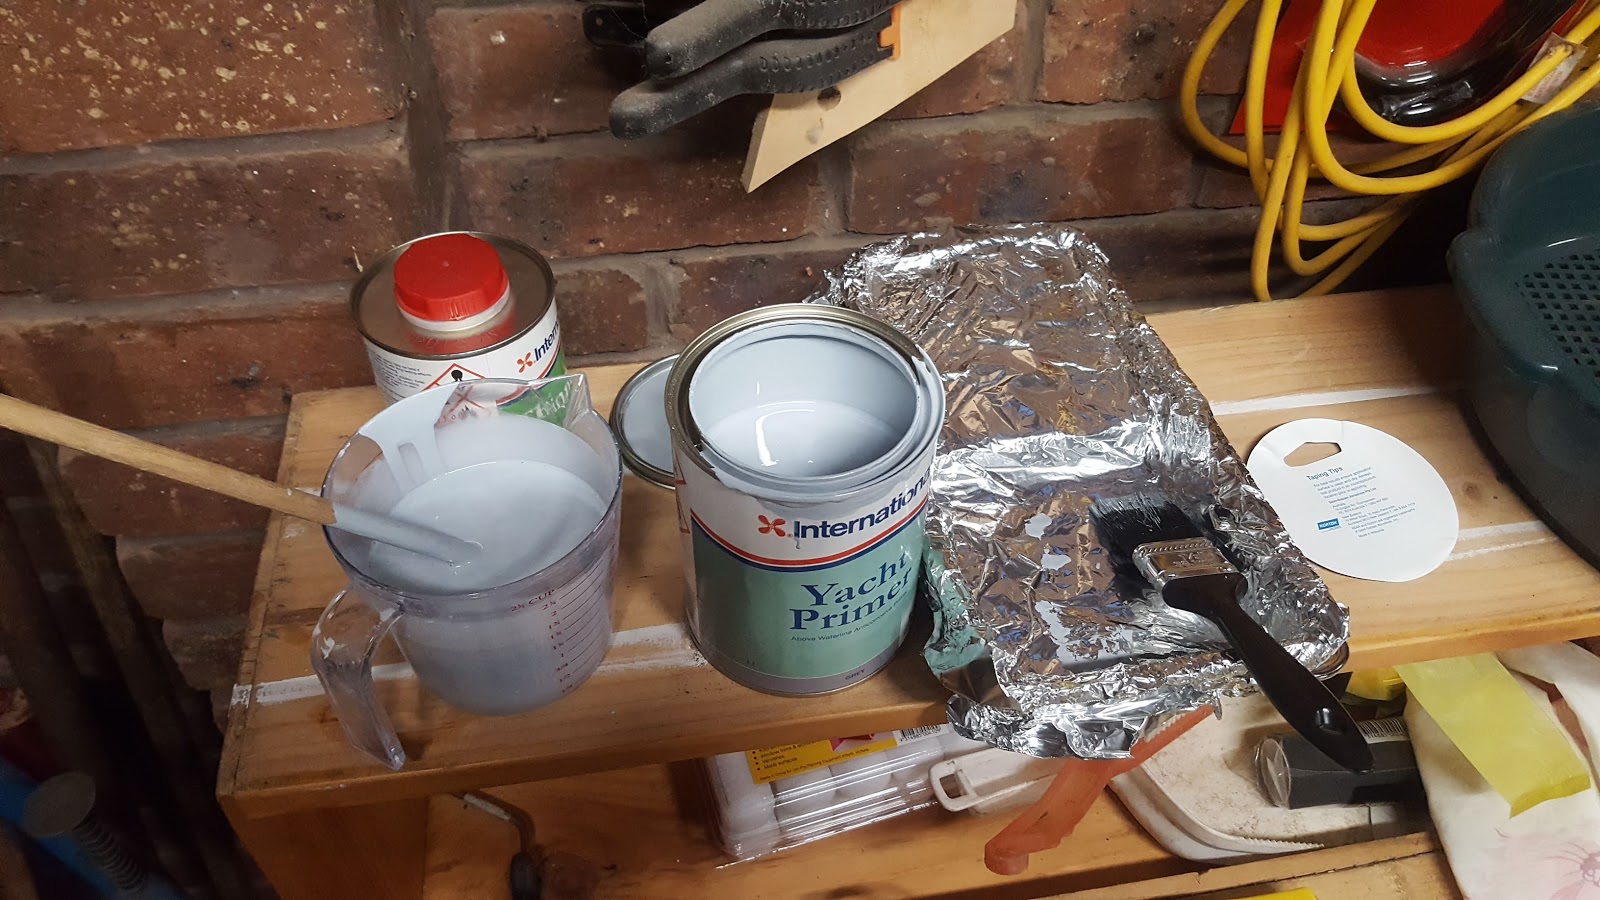 |
| Getting primer ready |
It was very satisfying putting the first strokes of paint on the boat. I was very happy how smooth it looked.
 |
| Starting to paint |
Three coats of primer were put on the boat
 |
| Completed coats of primer |
The next stage was to roll on some coats of the Pre-Kote undercoat. I tried tipping off the undercoat to avoid the 'orange peel' effect the foam roller left. I could not get the tipping off to work. The lines the brush left were worse than the orange peel that the roller left. I even experimented with different amounts of thinners but I could not get it to work. After two coats of undercoat it was time for some sanding to smooth out the bumps. On the third coat of undercoat I didn't worry about tipping off.
 |
| Undercoat |
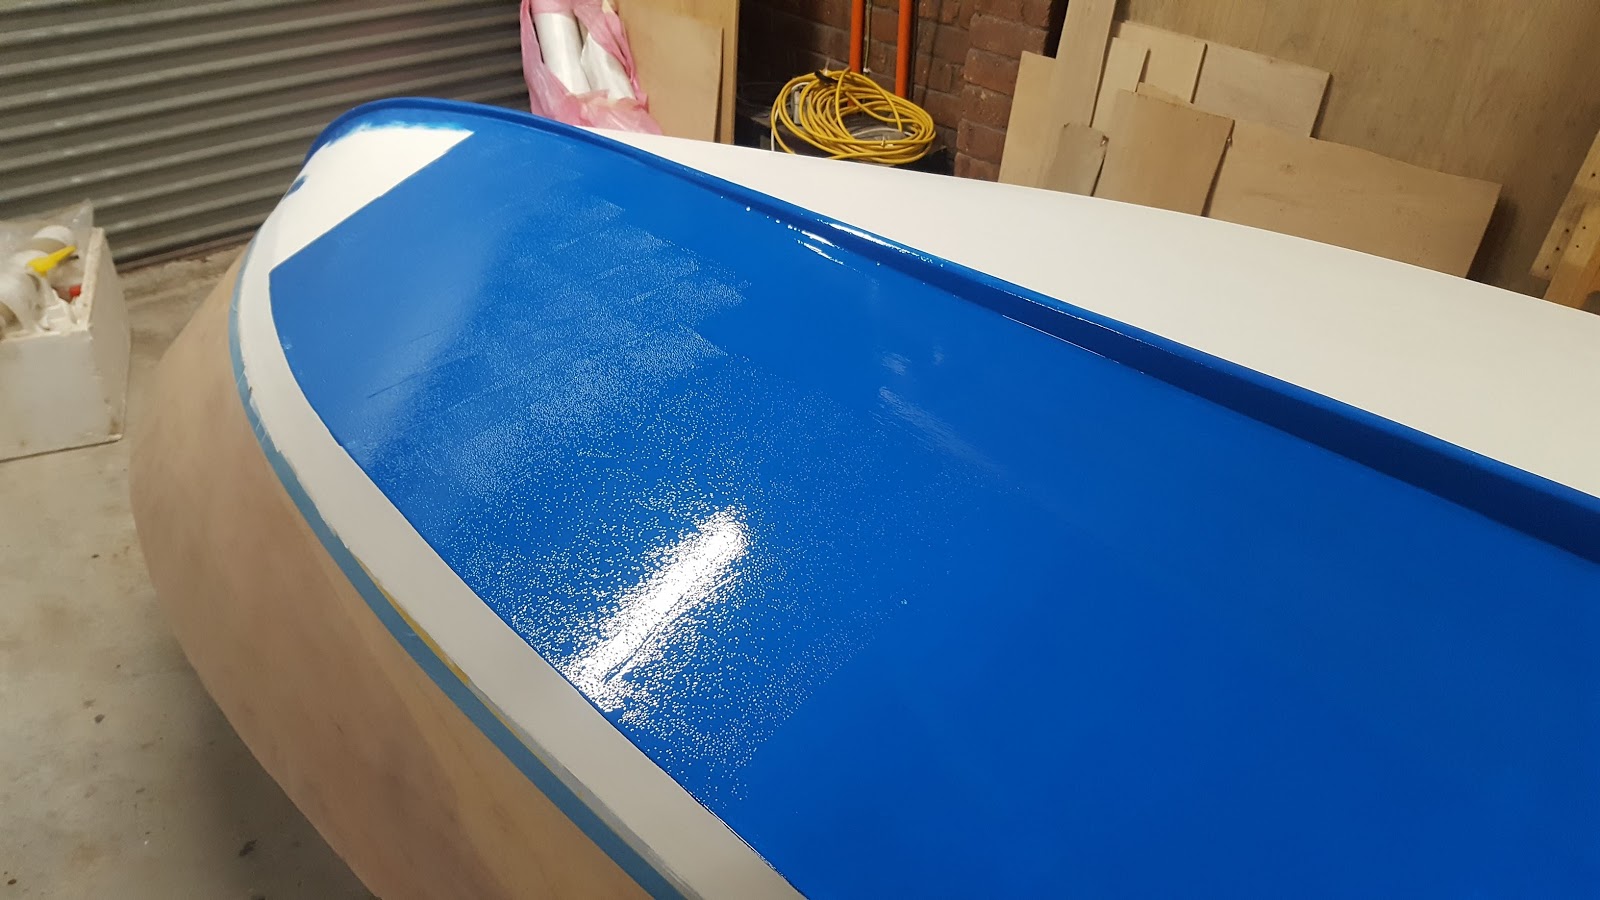
After carefully sanding with 280 and 320 grit sandpaper it was ready for the exciting step of putting on the color. When I opened the tin of Lauderdale Blue I was straight away in love with the color. It is a really nice looking blue!
 |
| International Yacht Paint Toplac - Lauderdale Blue |
Its really rewarding seeing a beautiful color go on the boat!
 |
| The first few strokes feel so special - then you get used to it ;-) |
Because of my lack of success with tipping off the undercoat, I initially decided not to bother tipping off the top coat. 'The orange peel doesn't look that bad after all - and it looks better than streaky lines", I thought to myself. But it transpired that the Toplac top coat is quite a different paint to the Pre-Kote undercoat. Rolling on the primer and undercoat left an orange peel effect. In contrast, rolling on the top coat left hundreds of tiny bubbles. I couldn't have the bubbles so I had to pick up a brush and start smoothing them out.... and that was when the magic happened!
The top coat tips off beautifully. You just run your brush gently over the paint and all the bubbles smooth out into a nice, even, flat, shiny surface! It was just so easy!
You dont need a super expensive brush for tipping off - just a reasonable quality brush with smooth thin bristles worked fine for me. I found that a brush about 30mm wide worked better than larger ones.
In the photo below the bubbles can be seen before the paint was tipped off.
 |
| Bubbles before tipping off |
 |
| Half done |
I was so happy with the finished first coat! I felt that it could not have gone better.
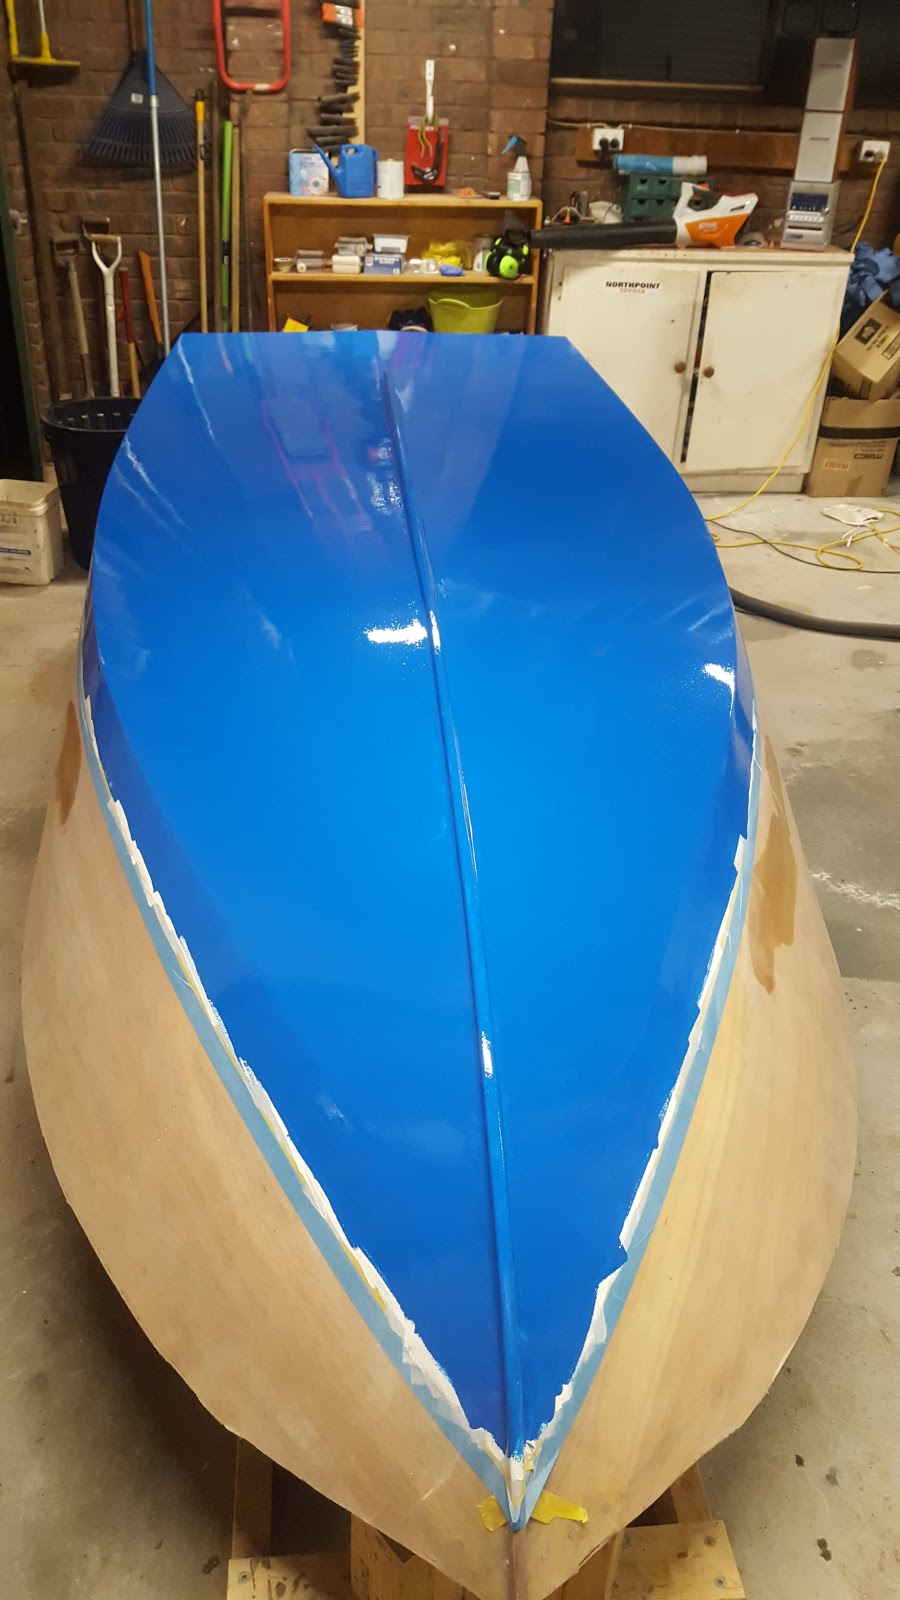 |
| First coat completed |
Originally the plan was to do two coats of top coat with a 320 grit sand in between coats to get a smoother finish. When sanding, I found that in many places it was cutting back to the white undercoat. It was at that point that I decided to do three coats of top coat. I gave it about a week of cure time before sanding.
 |
| Half sanded boat |
 |
| Fully sanded boat |
For the final coat I bought some cheap plastic drop sheets and hung them over the boat to give some protection from the dust. The floor was vacuumed the night before and the morning before to capture as much dust as I could.
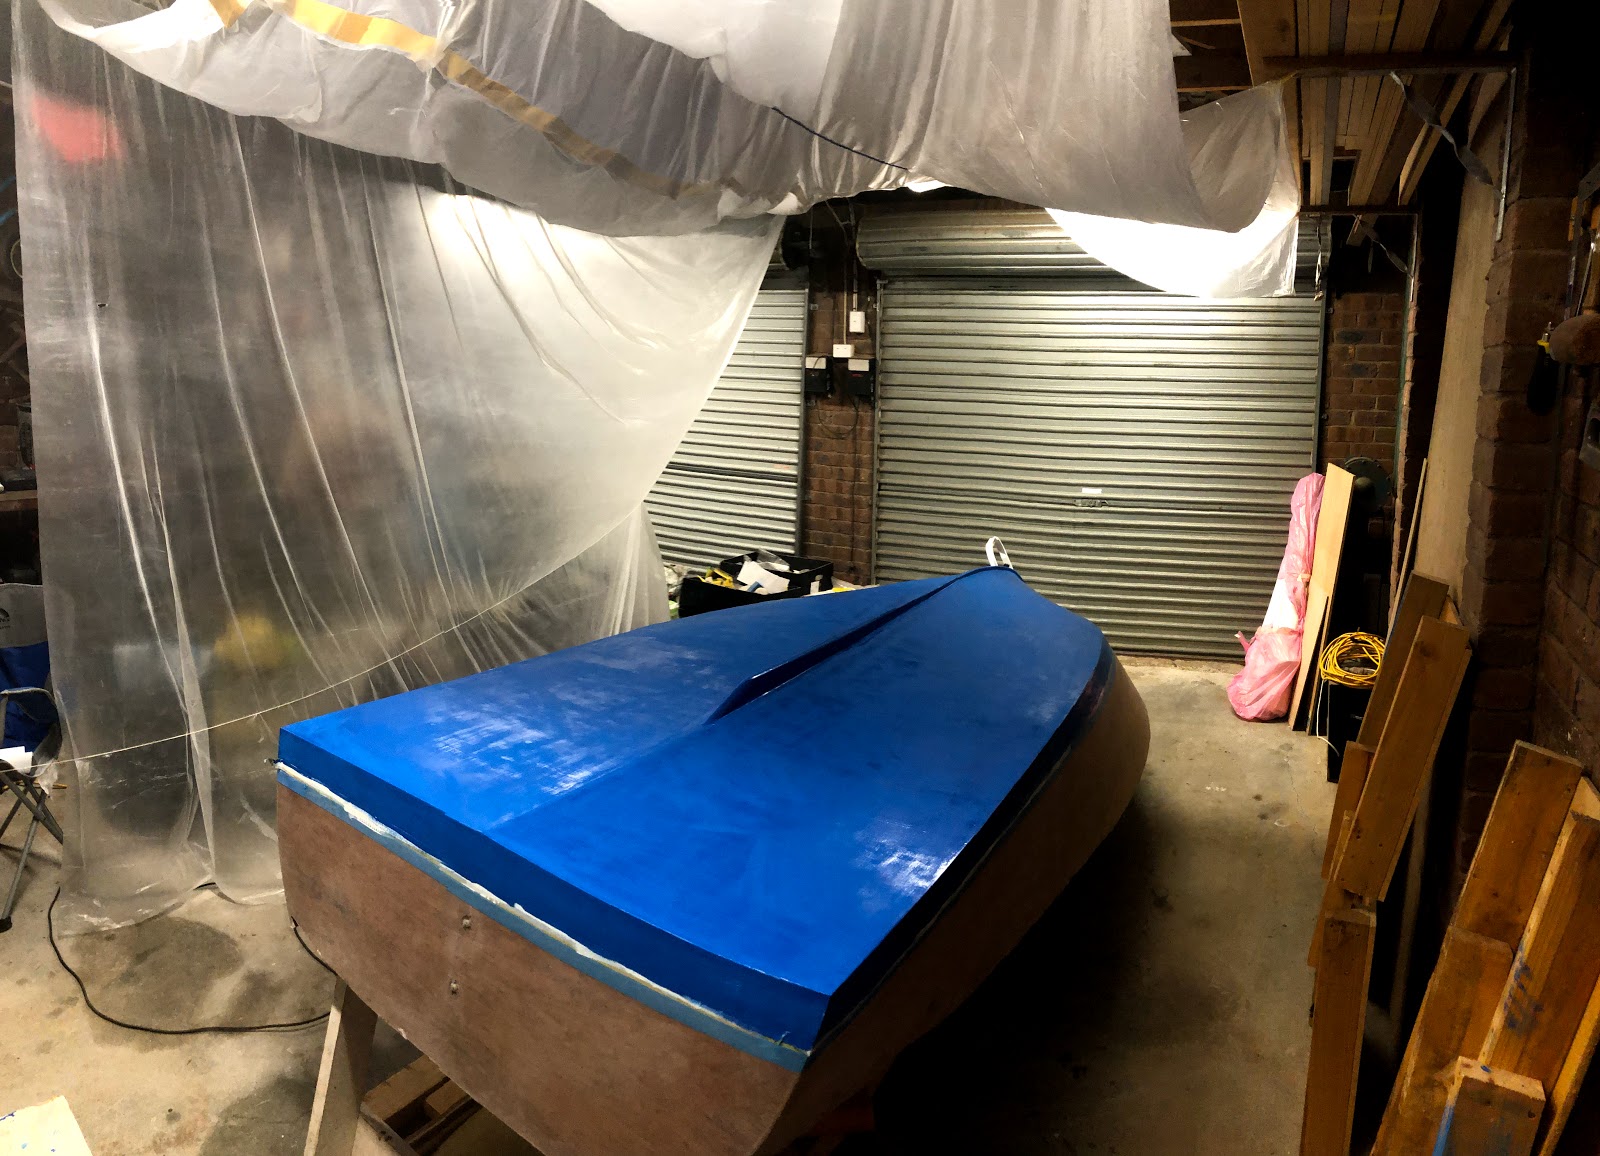 |
| Painting booth |
The final coat went on nicely. I thinned the mixture slightly to get a better flow.
After half of the boat was painted, I noticed the paint in the tray had became thicker as some of the thinners had obviously evaporated. I noticed it was thicker because the tipping off was getting slightly more streaky. It was easy to fix by adding about 5mL of thinners to the paint tray and mixing it in.
I learnt that you can only paint a small bit at a time. This is because the time you have for effective tipping off is very limited. I found that you only have about 30 seconds max to tip off the paint before it starts to get more streaky. The trick I found is to not take too long before tipping off the join between an already tipped off section and a freshly rolled section. If you take too long the paint doesn't flow together and you seem to get a thicker streak line at the join. I rolled on the paint in sections from the keel to the chine about 300-400mm thick at a time.
I was worried that after 223 days, the tape would be difficult to come off. I was particularly worried that after 9 coats the paint would be too thick and hard to tear off with the masking tape. There was no need to worry as it came off quite easily.
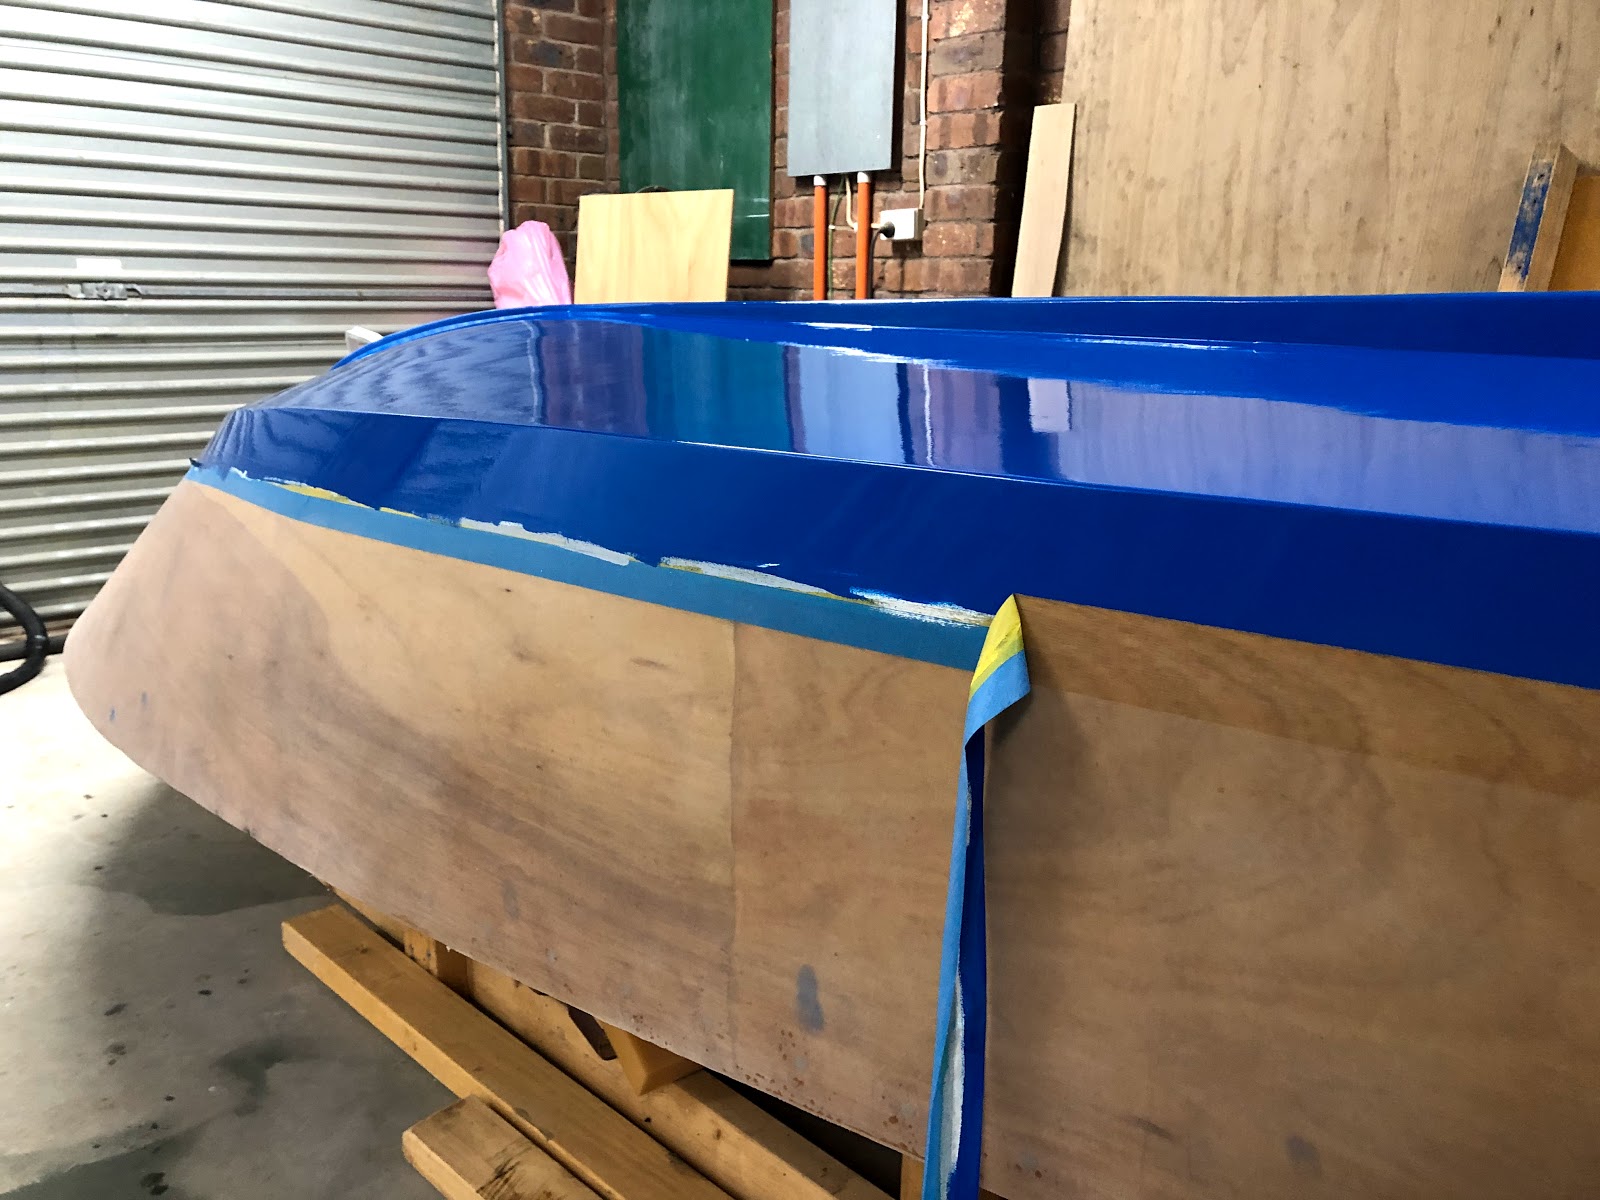 |
| Removing the masking tape - final coat still wet |
The blue looks darker in these photos compared to the earlier photos because I was using an iphone to take the photos instead of my Samsung.
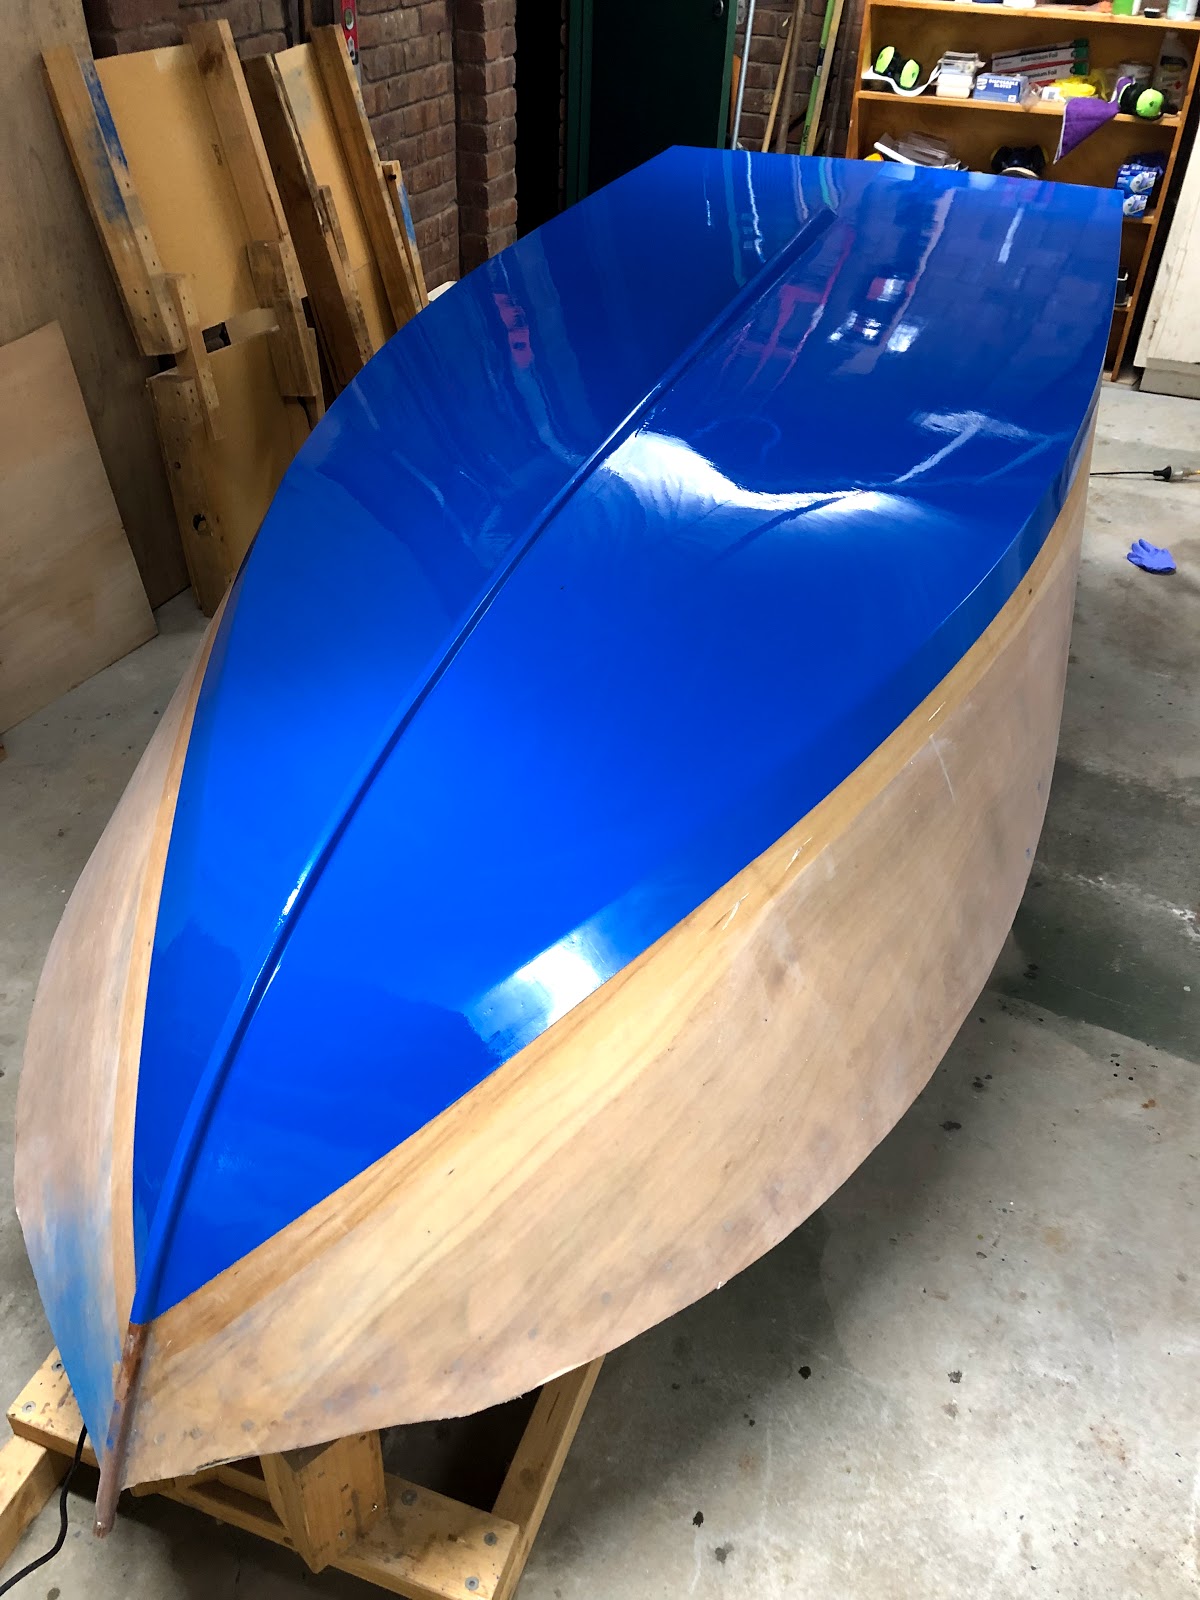 |
| The finished paint job. The blue in the bottom left is just dust that will sand off. |
I am very happy with the result of the painting! It is not perfect - but it is definitely more than good enough!
I would recommend the single pack International Yacht paints I used. They were very easy to use. They do smell quite strong. I wore a mask while painting.The next step is a EPIC MILESTONE!
Get ready for the BOAT FLIP!