Thursday 13 November 2014

Scarfing and more Faring

It's been a massive 6 months since my last post!
The boat has been progressing very slowly for several reasons.
Firstly, fairing takes quite a while and I am being a bit of a perfectionist.
Secondly, it has been winter and not ideal for using epoxy.
Thirdly, I have been quite busy with things which are more important than boat building.

I haven't put down the tools thou! I've had fun making play props for a youth group play along with some cool signs for the SYP Hebron Study Weekend which was themed 'Leaving Egypt Behind'.


'Egypt' and 'Promised land' signs

Before scarfing, I determined the approximate size of the sheets and cut them to the approximate size required.
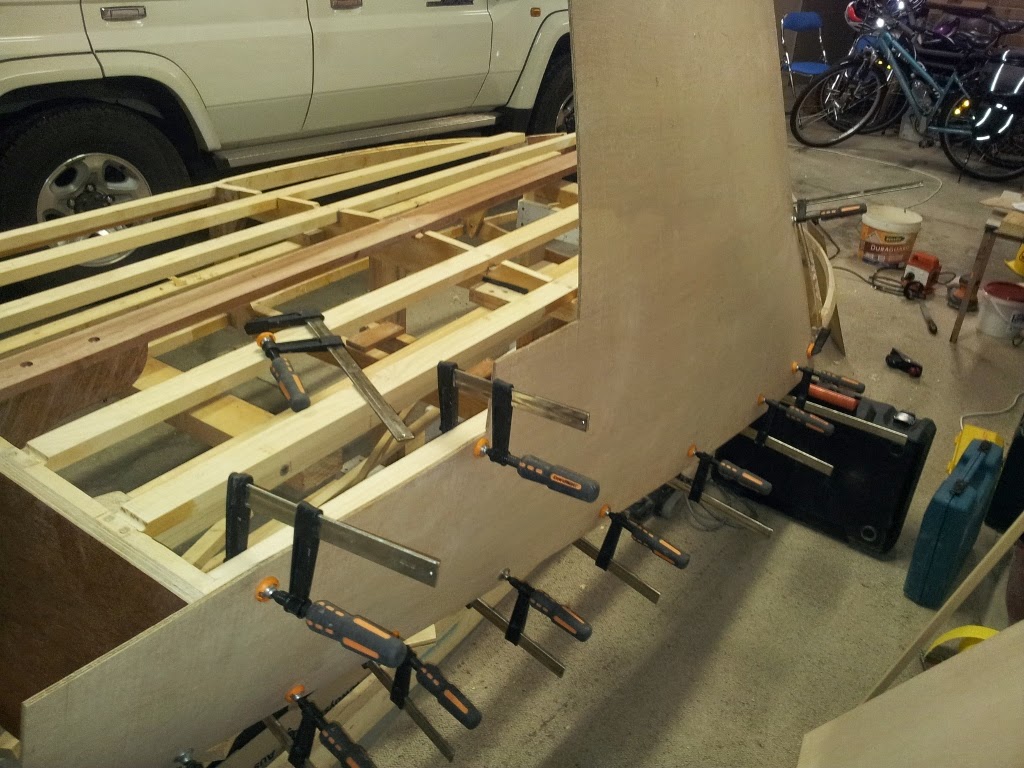
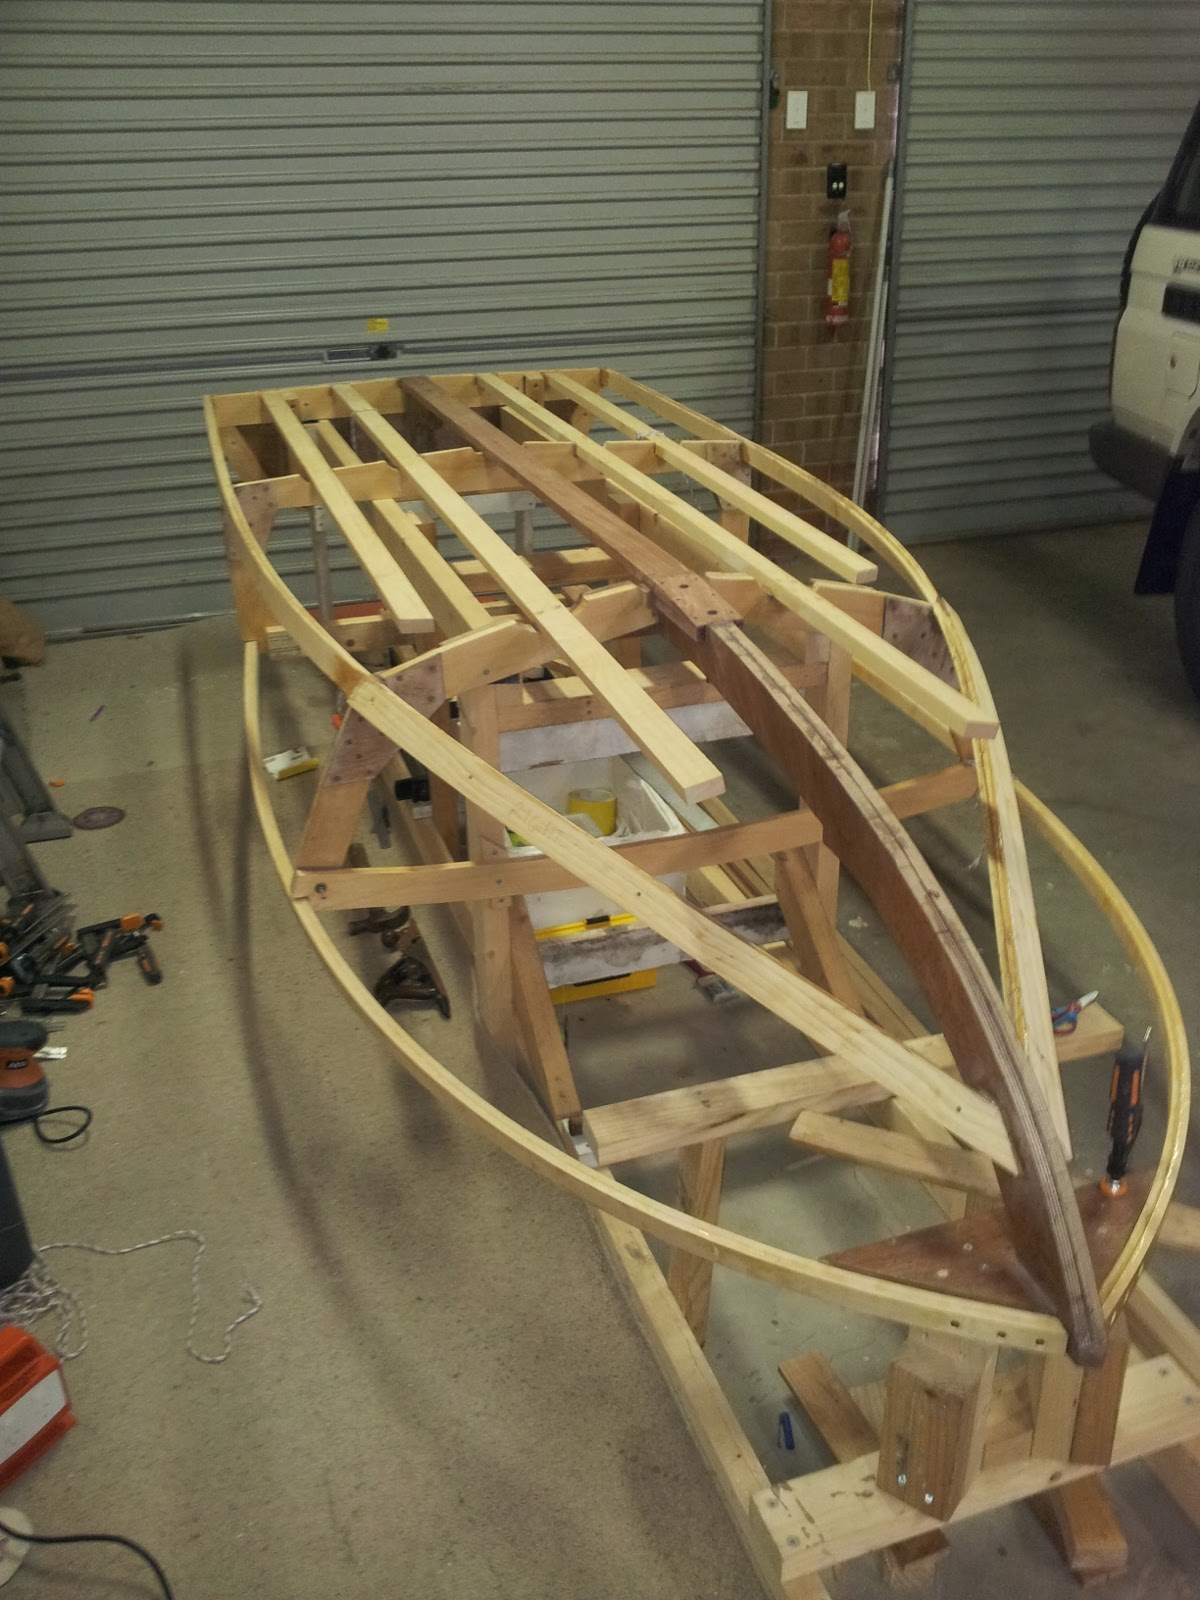
First attempt at placing side panelling
Since my last post, I have scarfed the side panels and have worked on getting the fairing correct.
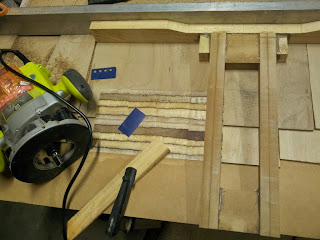
Half way through cutting the first scarf joint
The scarfing jig worked perfectly on the first attempt and not as well on my second scarf joint, as can be seen by contrasting the photo below with the photo above. The plywood was a little bowed on the second attempt and a flaw in my jig is that it doesn't hold the plywood down to the table once the scarf is cut. I am confident that the jagged edge will not affect the quality of the scarf joint however.
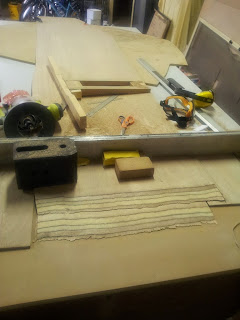
Second scarf - quite jagged edges
Because it was getting cold when I did my first scarf joint, I covered the joint with boxes and put some incandescent globes inside. This managed to raise the temperature to 20 degreesC which is a suitable curing temperature. I thought it best to ensure a good curing temperature for such an important joint in the boat.
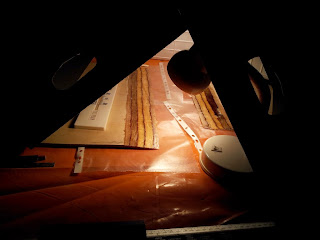
Initial soak-in coat of epoxy in improvised 'hot box'
I was very happy with my first scarf joint. It worked perfectly and even the grain in the wood sort of lined up!
 I would recommend attempting scarf joints. Making the jig and cutting the scarfs is the hardest part.
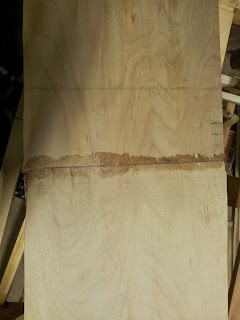
Completed scarf joint
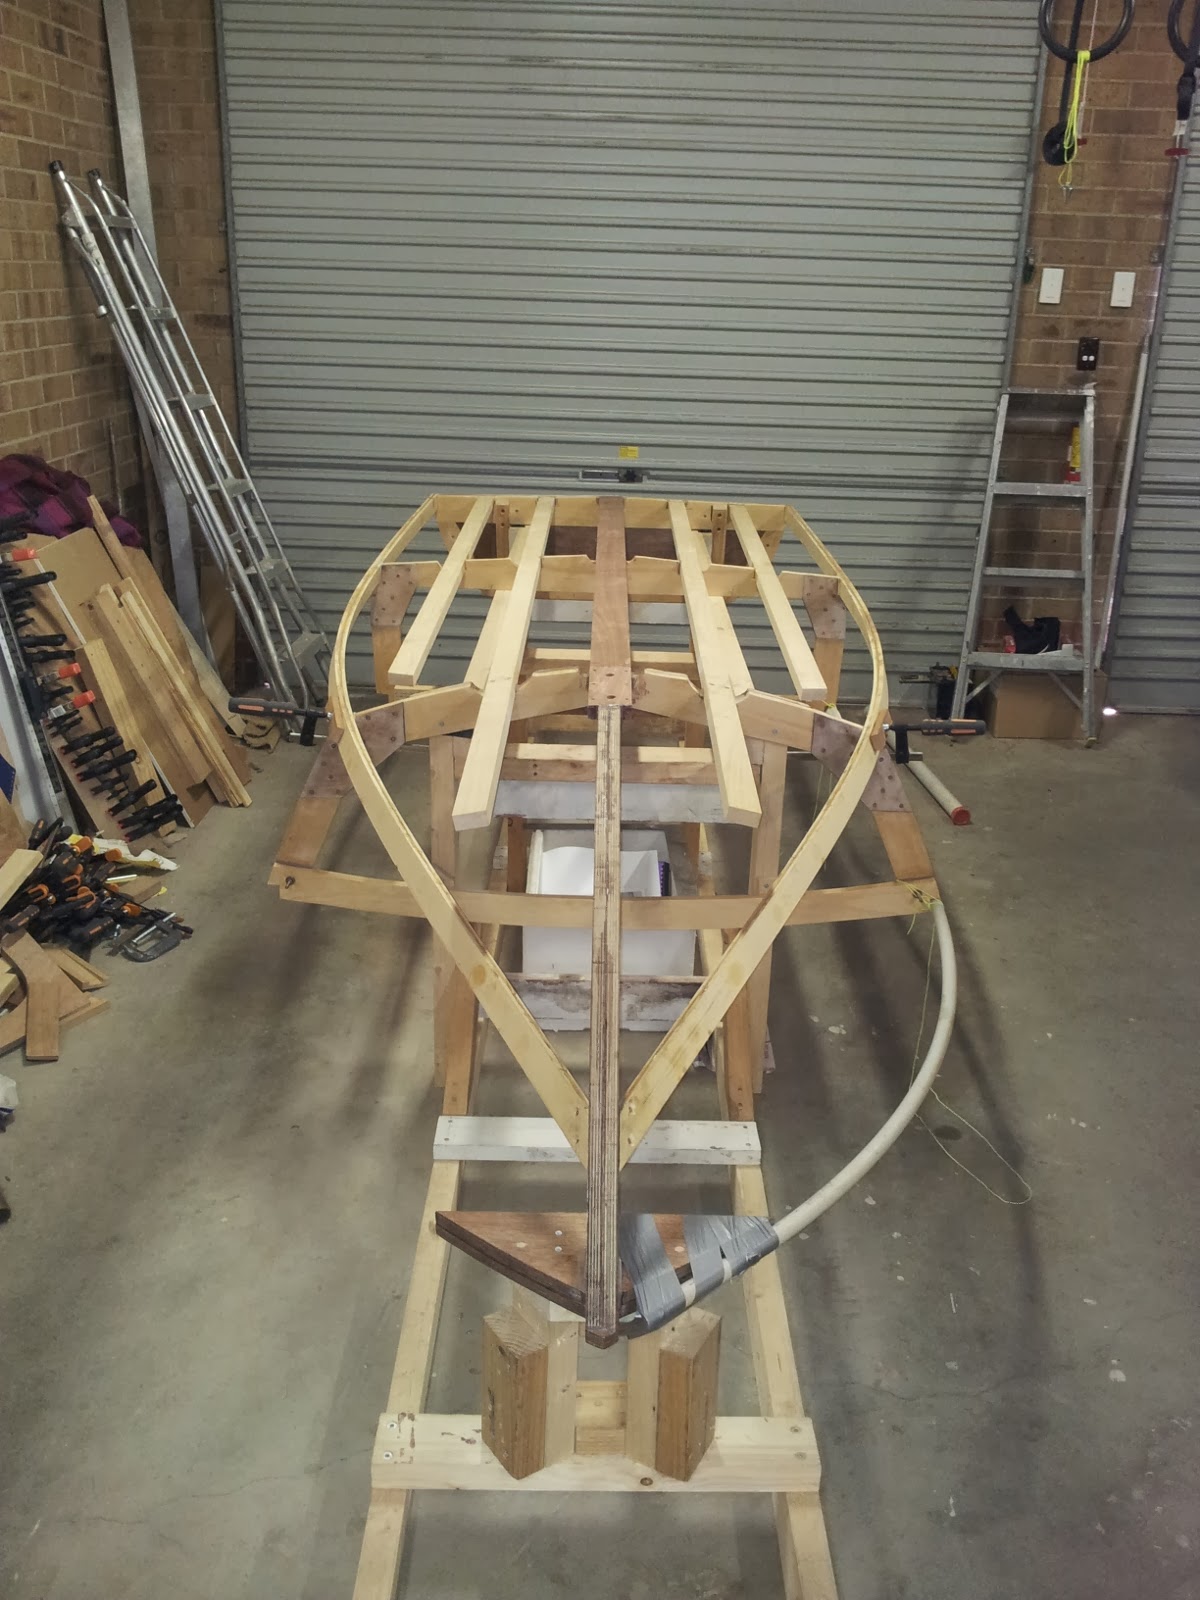
Mounting a flat table top over my boat helped to facilitate the scarf jointing. A4 plastic sleeves were used to stop the joint gluing to the table.
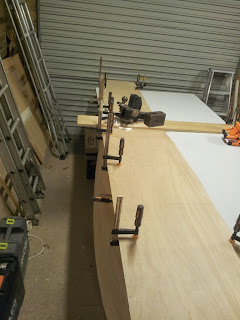
Second scarf joint curing
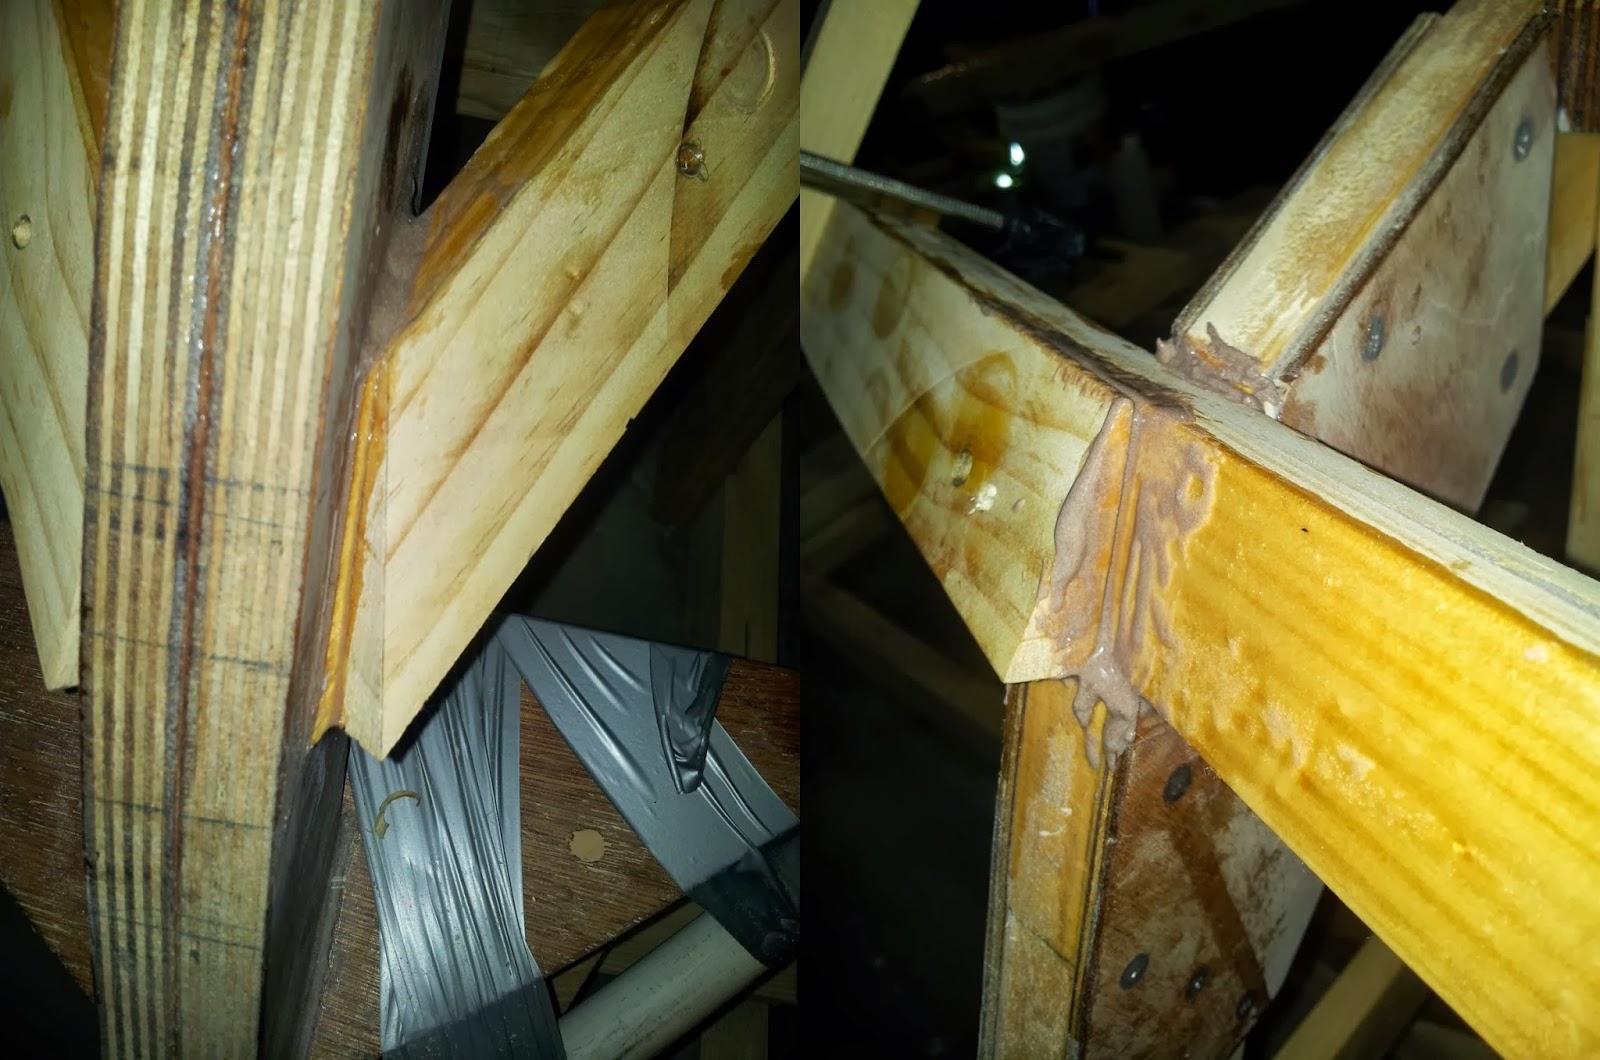
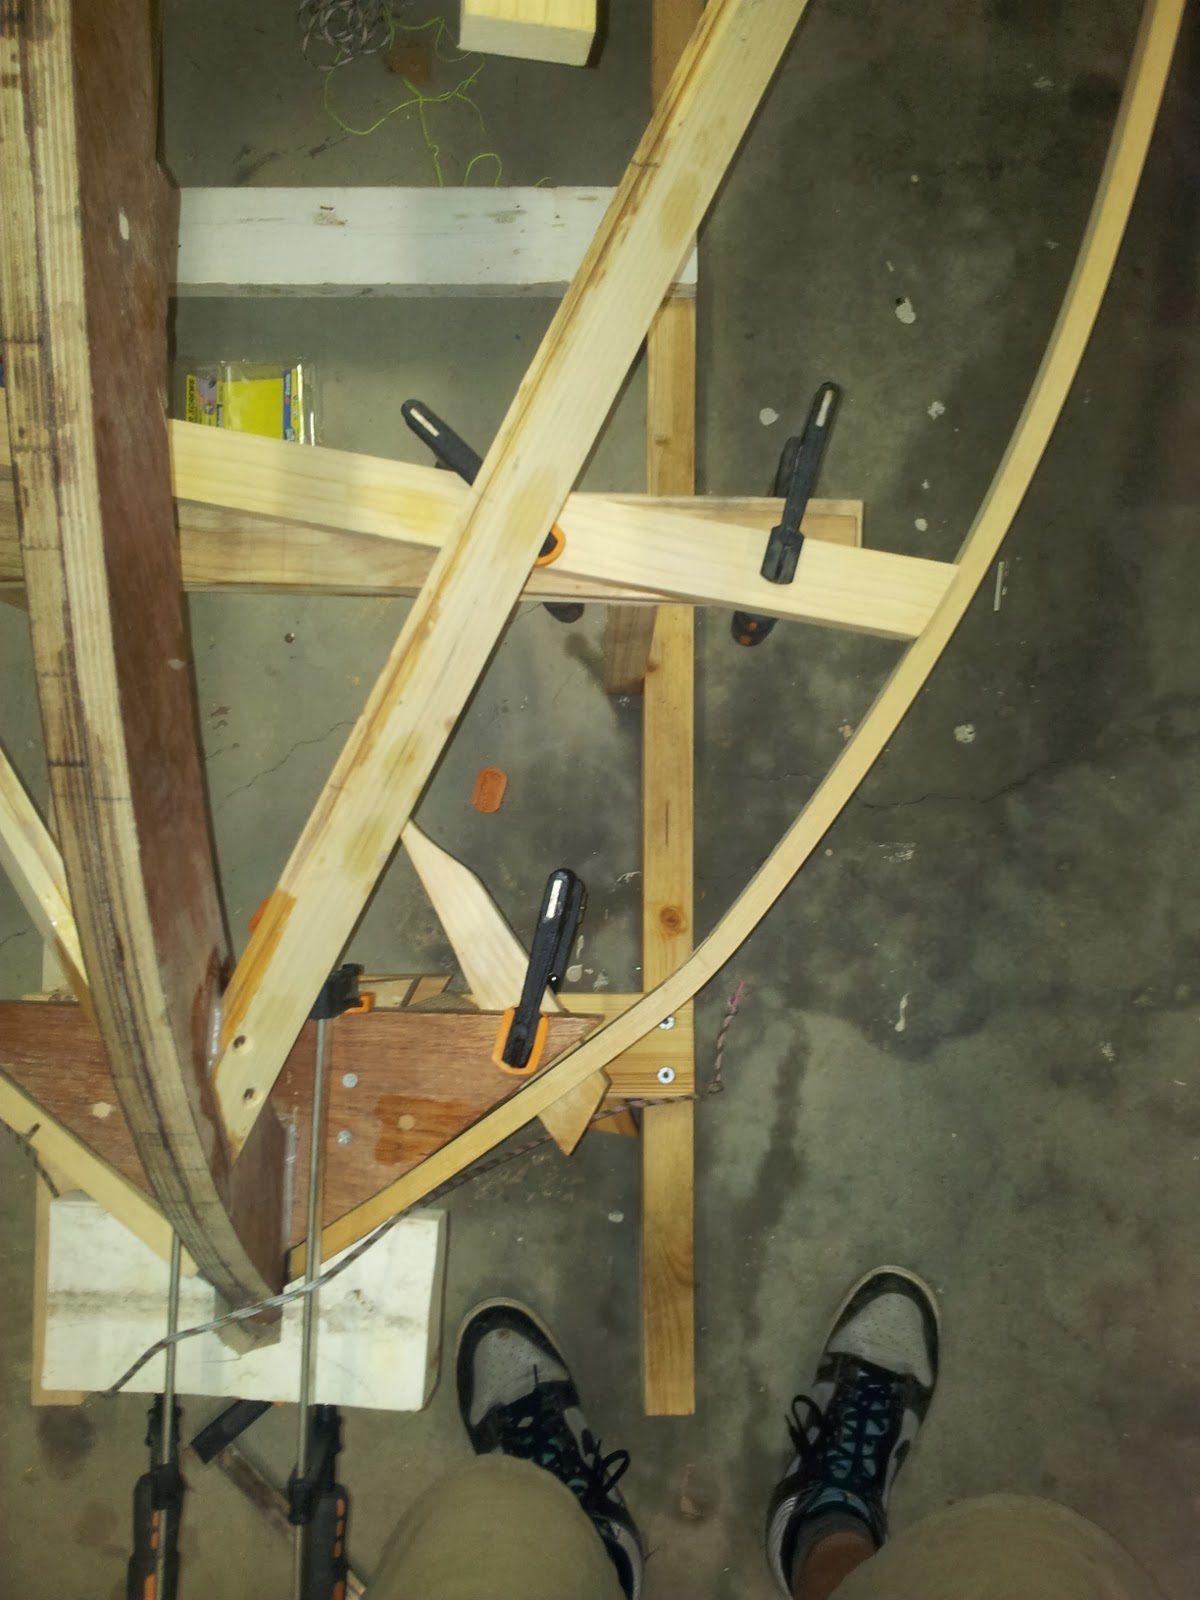
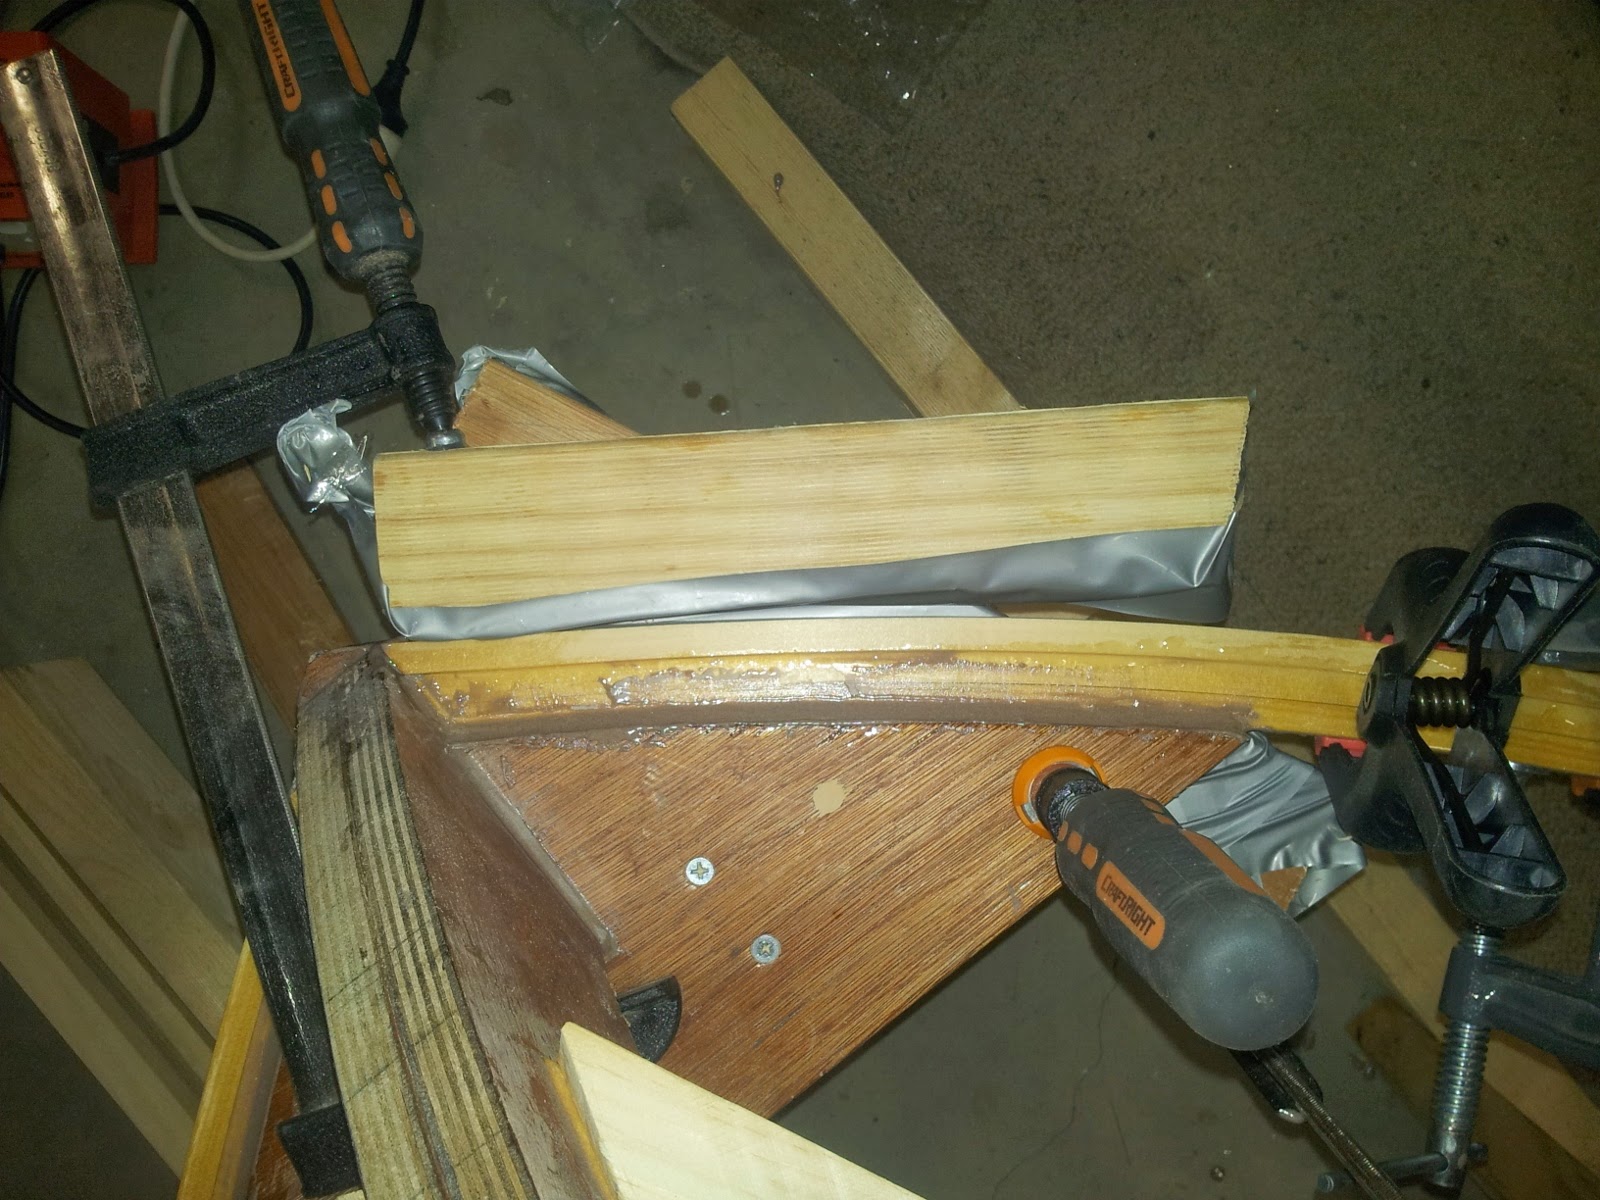
One of the problems I encountered when fairing was insufficient material on the forward part of the chine. For this reason, I glued in another piece of wood to allow a convex curved hull.
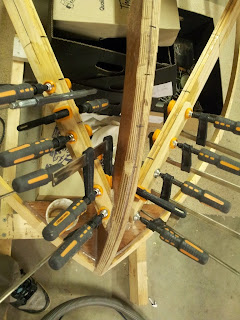
Adding extra material to chine
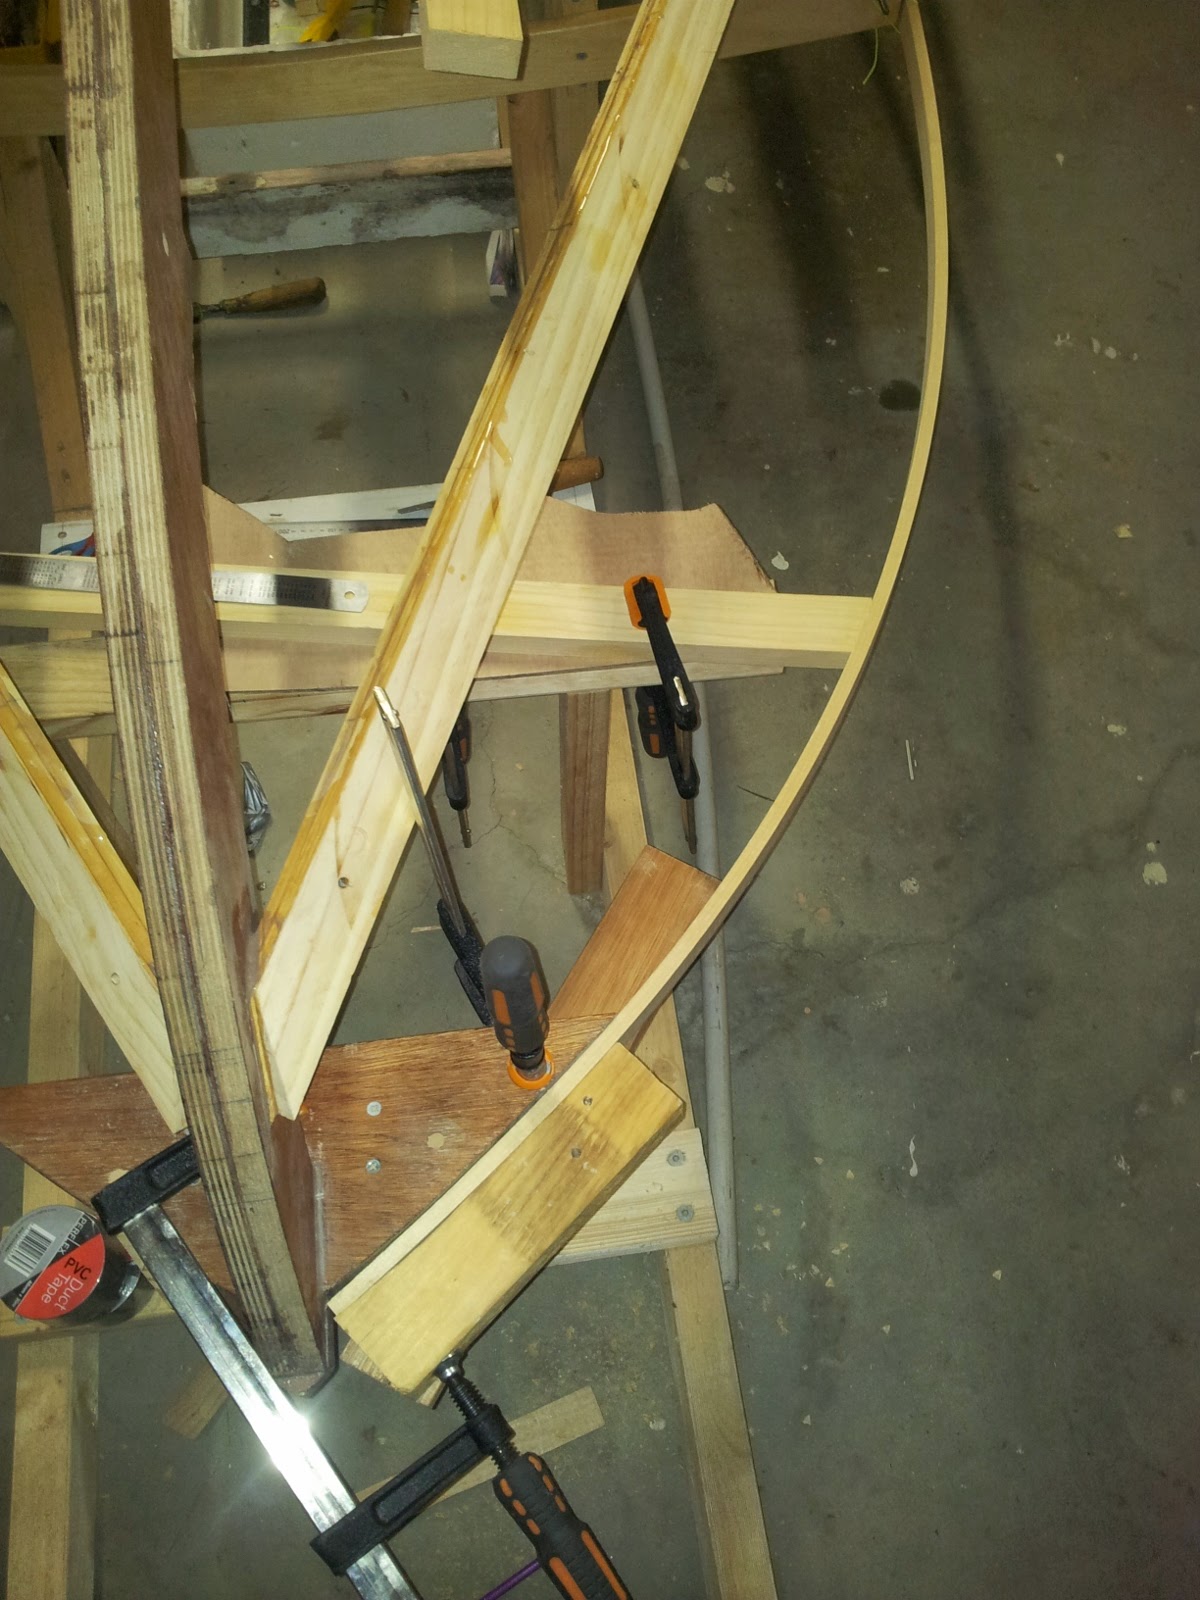
As it happened, the first piece of wood was still not sufficient; therefore I glued another larger piece of wood on both sides after a significant amount of planing. 
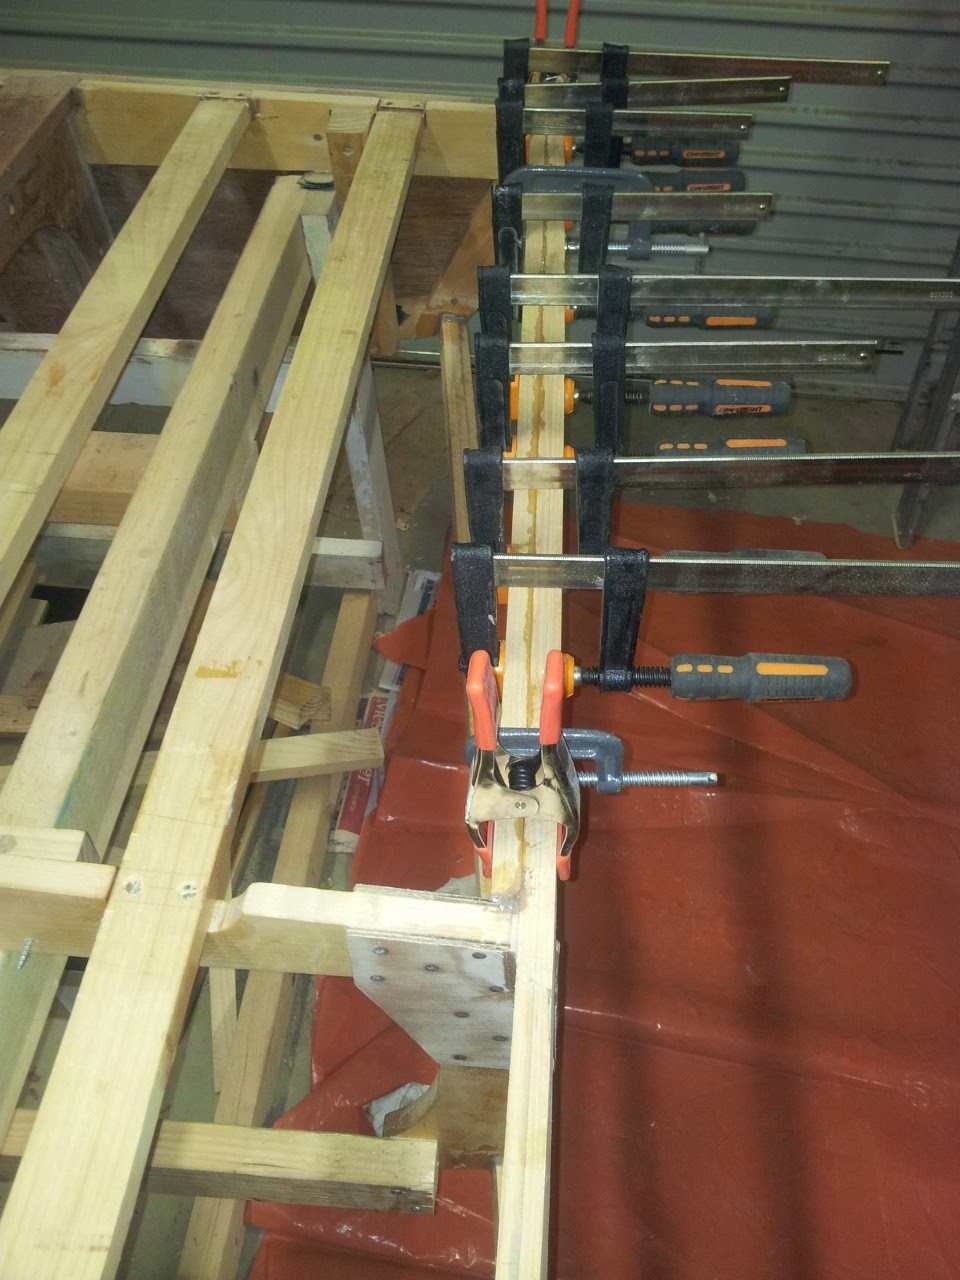
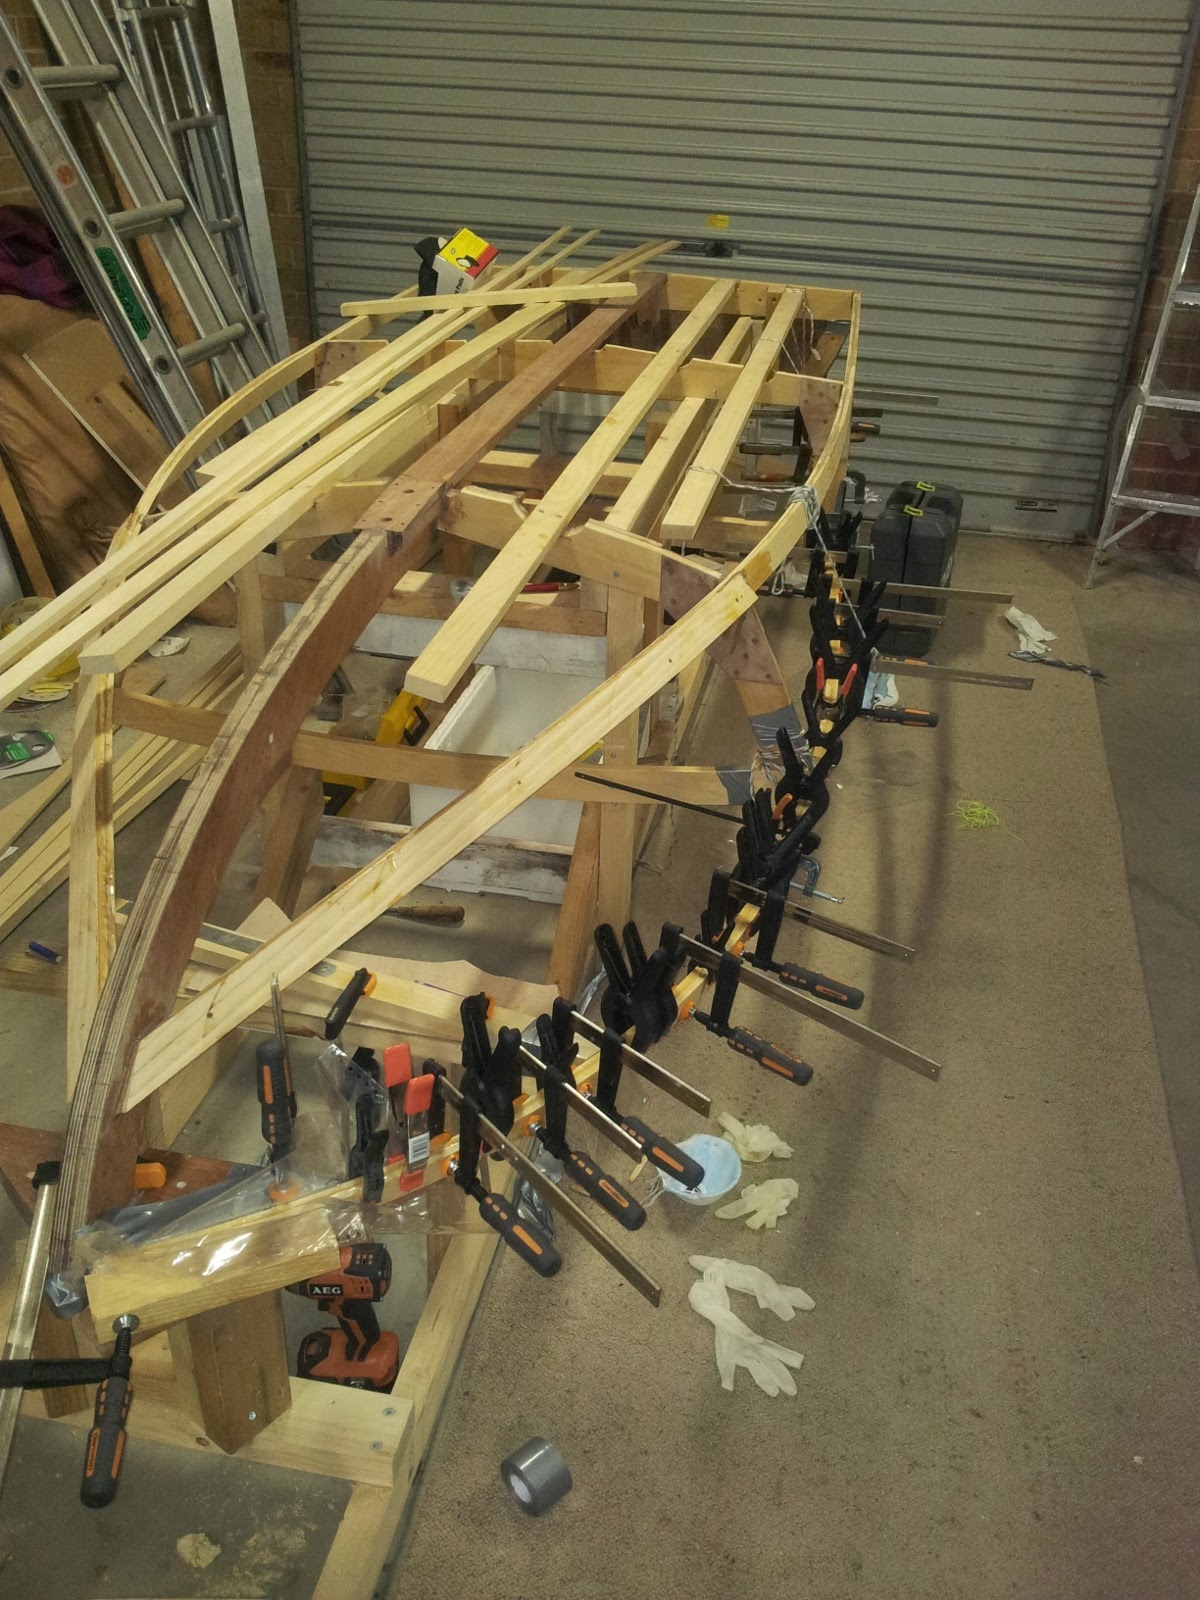
I think that perhaps this could be in the running for the most clamp density used on a boat build!
There was quite a twist required in the wood.
Adding still more material to the chine
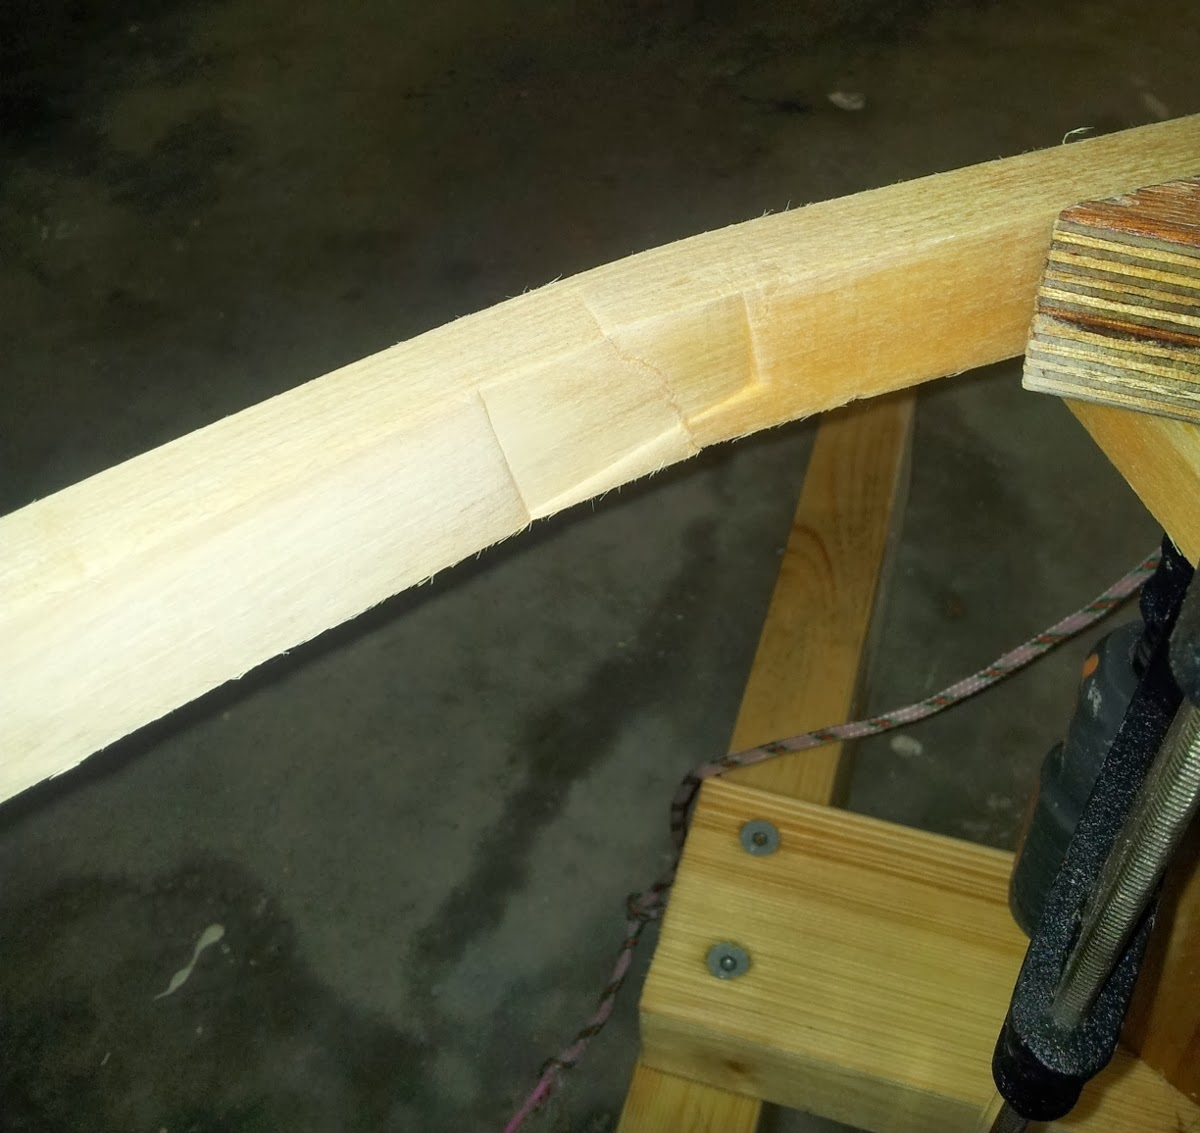
The port side of the boat is fully faired now. Using rags and boiling water, the plywood was eased into the bends required at both the stem and transom. The bend on the transom is the most significant and I have a small amount of concern that there is a risk of cracking the plywood.
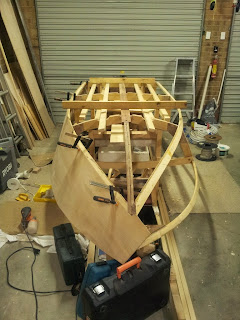
Plywood fitted and nearly ready for gluing
My plan is to glue the sides on the boat over the end of year period. Hopefully I can also glue the bottom on before winter next year. 
I am still really enjoying my boat build but the problem for now is that I don't have any annual leave left for this summer.
Slow and steady persistence will have to be my boat building maxim for now!

Saturday 31 May 2014

Fairing & Scarfing Prep

The progress on the boat has been slow and steady over the past 2 months.
Its been one year since I began my boat!!!!

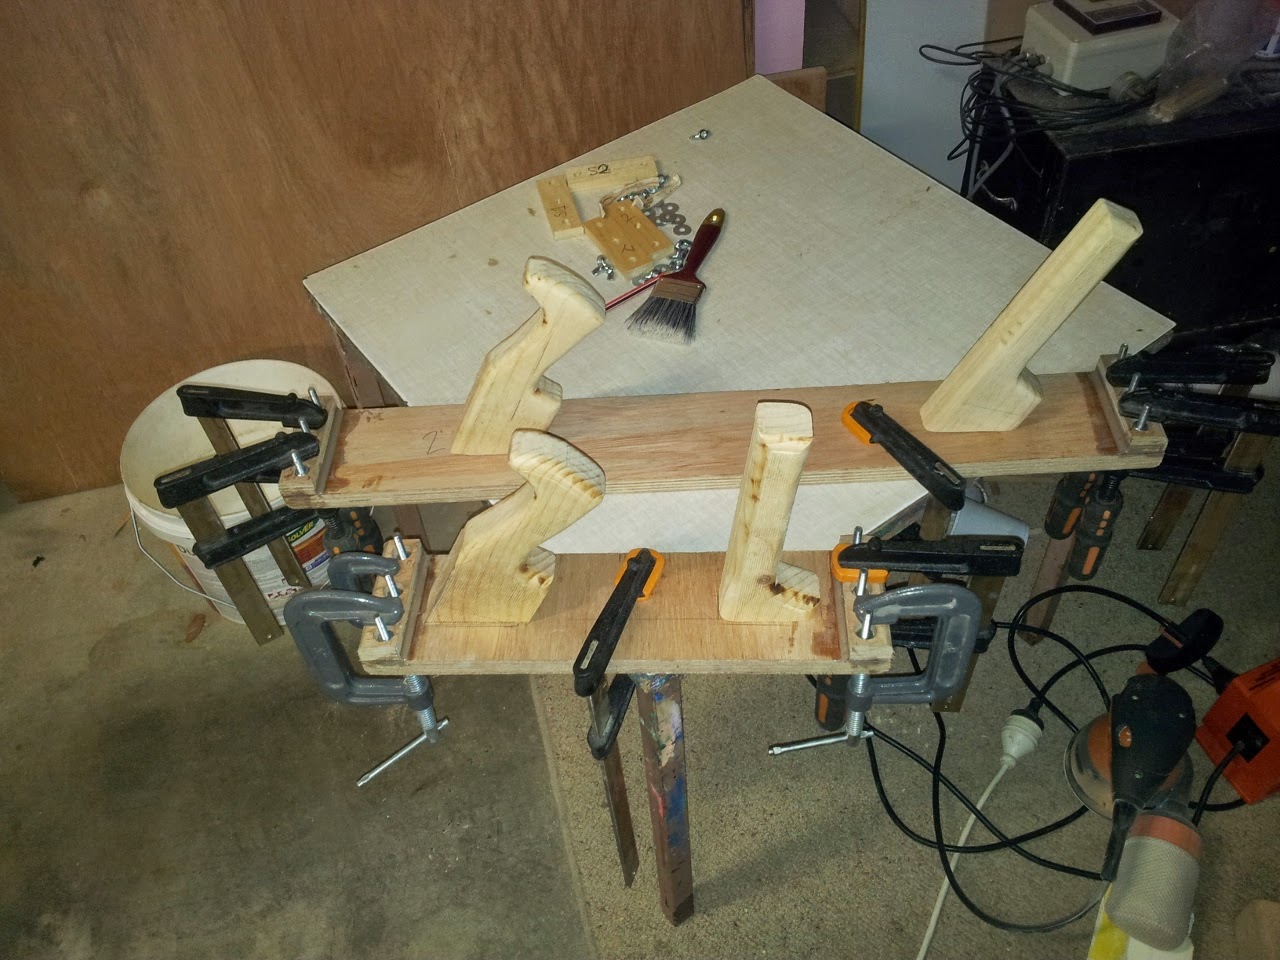
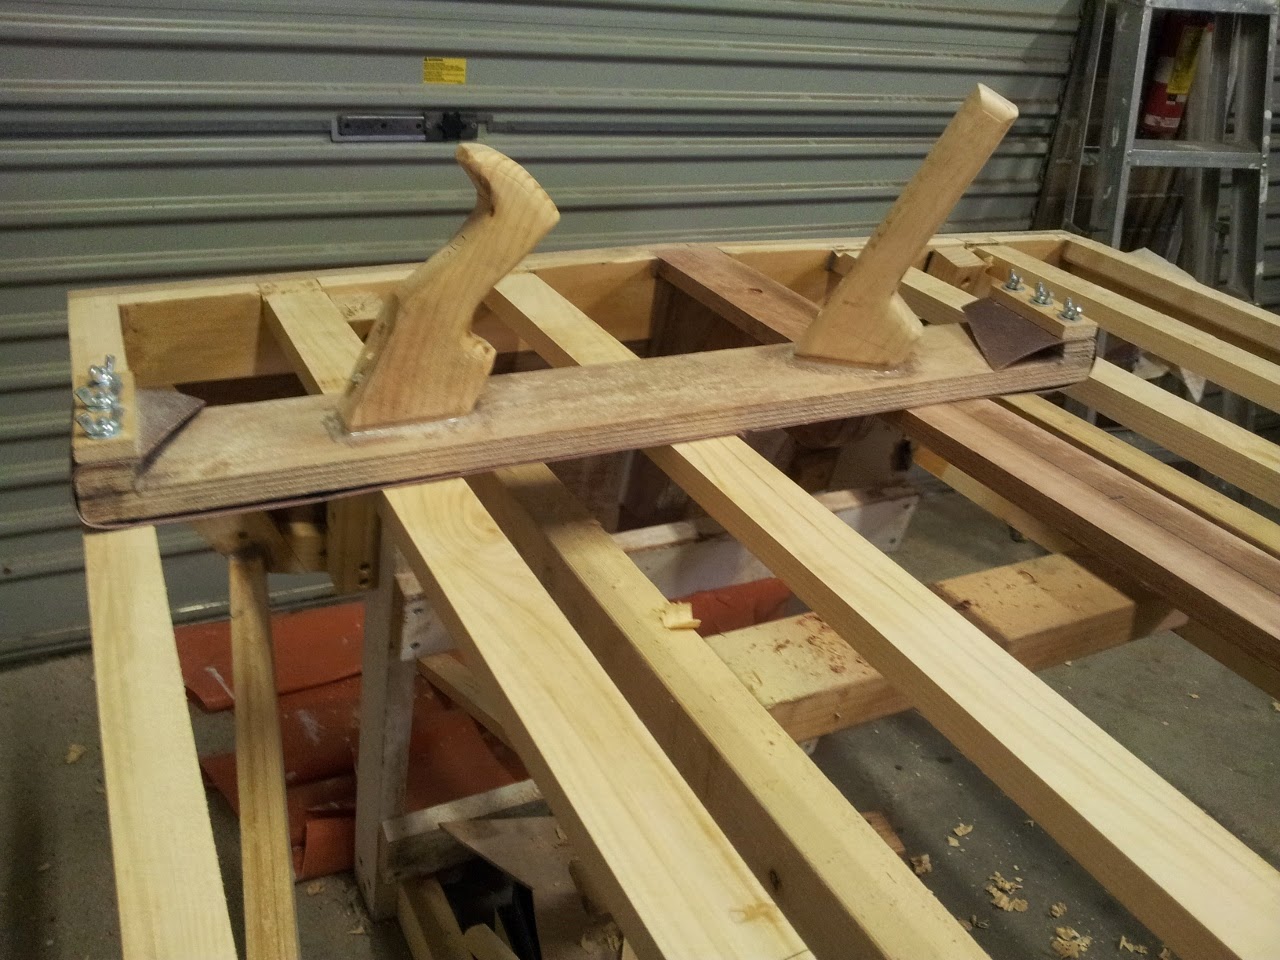
Once the sheers were completed, I started thinking about how to begin the fairing process. I read the chapter on fairing in 'Boatbuilding with Plywood', along with peoples explanations and comments in their blogs. It seemed to me that the best tools would be hand planes, long sanders and rasps. I decided to save a few precious dollars and waste a whole saturday making some long sanders as shown in the picture below.

Long Sander
The long sander does seem to work quite effectively on the boat's flat bottom. The long sander uses power sander belts.
Fairing the bottom of the boat at the stern
When preliminarily clamping plywood to the side of the boat near to the transom, I noticed that the chine would flex quite a bit due to the curve in the transom. Hence, it was decided to increase the strength of the chine between the transom and frame 1. This was achieved by laminating another piece of wood to the inside of the chine as shown below.
Increasing chine strength

All the information I read seemed to suggest that the Rabl method works really well for doing the fairing at the bow. An explanation of the rabl method is shown in the picture below.
Rabl method explanation
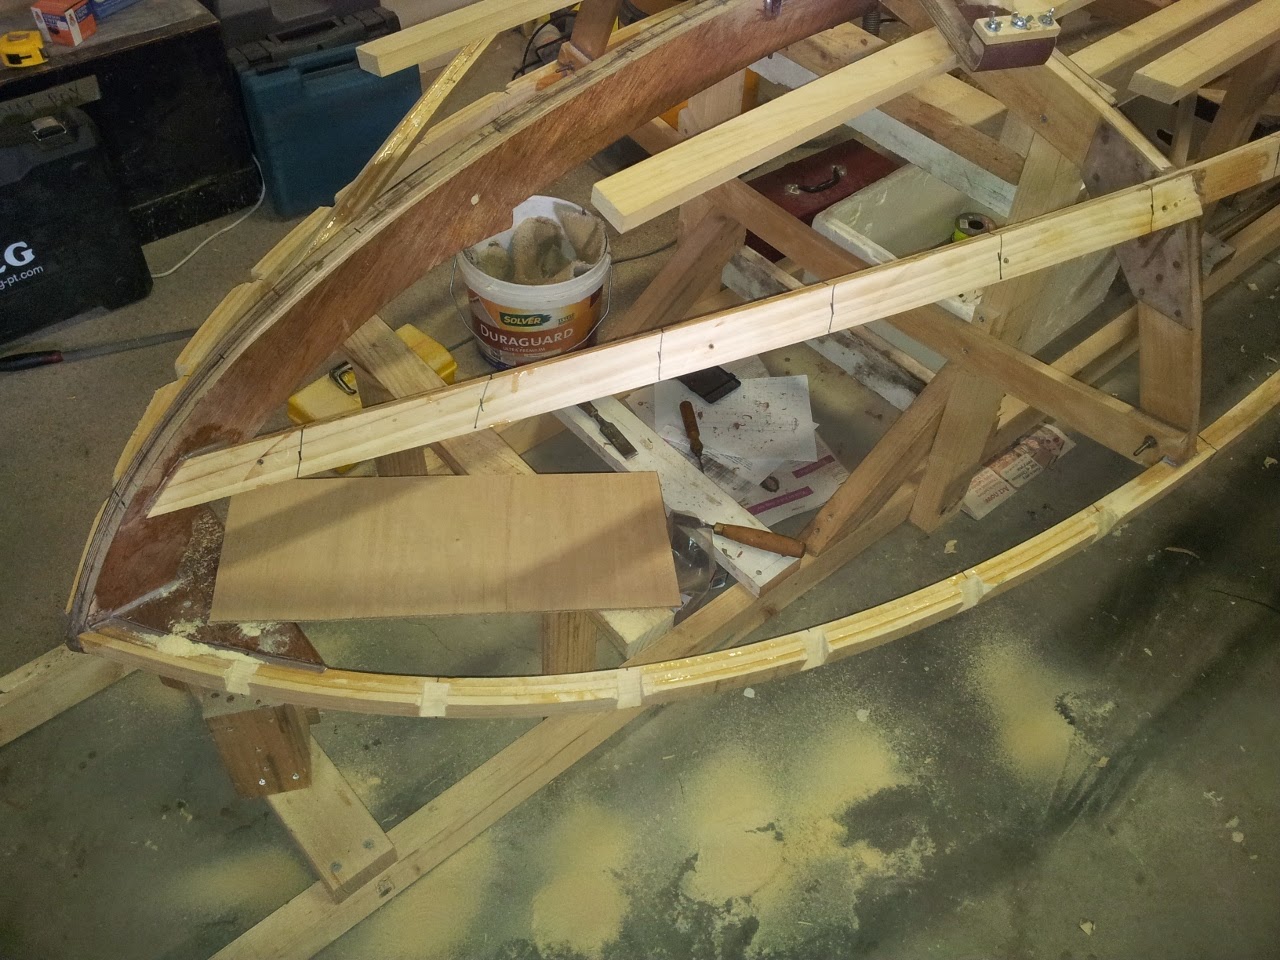
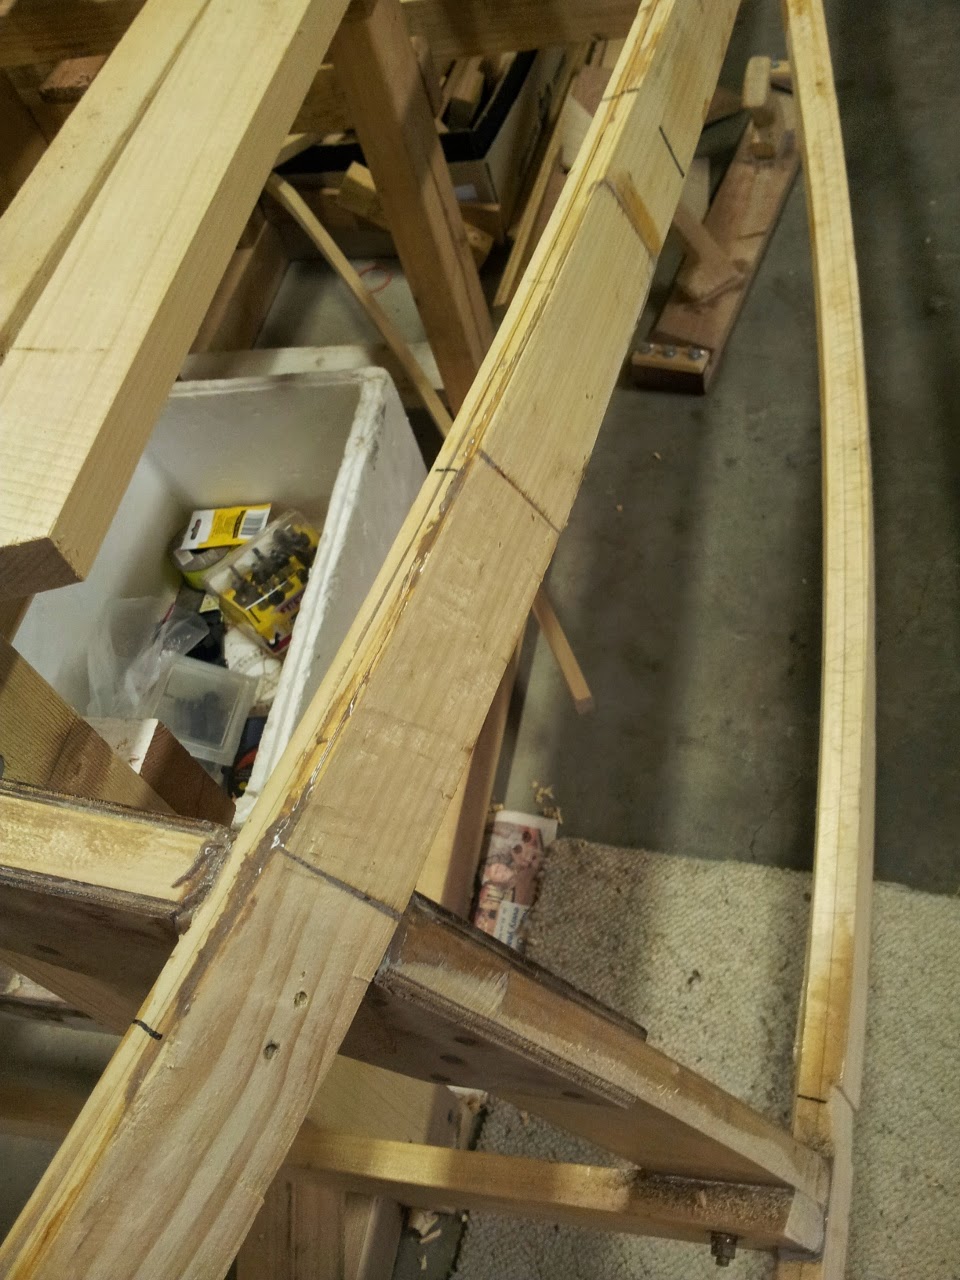
I positioned pieces of string (held at each end by small nails) the whole way along the chine, sheer and keel/stem. Laying the strings on the floor I divided them into an equal number of sections. (18 if i remember rightly). Returning the strings to the boat I used a permanent marker to mark on the positions as can be seen on the chine in the photo below.
Rabyl method
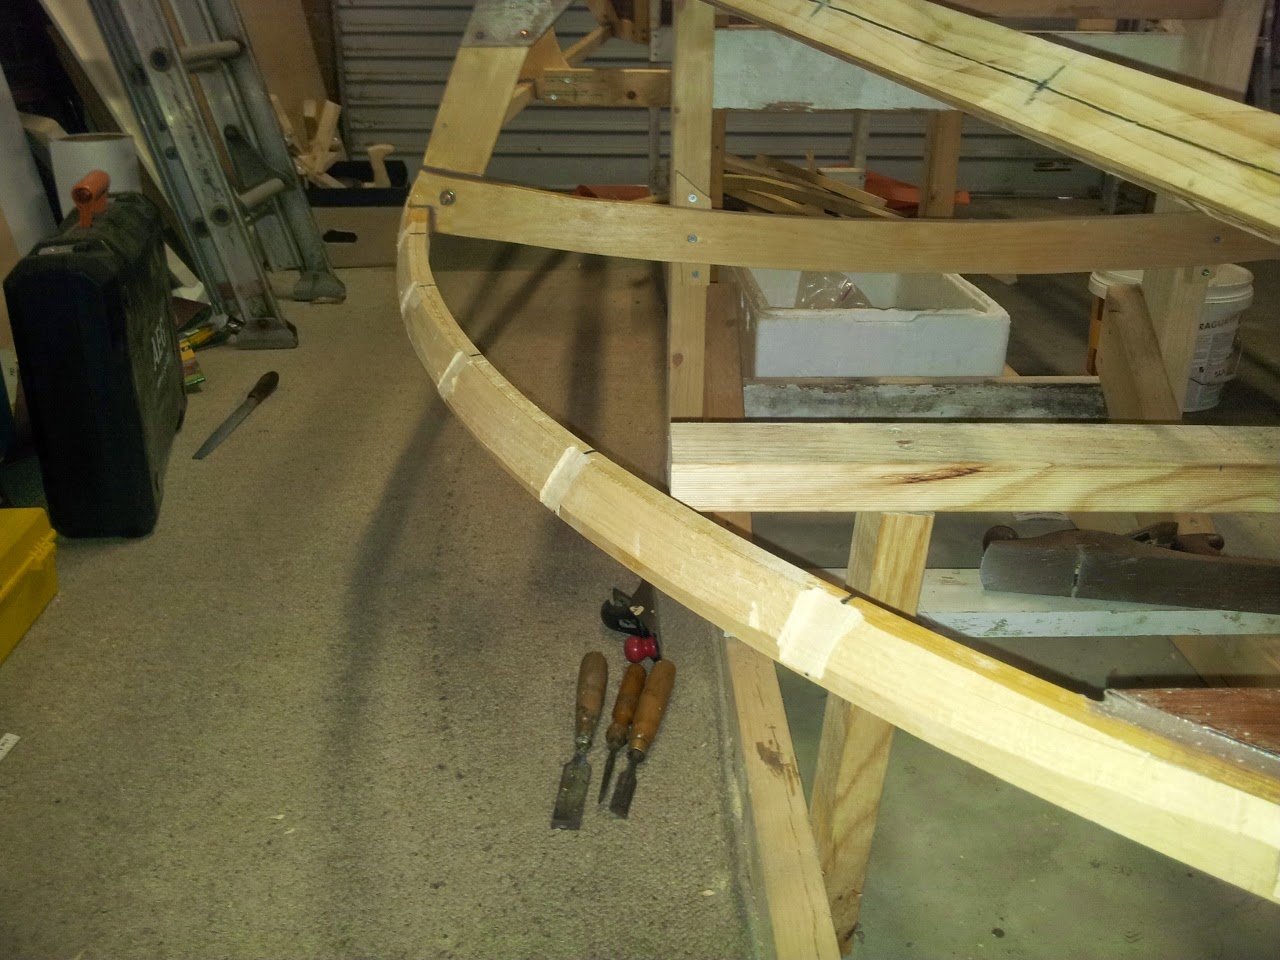
Using a wood rasp, I removed the sheer material so that a strait edge could sit flat on both the chine and sheer. I found this to be a very easy process taking only a couple of hours to do both sides. Very little material needed to be removed from the chine.
After the notches were completed in the sheer (as per the rabl method) I set to work with a small hand plane to take out the material between the notches. I worked up a bit of a sweat doing this and got a blister or two but overall it was a very simple and easy process. The results can be seen in the photo below.

Rough fairing
The next process was to fine tune the fairing to conform perfectly to the plywood. I did this by clamping a piece of piece of plywood to the side of the boat and noting where material needed to be removed. Progressing along the side of the boat in this way worked quite quickly and effectively.

As shown below, I had to add some extra material to the chine to facilitate the fairing process. This is mainly a result of adding the shim to the chine. The chine now smoothly transitions from the shim to the original chine material.
Adding material to chine
I want to finalise the fairing with the actual plywood which is to be fastened to the side of the boat and therefore it was 'high time' to start thinking about joining some plywood together. 
The main question was: Scarf joint? or Butt joint?
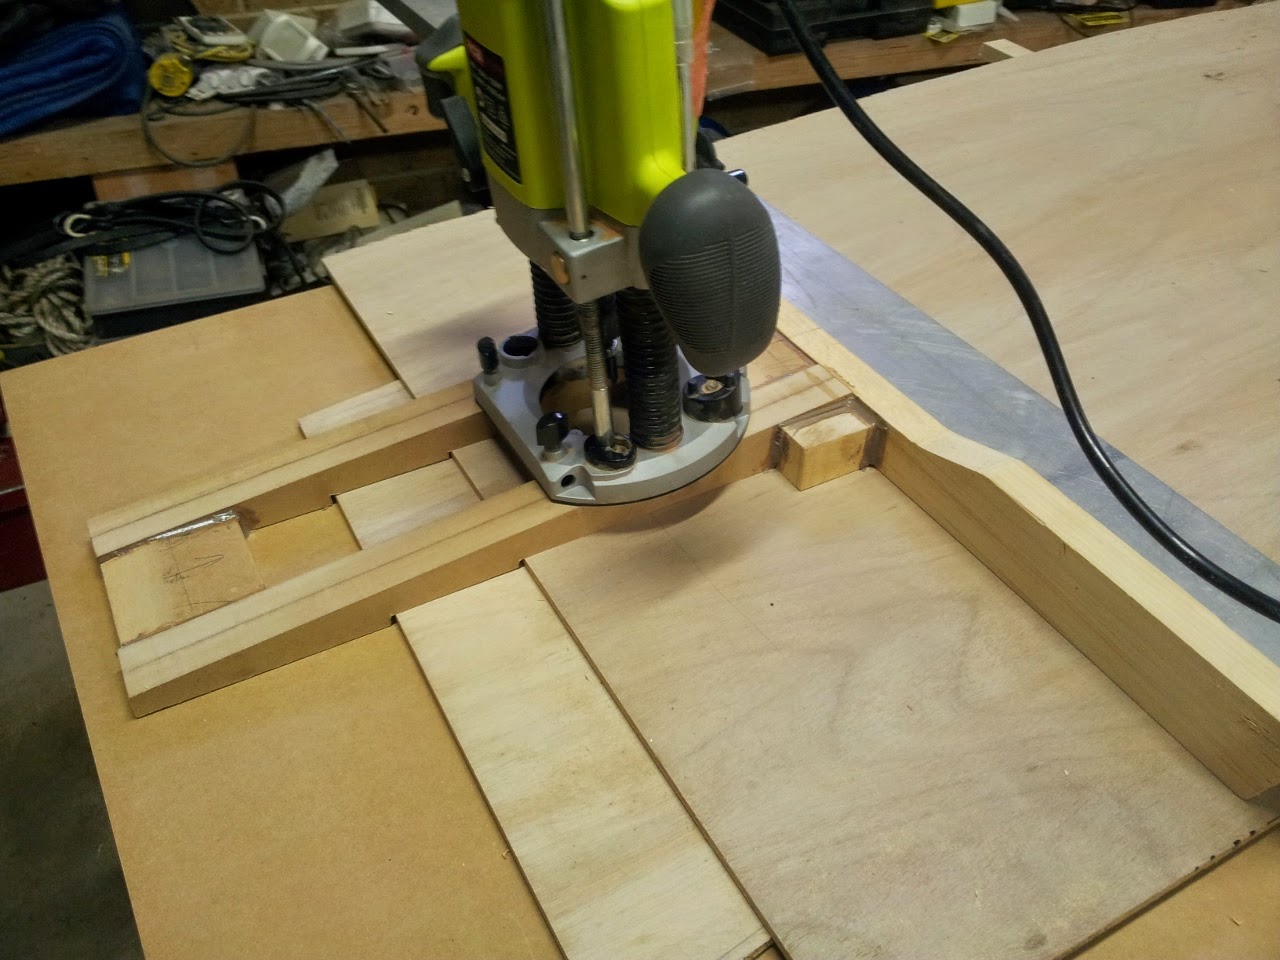
I decided to go with the scarf joint for the side planking because it apparently bends better than a butt joint. After researching ways to effectively cut a scarf joint on the 1:12 ratio, I decided to build a jig and use my router.The jig I built can be seen in the pictures below. 

Dimensions of scarfing jig

Completed scarfing jig ready for scarfing
The next step is to scarf my plywood together so I can finish the fairing of the sides of the boat. Unfortunately winter has arrived here in Australia which means working in the shed is cold and epoxy curing times are quite a bit longer. But at least it no too cold to be unable to use epoxy at all as would no doubt be the case in some countries.

Adios till next time brother of boat building.

Friday 14 March 2014

Chines and Sheers

It has been a while since my last post and I have been slowly working on the chines and sheers.
The chines were completed and epoxied in place.
I used:
-  2 screws in the chine-stem junction
-  1 screw in the transom
-  1 screw in the first frame
-  0 screws in the second frame.
Completed chines epoxyed and screwed in place
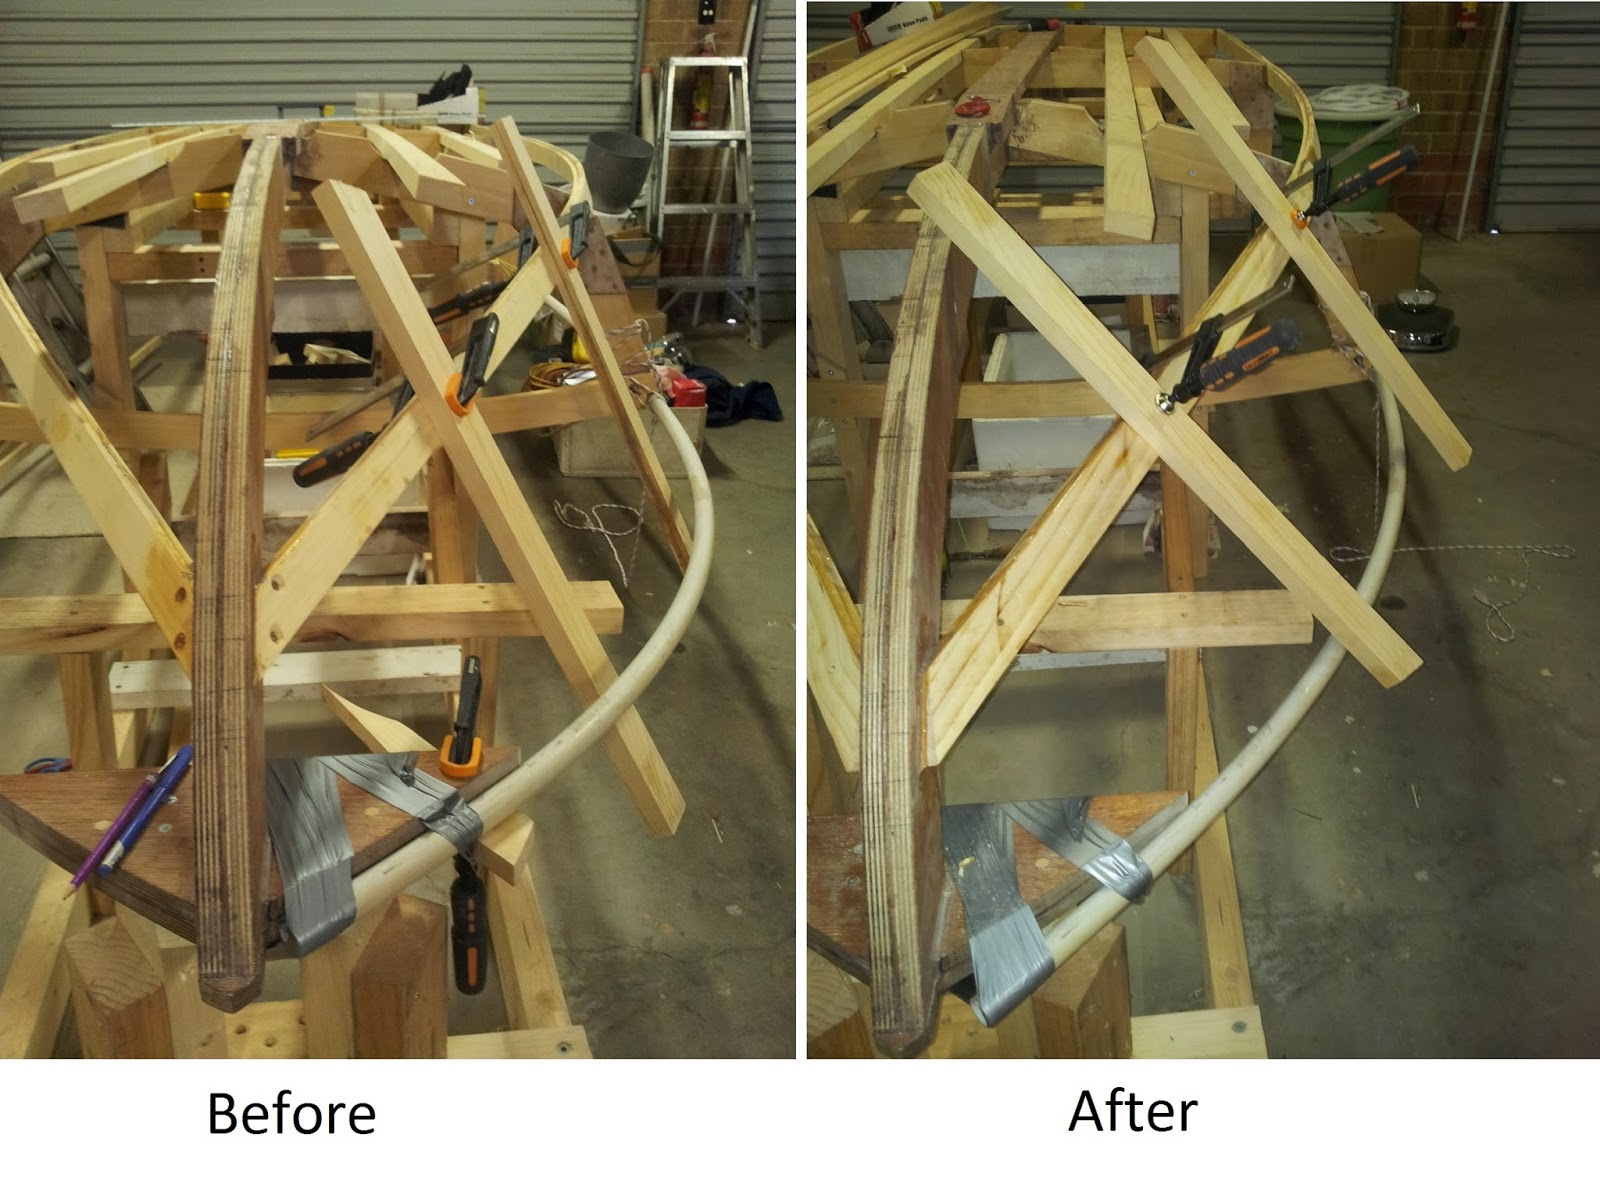
In order to overcome the problem I experienced with inadequate twist on the chine, I got a tapered piece of wood (shim) cut and epoxied it onto the chine between the stem and frame two. Quite a bit of fairing will be required here.
Chine shim
The difference that the shim made can be seen in the photos below.
Before and After adding the shim on the chine
Using the router, limbers were cut in the battens so that water will be able to run towards the centre of the boat where the bung will be located. I am thinking that they should be made a bit larger than they currently are however.
Limbers
The sheers proved to be quite troublesome when I tried to install them. I left the sheers soaking in water for over a week and by the time I got around to try and install them they were soaked right through and quite supple. The sheers were 16mm x 30mm and even after soaking them it was fairly clear that they were not going to bend into place easily. I decided to wrap the sheers in towels and pour boiling water on them to make them even more supple.
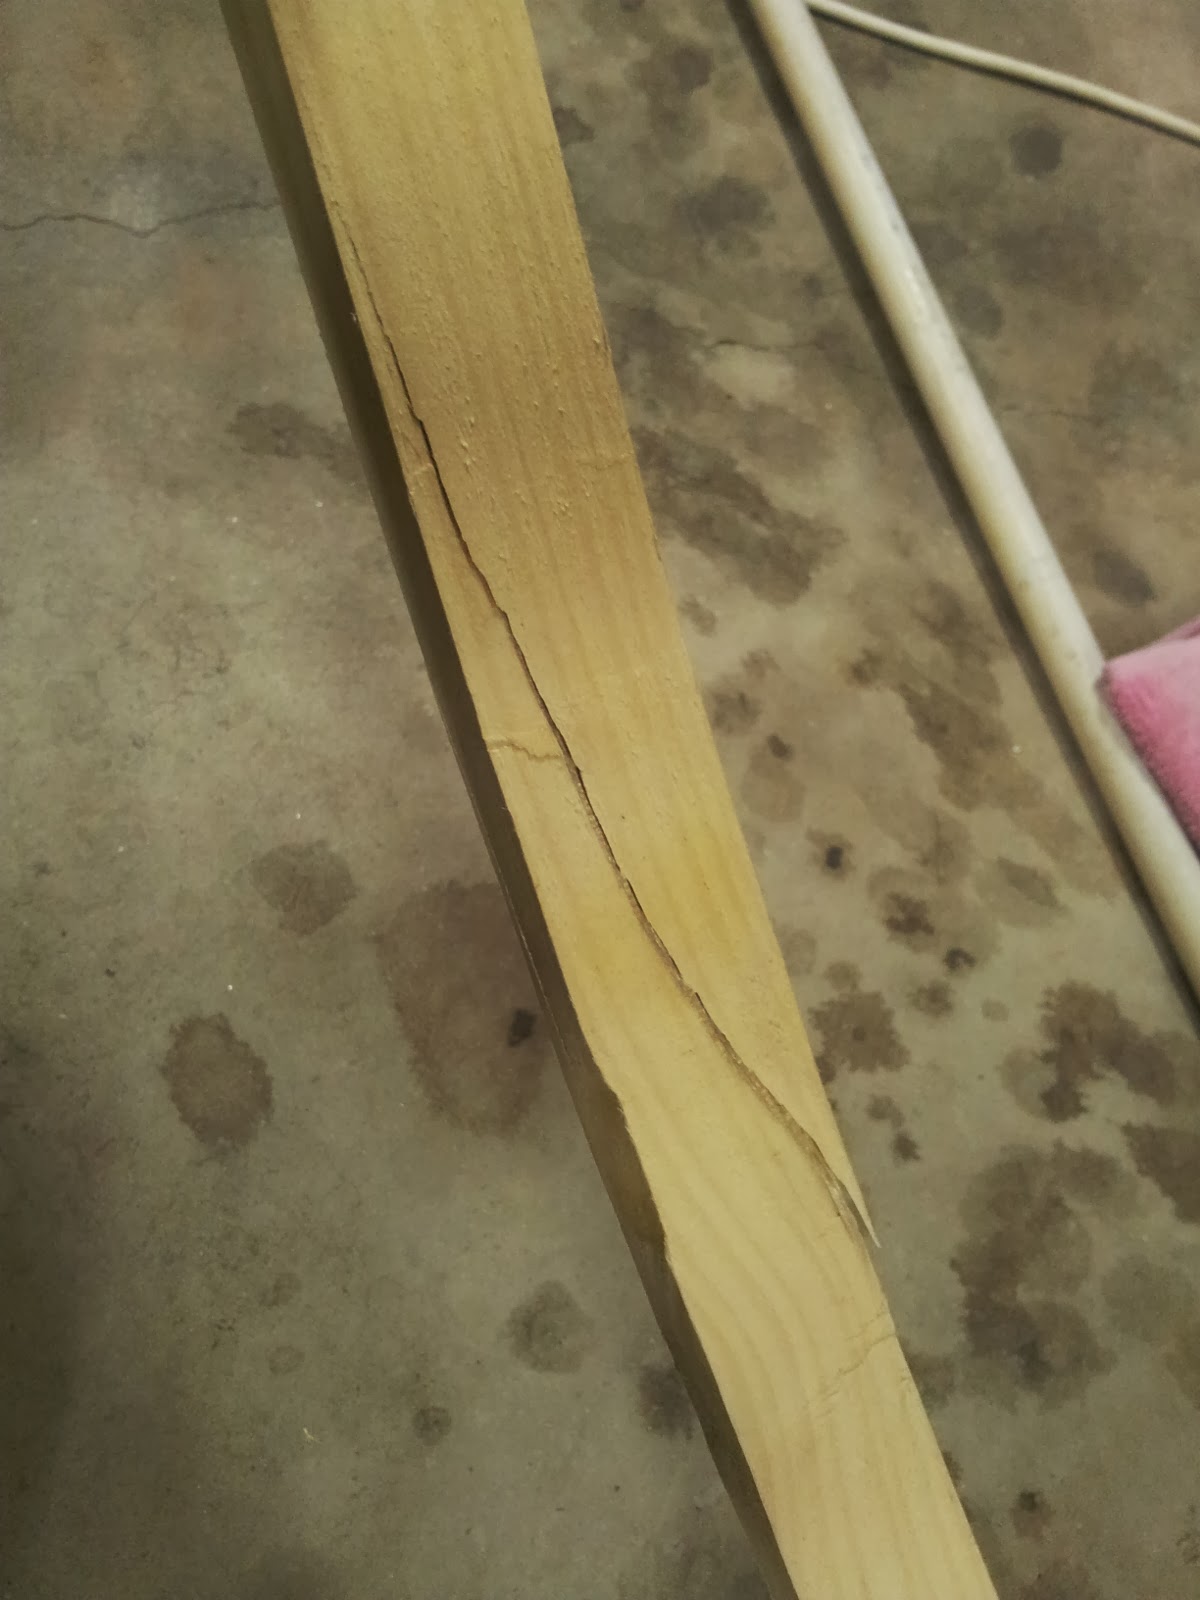
On the first attempt, the sheer simply pulled apart making a large split in the timber. I wasn't surprised at the lack of success here because all the references I read said that hoop pine does not respond to steam bending.
First sheer attempt
On the second attempt, the sheer bent in on itself squashing the fibers. I decided to give up on the sheers and go for three laminations. There was no point wasting good wood which I am sure I will find a use for at some stage on the boat.

Second sheer attempt
Crushed fibers
New wood was ordered for the sheers -  6 pieces of 10mmx30mm. This wood bent easily in place without any soaking. I have hence determined that it is a waste of time trying to steam bend wood when it is so easy to just bend thinner pieces and build up laminations.
10mmx30mm sheer bent easily into place
The sheers were laminated together without being epoxied to the boat. I used duct tape and plastic paper protectors to stop the sheers gluing to the boat. When the epoxy had cured, the laminated sheers basically held their curved shape with only a small amount of spring-back.

The method I used for laminating the sheers was as follows:
- Sanded the surfaces to be laminated
- Removed all the dust from the laminations
- Gave both pieces a coat of clear epoxy
- Let the epoxy cure for about 2-3 hours
- Applied more epoxy to both pieces
- Fastened together with lots of clamps so the epoxy oozed out a little.

Laminating sheers
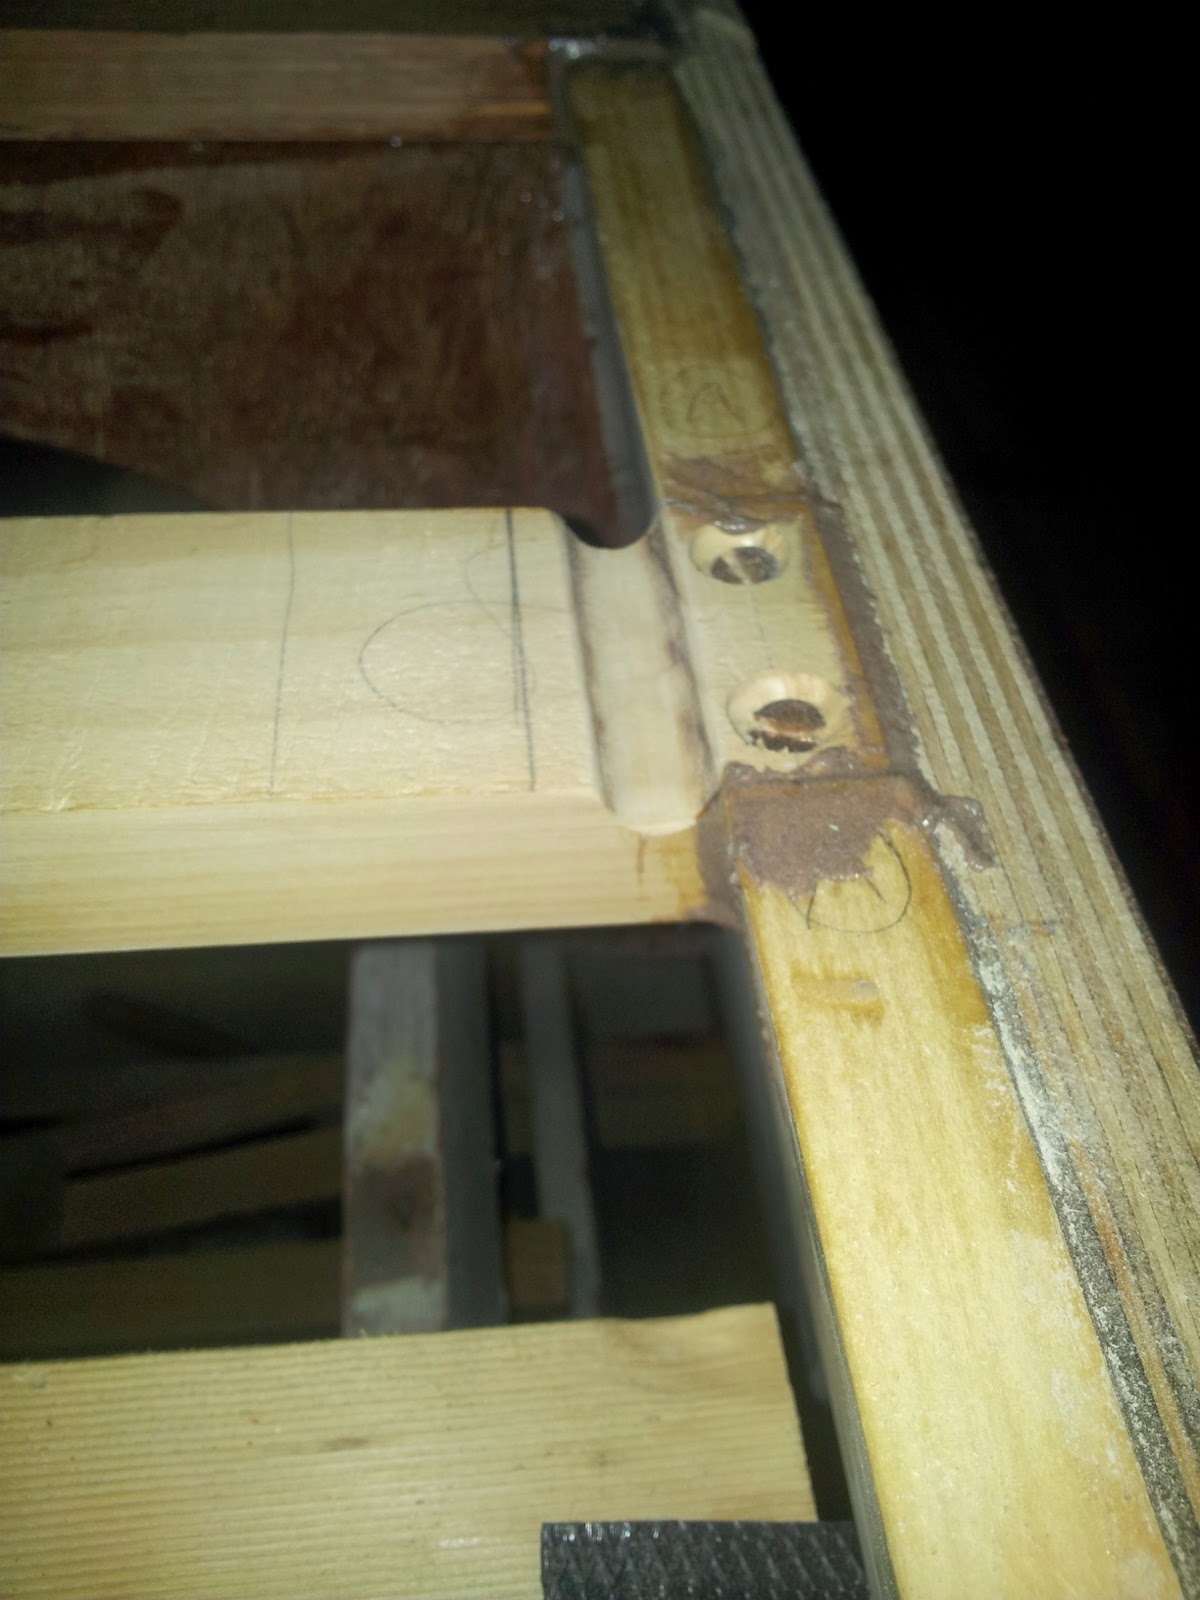
 The notches in the frames and transom were adjusted to fit the sheers correctly and then the sheers were screwed and epoxied to the boat. I used 3 screws in the breasthook and one screw in the transom. I assume the epoxy will be strong enough for the frame joints. Care was taken to ensure that lots of epoxy was added to the end grain on the frames so as not to get dry joints.
Sheers in place
I am now adding the third lamination to the sheers and after that I can start the fairing process!
3rd sheer lamination
I might have to work out a way of controlling the dust in the garage when it comes to the fairing process.