Friday 20 December 2013

Keel, Batten, Chine

Hooray! I am now on holidays and have lots of time to work on my boat!

I have glued on the keel and the two inside battens.
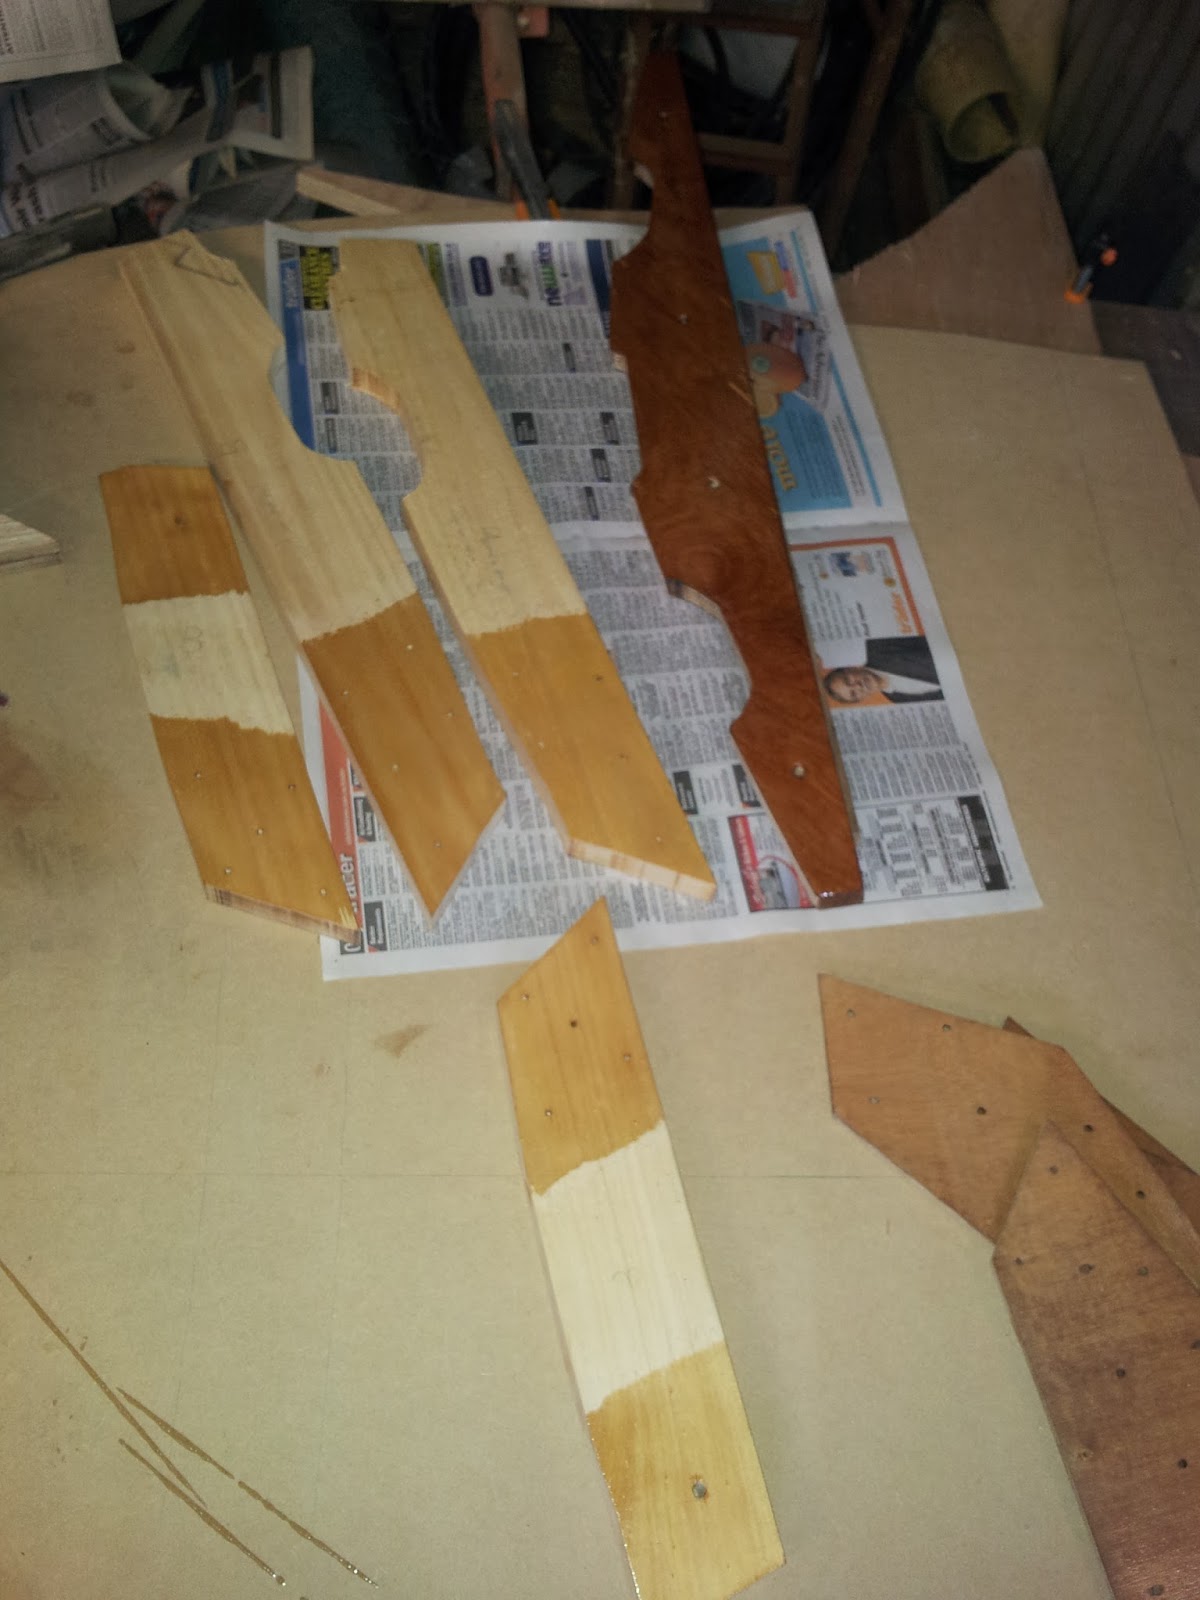
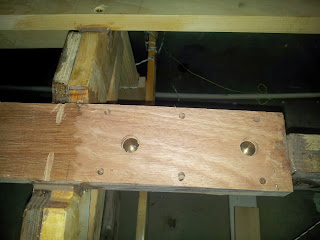
The taper on the keel was achieved by routing slots at the appropriate depths. The resulting 'staircase' was then smoothed to a taper with a hand plane.
Keel and batten epoxied in place.
The chines are the next challenge to work on. It turns out that they are not quite as simple as I first imagined. (like a lot of things in life I suppose).
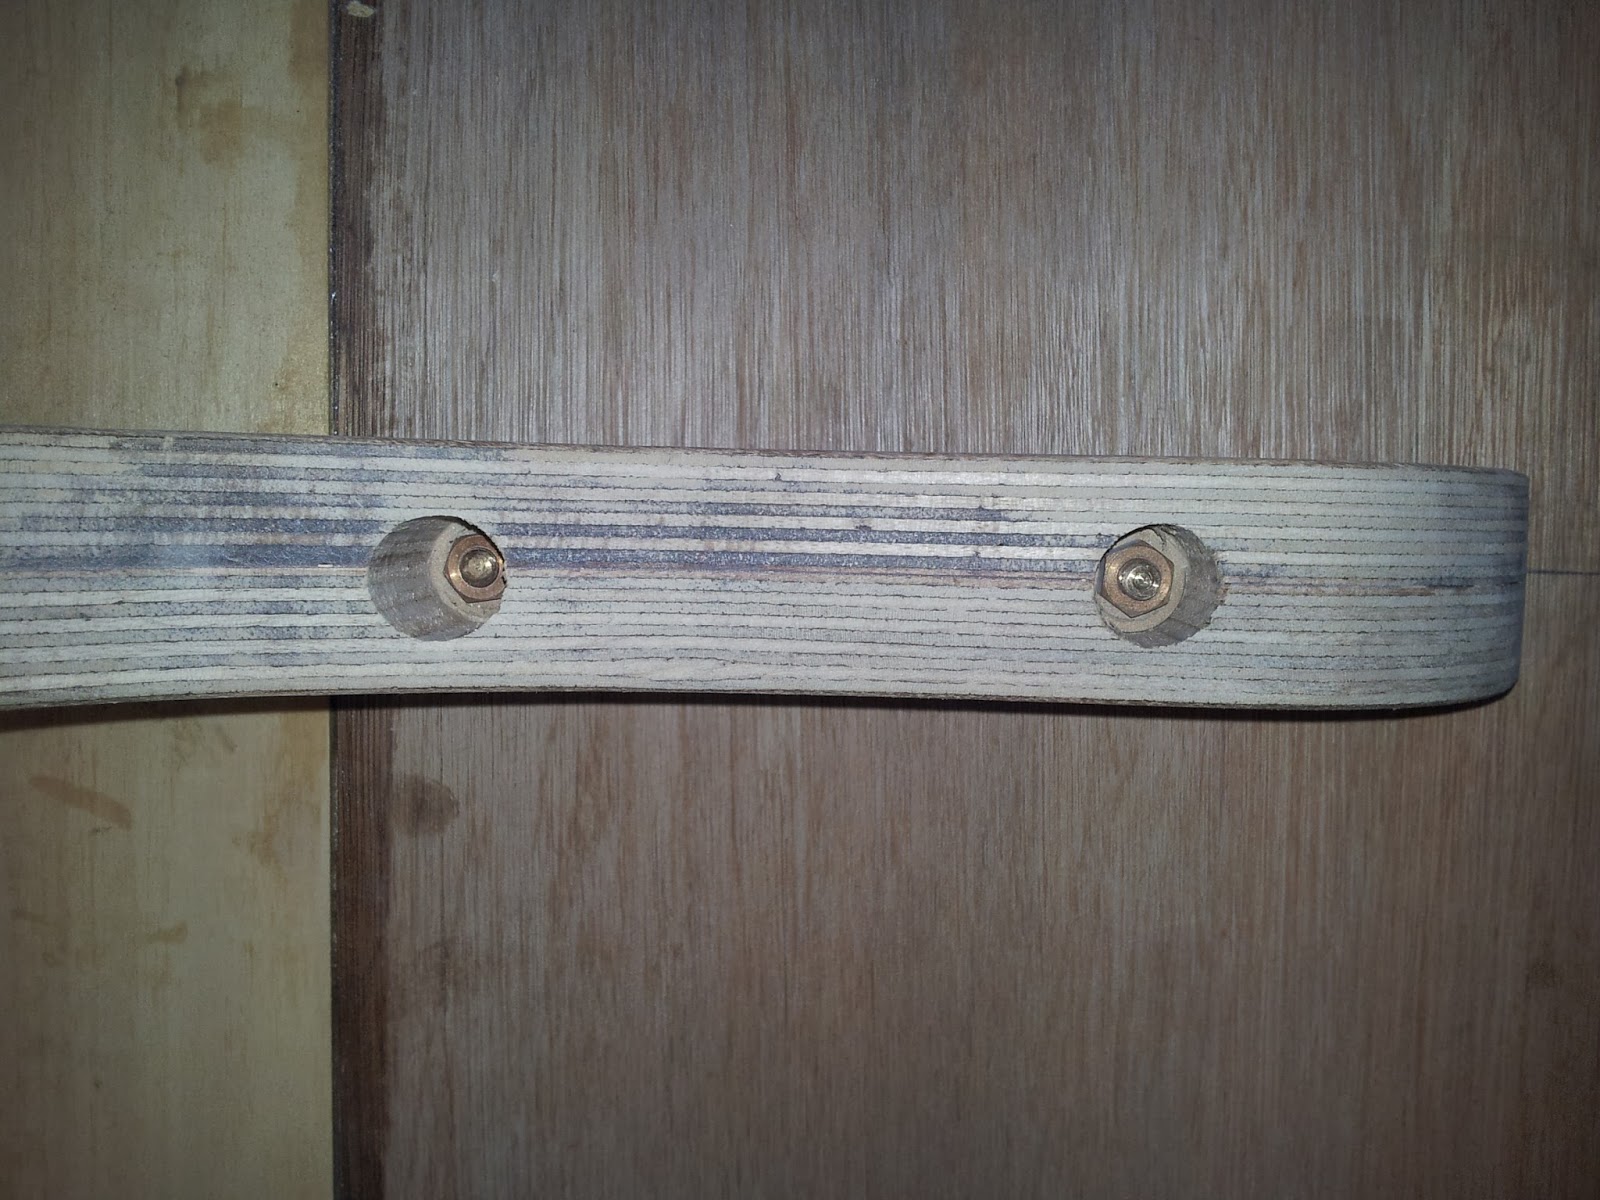
I started off by bending the chine in the approximate position and cutting/filing the notch on frame 2 to suit the curve of the chine. A small block was epoxyed in place to fill a gap. Sharp chisels are really useful for this kind of work I have found.

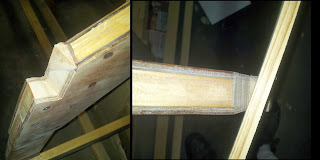
Notches before and after. (Photos show opposite sides of the boat)
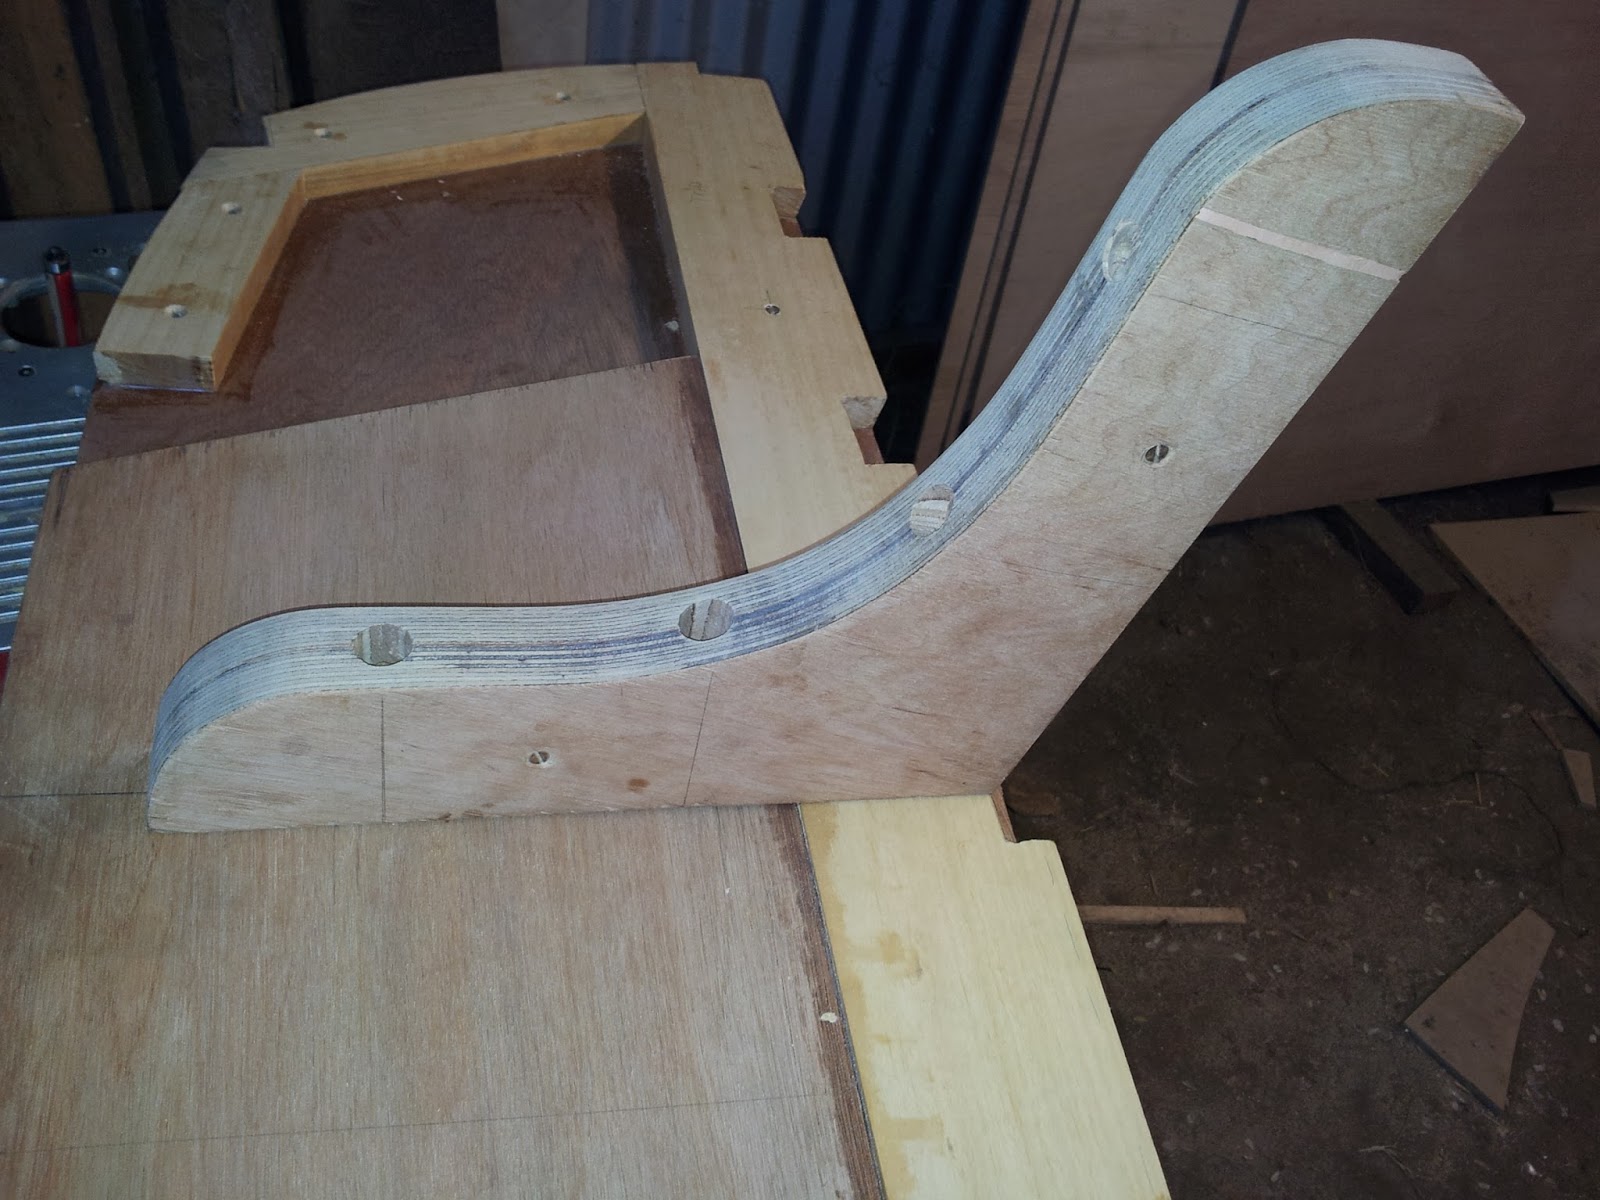
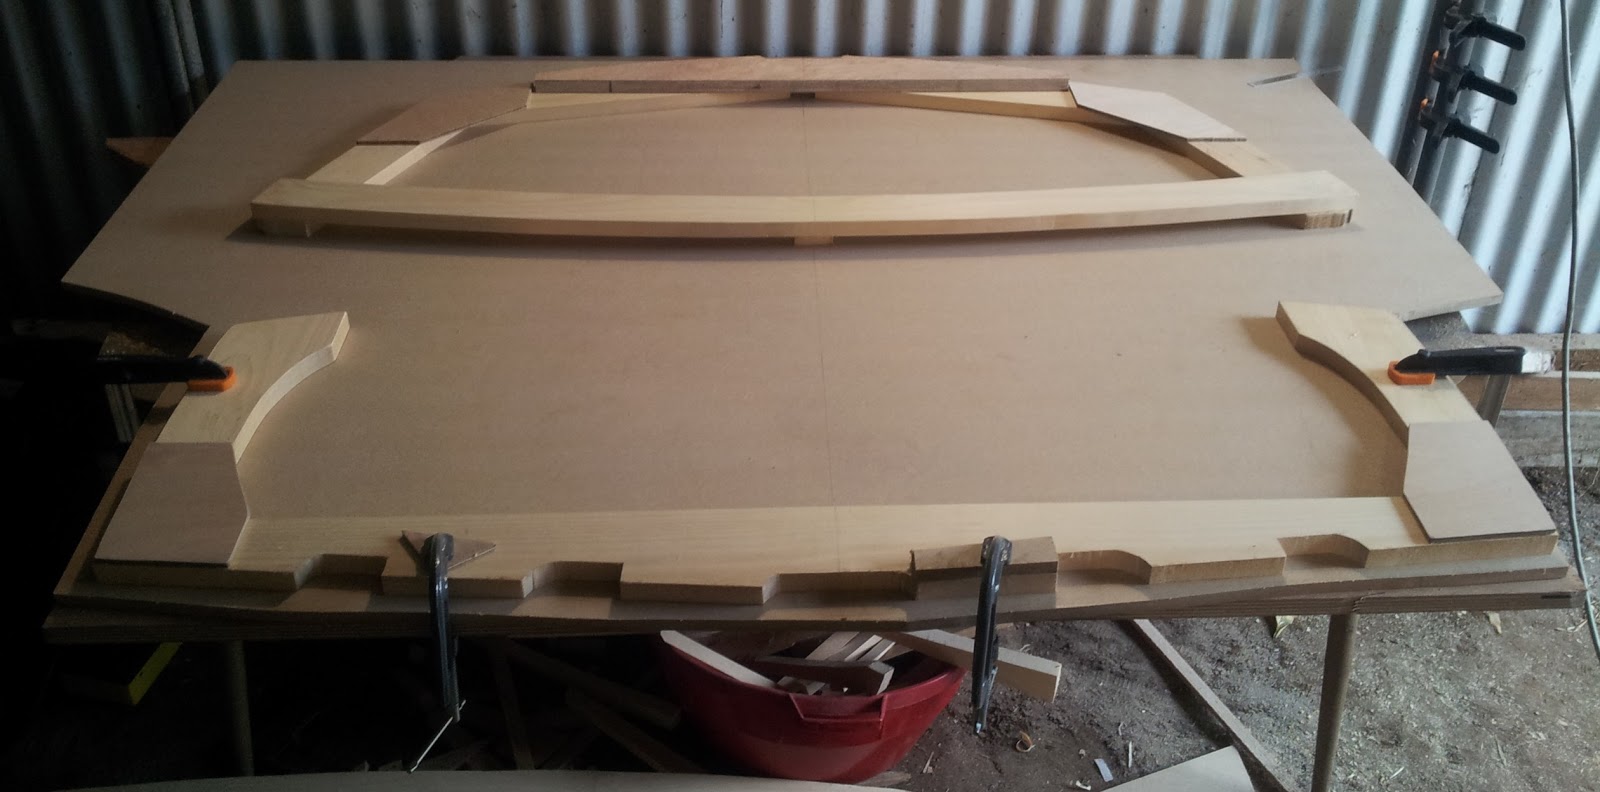
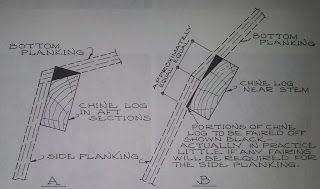
The tricky part of the chine is determining the correct amount of twist between frame 2 and the stem. If there is to little twist, there will not be a sufficient angle on the chine to point towards the sheer. As shown in the picture below, if the chine is rotated anticlockwise, the side planking will no longer fit. If the chine is rotated clockwise, there will be a point at which the bottom planking will not fit. It is a very fine balance especially near the stem. When you have it right in one place, it is wrong in another etc......
Correct alignment of the chine. It looks simple in 2D. Much more complex in curving 3D!
Another point that I had to consider is that the extension of the line of the chine should end at the middle of the stem.
THERE ARE SO MANY THINGS TO CONSIDER!!
I spent so long pondering them and trying to get it right that I am now convinced that it is nearly impossible on the Squirt to twist the chine enough to have it meet the sheer.

I have decided to just do what everyone else does and add a tapered piece of wood to the chine after it is glued in place.
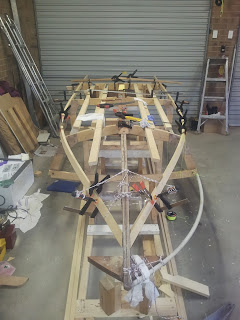
Chines held in place with rope and clamps
  Laminating the chine before making the final adjustments to the chine-stem junction seemed to be a good idea so that is what I did.  It was relatively easy to do. I put a layer of epoxy on each lamination before applying thickened epoxy as the glue.
Put the chines together, clamp them up, clean up the epoxy and its done.
Plastic was used at the frames and stem to stop the chine gluing to them.
 As I am sure every boat builder has exclaimed a multitude of times, 'YOU CAN NEVER HAVE TOO MANY CLAMPS!' I have spent $225 on clamps so far!
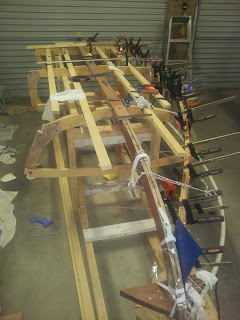
Chines being laminated
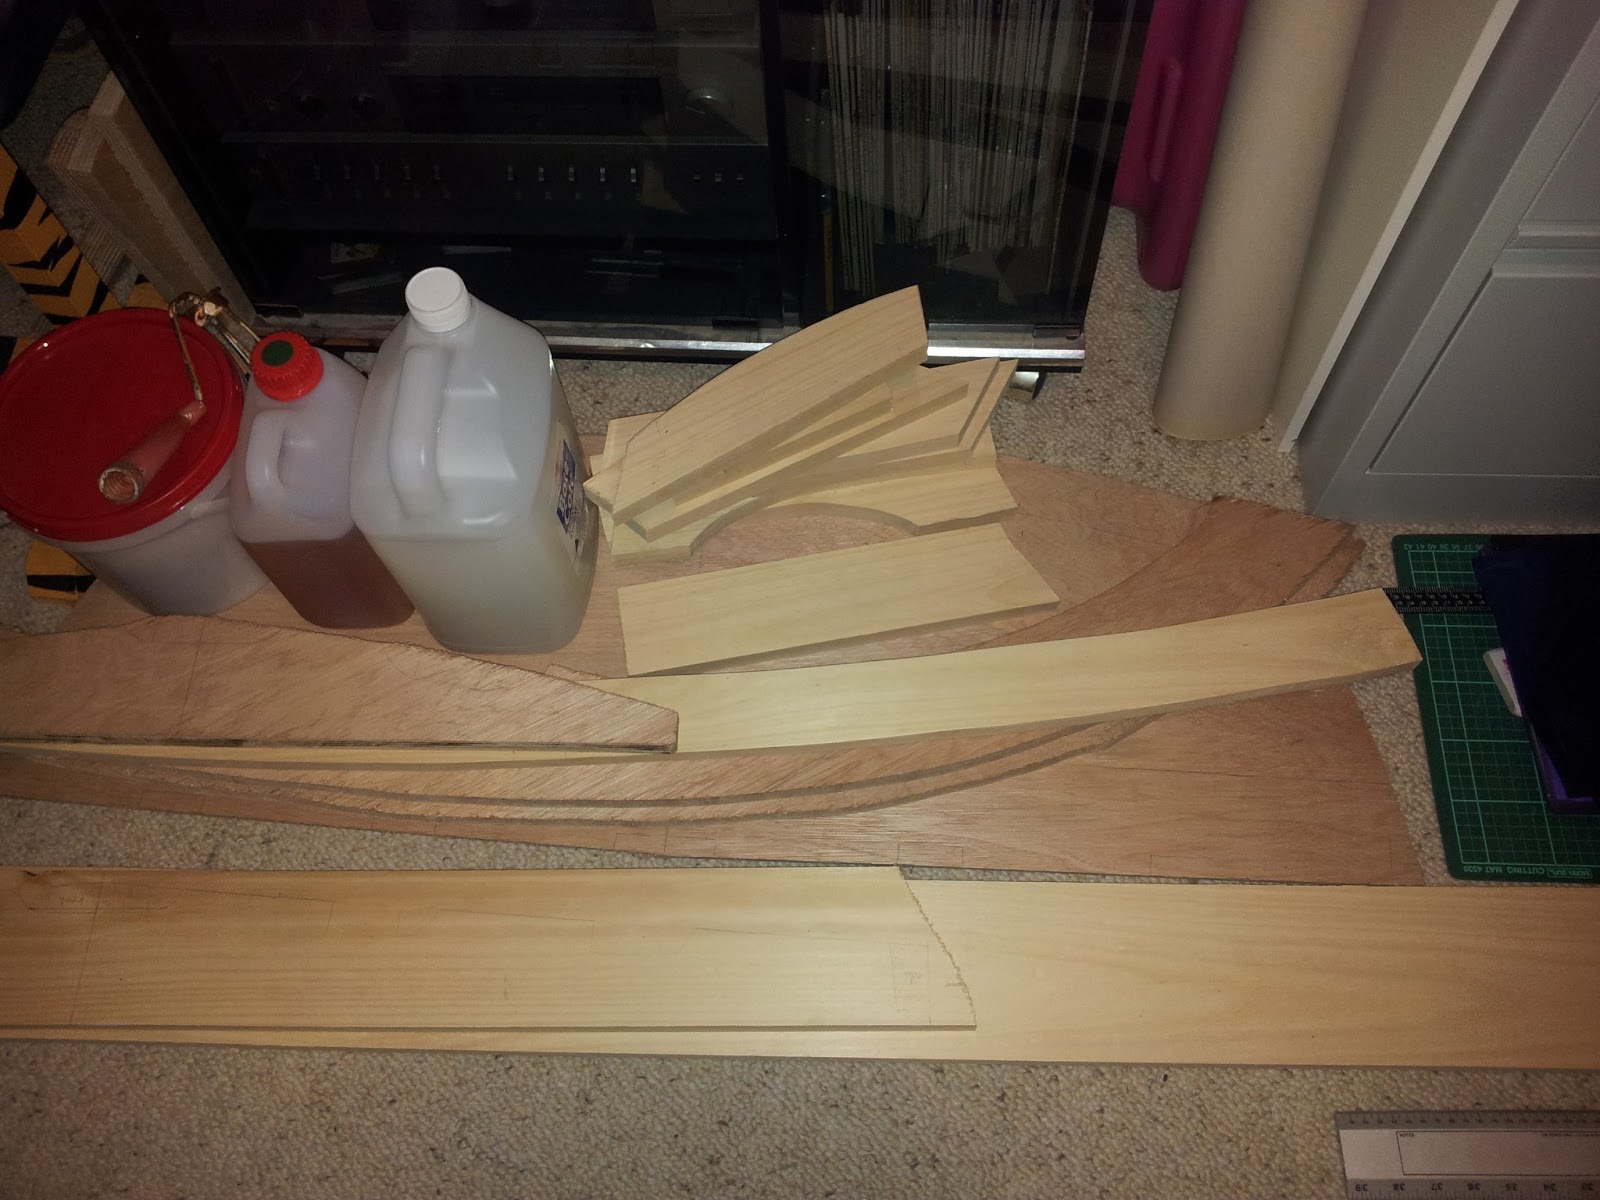
 There should be time to get started on the sheers in my 2 weeks of holidays. For this reason, I have set up a soaking pipe to soak the sheers in. I am really not sure how well the sheers will bend because they are a lot fatter than the chines and don't look to keen on bending! Hoop Pine apparently doesn't respond to steaming either. If I break a sheer, I think I will just get more wood and go for 3 laminations.
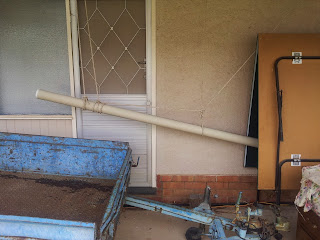
Water pipe for soaking sheers

Friday 25 October 2013

Framing & Measuring & Mounting

In my free time I have been continuing my Glen-L Squirt boat build.

After finishing the gluing of the frames, I got to work sanding the frames down ready for a coat of epoxy. I only coated one side of the frames because I wanted to retain the penciled centre line for aligning the frames on the building form.

Frames sealed with epoxy
The building form was built in the garage given that my sisters car is no longer parked there. I made the building form extra strong because it is probable that I will have to move the boat mid build. I added extra height to the building form to make the boat easier to work on.
Construction

Finished building form with the frames balancing on it. 
 After the building form was complete, the tedious process of aligning the frames to the correct positions began. I took extra care at this stage because I want my boat to drive straight! My friend Nathan had a good idea of using plastic packers to help get the frames aligned perfectly.

After my frames were all fixed in place, I started thinking about the keel and battens.

Keel and battens sitting on boat. STARTING TO REALLY LOOK LIKE A BOAT!
 One of the problems with the keel which lots of 'Squirt' builders come across is the gap shown in the picture below. One solution is to simply bolt down the keel, forcing it to bend into place. The resulting hump between the 1st and 2nd frame would then be removed in the fairing process. I probably would have taken this approach if I had a 25mm keel as is normally used. Given my keel is 20mm, I don't want to have to remove too much material from it during fairing. Hence, I decided to make a wedge shape to fill the gap and therefore keep the keel straight.
Gap between keel and stem
I made a jig and used a router to cut the appropriate angle in piece of the left over keel.
Wedge block cut with router

With the wedge block installed, the keel sits perfectly flat and I will be able to fair the wood to the curve of the stem. The clearance of the bolt heads which go through the stem will need to be a consideration here.
Wedge block installed
 The next step is to remove the frames from the building form and finish applying a coating of epoxy to the frames. I can then glue the stem-breasthook, stem-frame and transom-knee joints.


Saturday 7 September 2013

Gluing Frames Together

It has been a few months since I have done a post for my boat build.
It turns out that making the frames is taking longer than I expected! I have had limited time to work on the boat but I am still enjoying every moment of it.

I have set up an epoxy 'hot box' with a globe so that I can keep the epoxy at a low viscosity in the winter months. This will make it possible to pump the epoxy.
Dad had an old temperature controller which we installed in the box. I can just dial 25degC and it'll turn the globe on and off as appropriate to maintain the temperature.
Epoxy 'hot box' with room for all the epoxy application hardware.
I ordered silicon bronze fasteners and screwed the frames together as a dry run before epoxying.
Frame after dry run
Purchasing a AEG random orbital sander, I sanded the region of the joints ensuring not to get oil from my fingers on the freshly sanded wood. As recommended in the 'Boat-Cote' epoxy manual, I applied a layer of epoxy to avoid getting dry glue joints. Apparently the wood absorbs the epoxy and can leave very little epoxy to form the bond between pieces of wood. Applying a layer of epoxy and sanding back before gluing eliminates the risk of dry joints.
I have been leaving 2 days for the epoxy to cure.
Applying epoxy to mating surfaces
 The advantage of doing a dry run on the frames was that it made accurate gluing very easy. I mixed up epoxy and filler, spread in out on the parts and simply screwed them together. Where the epoxy did not flow out the side of the joints I used clamps to ensure a proper bond.
Gluing of stem, transom knee, breast hook and transom
One of the completed frames after gluing
After gluing the transom knee, I drilled the holes for attaching to the transom and the keel.
Carriage bolts holding transom knee to transom.
Completed transom

 The breasthook was attached to the stem with two screws. Holes were drilled in the stem for attaching to the keel.
Breasthook and stem


 In the next few weeks I plan to finish gluing the frames together. I have purchased wood for the building form and plan to start this soon.

Saturday 29 June 2013

Working On The Frames


It has been a while since my last post. 
I have been a bit limited for time but have been working slowly on the boat frames.

After transferring the patterns to the wood, I set to work with the jigsaw cutting out the pieces.
For long straight edges I used a circular saw with a clamped straight-edge guide.

Cutting out plywood parts
 For parts which require duplicates, I cut them slightly larger so I could flush trim them with a router bit and get them exactly the same.
Plywood parts

With the parts cut out, the general shape of the frames can be seen.
 It is starting to look a bit boat-like!


I have purchased a AEG battery drill and impact driver which will be essential for assembling the boat.
I have also purchased a 1200W router with a flush trim bit and mounted it to the RYOBI work centre. For router table safety, I installed a starting pin and bought some push blocks.

RYOBI work centre and router

I have done some work on the shed to make it more usable.
Dad kindly put some lights up for me and I have added a shelf to store the wood.
The shed!

The parts which required duplication were duplicated with the router.
 All the pieces for the frames are now basically ready for gluing.
I haven't notched the frames for the chines and shears because I read it is better to do it later so the angles can be more accurate.
 
Transom nearly ready for gluing. Just need to notch for keel and battens.

Frames 1 and 2 ready for gluing.

 In the next month I hope to figure out how to use the epoxy and glue the frames together.
Up to now I am loving my boat build and can't wait to get home from work each day to work on it!

Saturday 4 May 2013

Getting Started!

Hooray, I got the wood for the hull today!
Wood for hull
About a month ago I bought epoxy & hardener (6 Litres) as well as high strength filler. 
I also found a small roller at a garage sale for 50cents which may come in handy for applying epoxy.
Epoxy and filler.

I have purchased a Ryobi work centre from Gumtree. It has a table saw, plus router & jigsaw mounting points. It should come in useful for the project.

Ryobi work centre

I have also cleaned out our shed. The dirt floor is not ideal but apart from that it is perfect. I'll have to think of a way to control the dust for epoxying and especially varnishing. Maybe some old carpet would help but I'll worry about that later.

Shed
The first step in getting started was to make paper patterns of all the parts to determine how much wood I would need.

Frames

Parts for 18mm plywood
Converting all the sizes to metric, I put together a cutting list to get the wood machined to size. I was recommended to use hoop pine for everything except for having a hardwood keel. Hoop pine was a good cost /quality balance. I think hoop pine is a good option because is lighter than hardwoods.
There is 6mm & 18mm Pacific maple marine ply (6 and 1 sheets respectively).
Cutting list (I got a kapur hardwood 20mm thick keel in the end)

I have so far transferred some of the frame pieces onto the wood using carbon paper
Stuff strewn across the living room. Good thing my family is away for 4 weeks!

Transferring the frame patterns onto the hoop pine
In the next couple of weeks I hope to cut out the pieces and assemble the frames.

Tuesday 5 March 2013

Plans Arrived!


Hooray my Glen-L squirt plans arrived yesterday!
There's a fair bit of generic information about boat building. For the Squirt in-particularly there is a 'Building the Glen-L Squirt' document and of course the plans.


The plans are huge!
I was expecting better quality paper and printing but it doesn't matter. They look like legitimate old-school blue prints which is cool.


The inspiration for deciding to boat build came from just wanting to have a long term, fun and rewarding hobby. I built a canoe at school, I have friends who do woodwork and I thought building a boat would be fun. I found the Glen-L squirt on line and initially I thought that is was way out of my league, however after stumbling across the Squirt again on the Glen-L website I was convinced that it was perhaps manageable. We'll see if it is.
My inspiration for the Squirt is Art Atkingson's "Work of Art". His blog is great.

My initial concept sketch is below.

Right now I have no idea how long it will take me to build it or if I will ever finish it. But I am pretty keen to get started.