The time to flip the boat finally came!
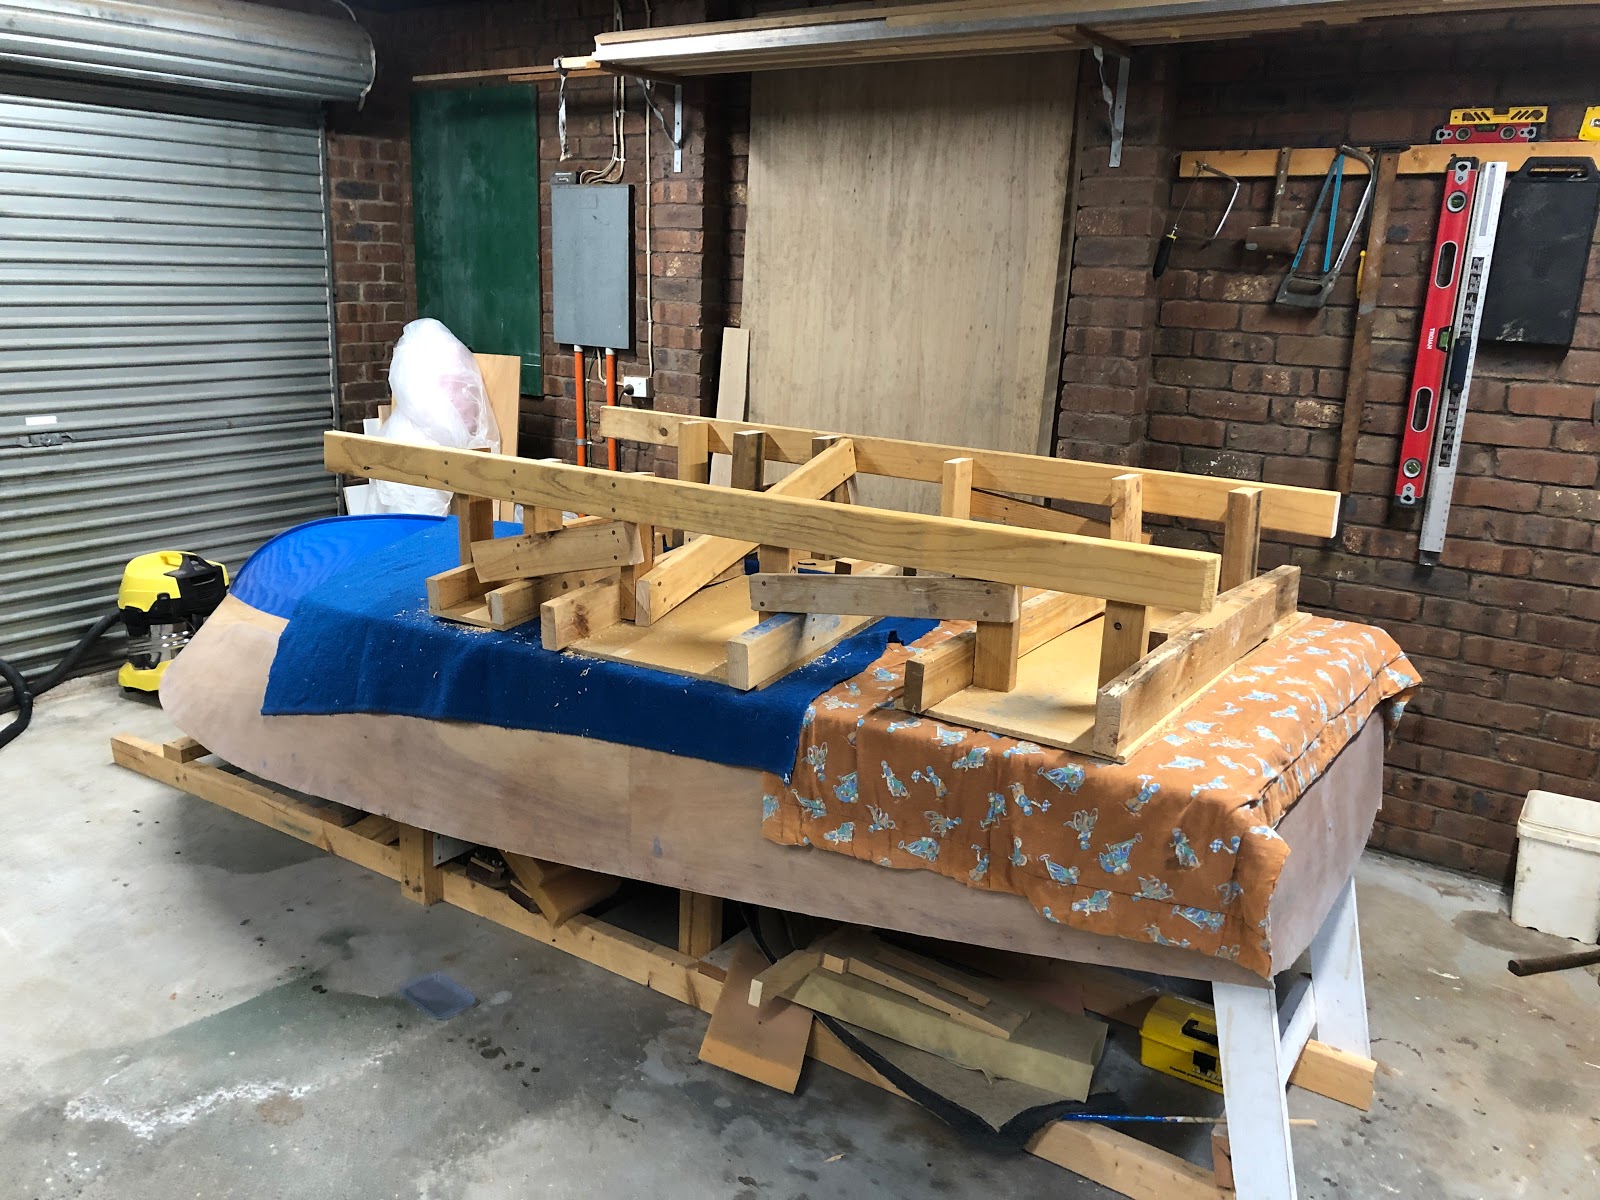
The first step was to create a bed for the boat to sit nicely on once it was flipped. The idea was to use some old foam mattresses to protect the paintwork and distribute the weight of the boat across a larger surface area of the hull.
 |
| Creating boat bed |
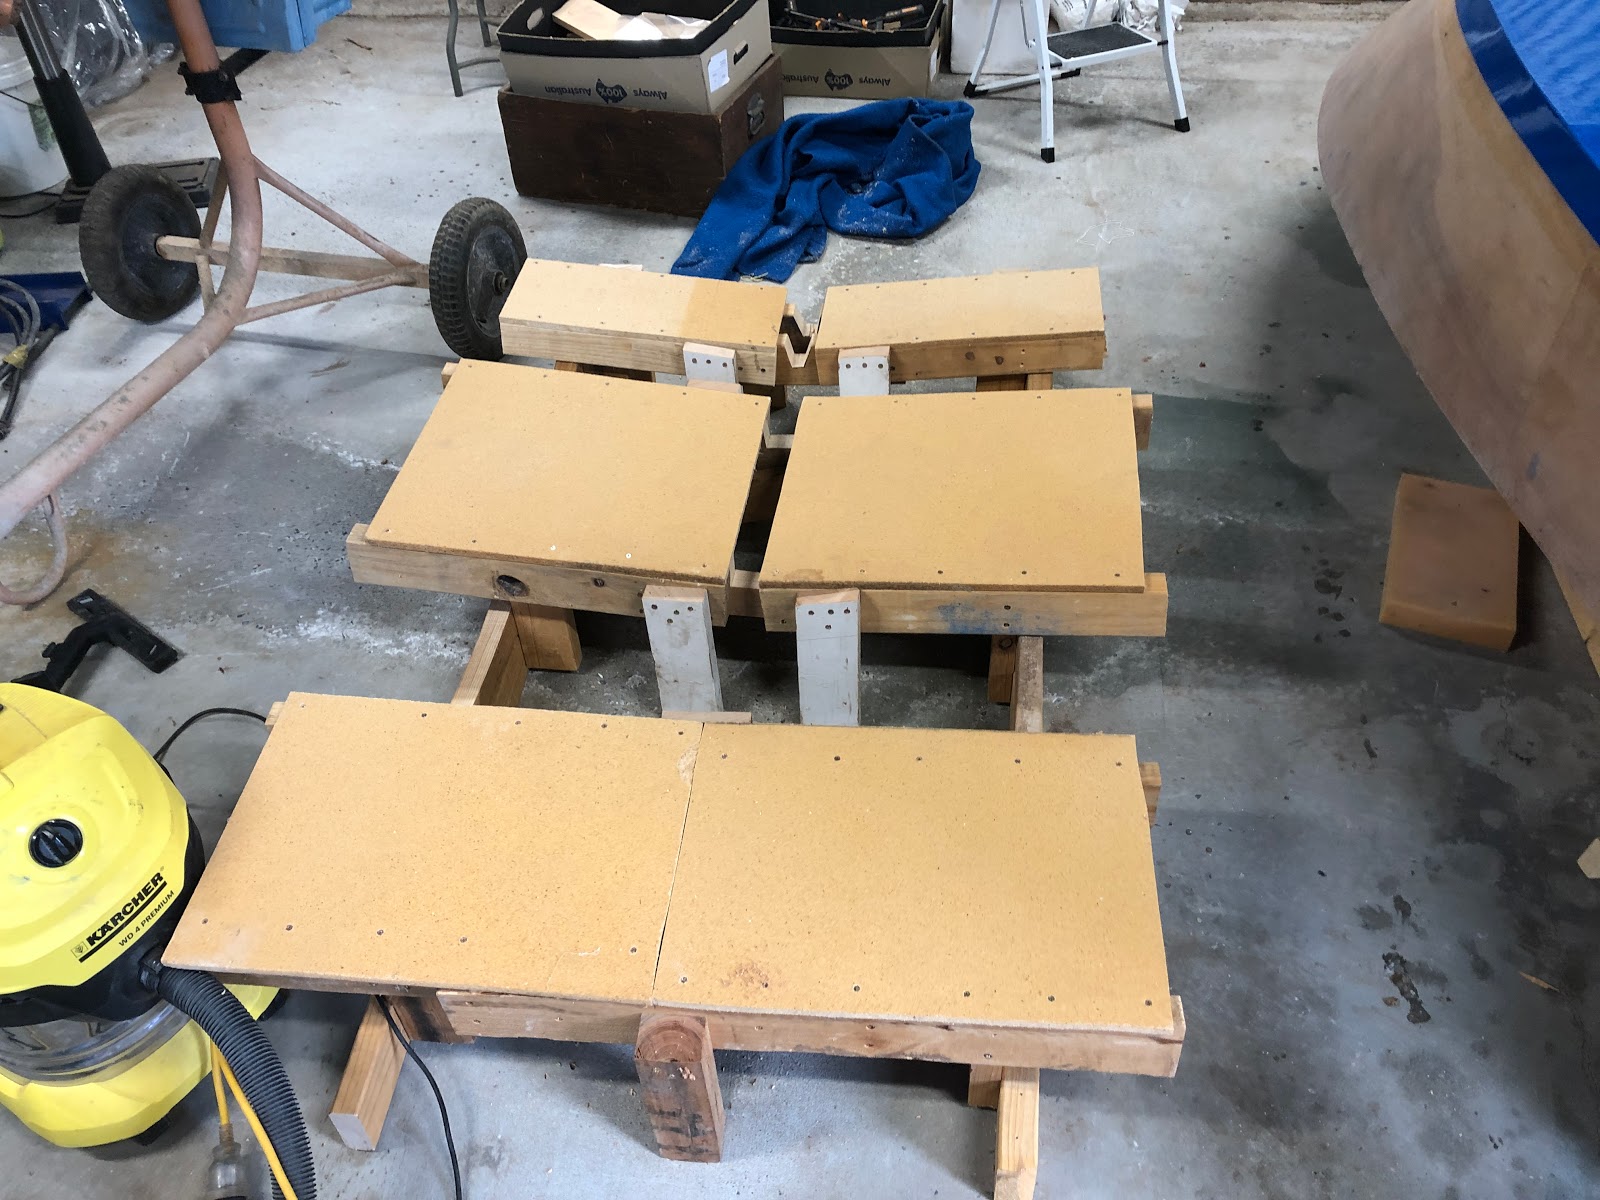 |
| The boat bed. Note the gap for the keel strip to go in. |
I got up early on Monday (public holiday) and unscrewed the boat from the building form ready for the flipping. The plan was to move the boat onto a matress first, put the bed into position and then move the boat into its position on the bed.
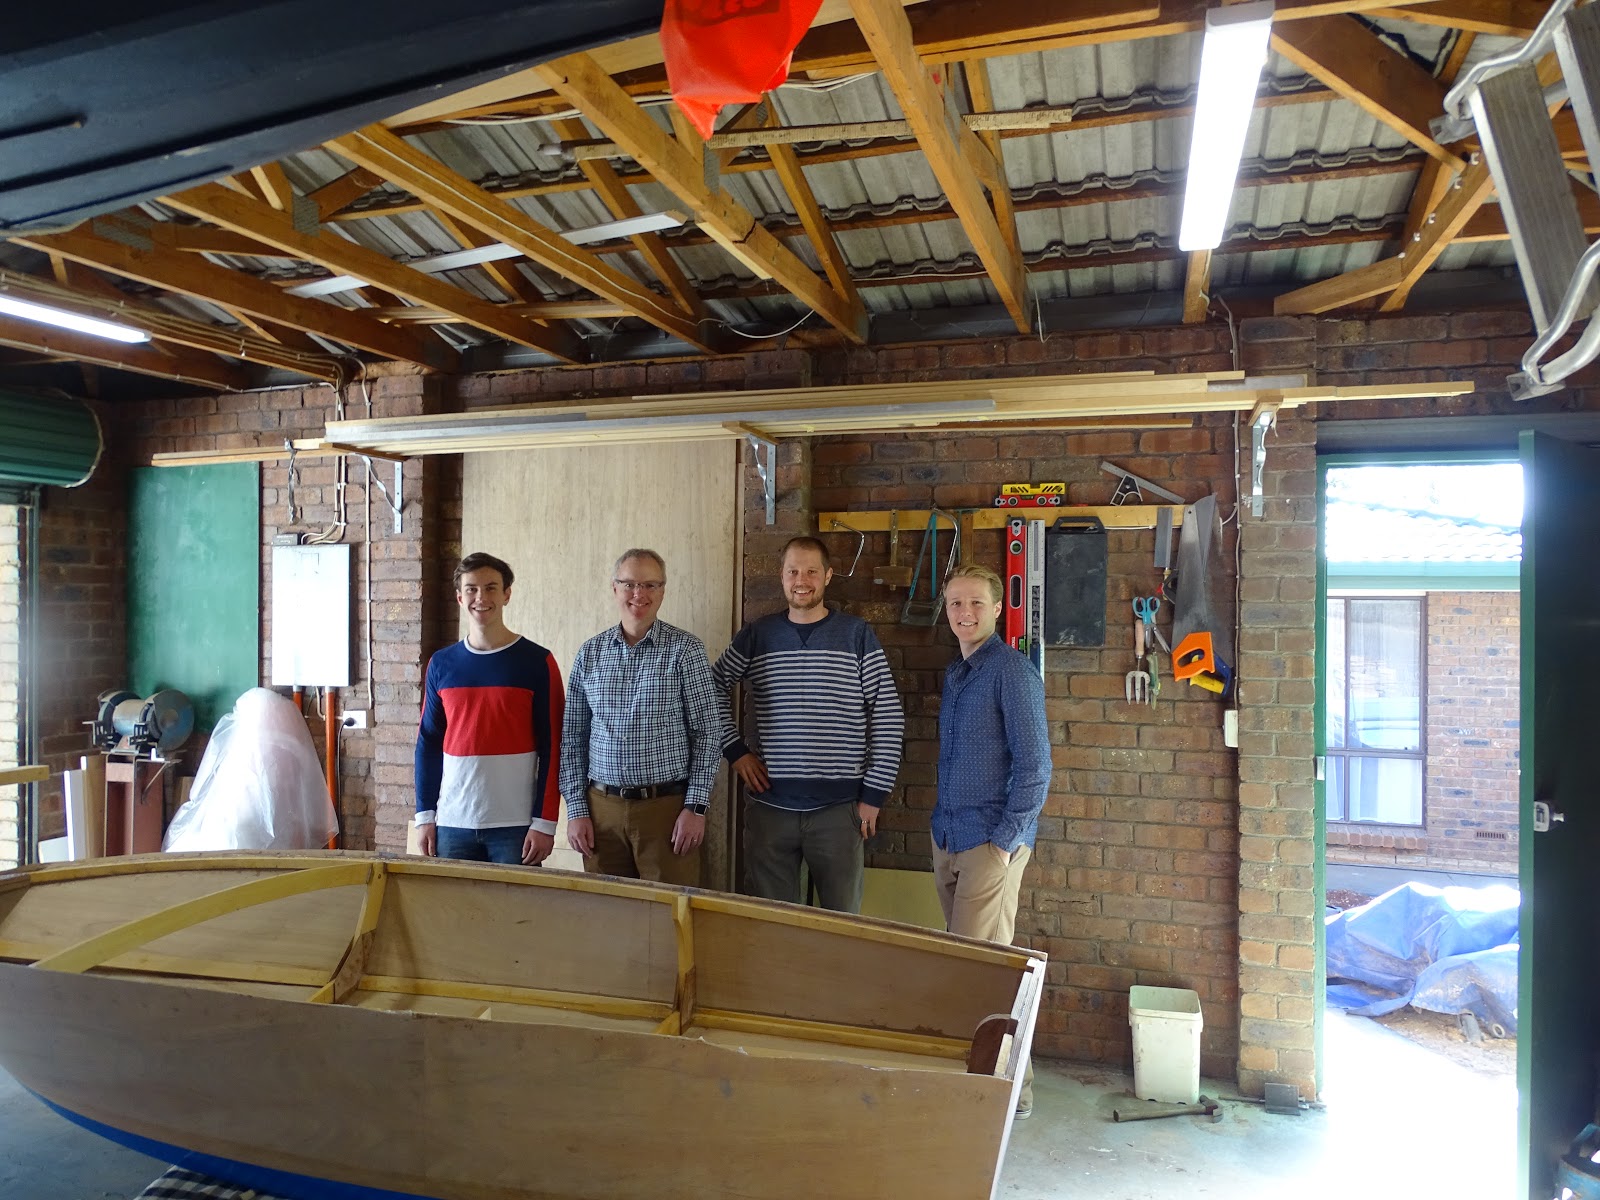
We invited Jo's family around for Brunch so they could help me flip the boat. There was lots of excitement and I like to think it was because of the boat more than the food!
We wore gloves to protect our hands from the sharp fiberglass edges.
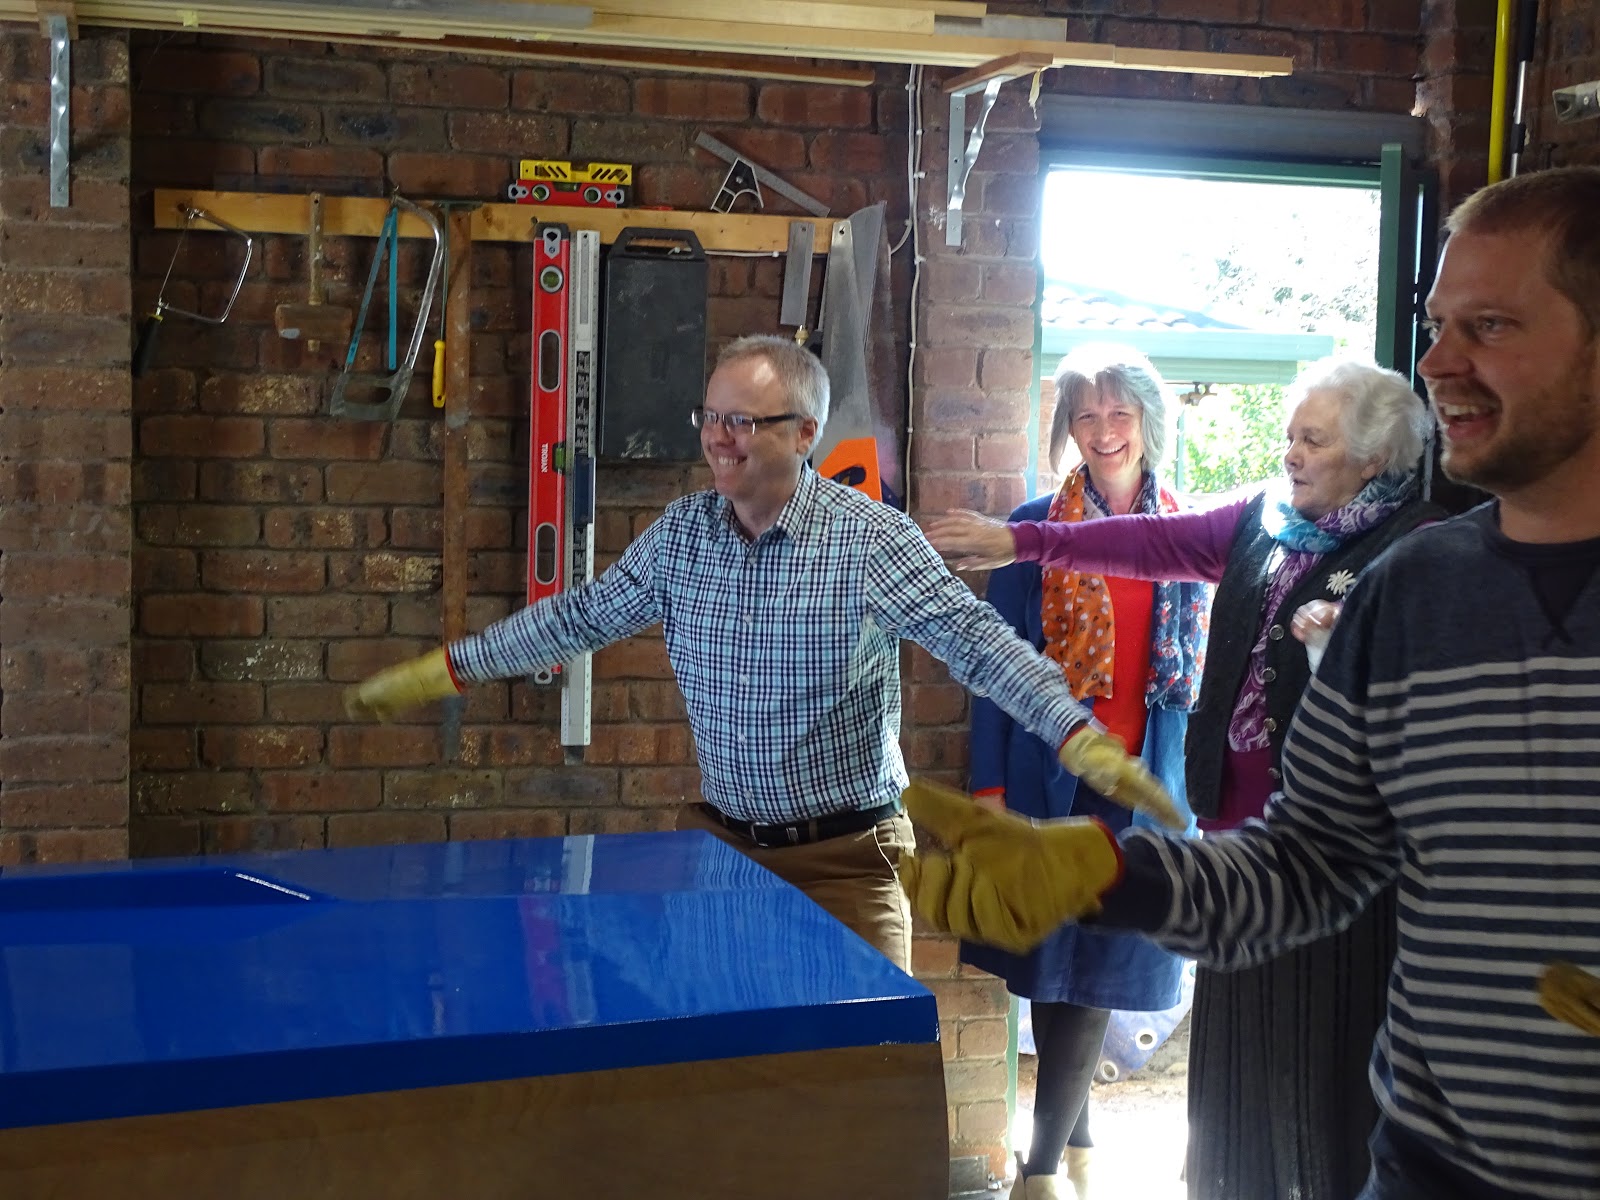 |
| Great excitement for the imminent flipping |
With an almighty "heave ho" we lifted the boat off the form. It was actually really light - two people could lift it.
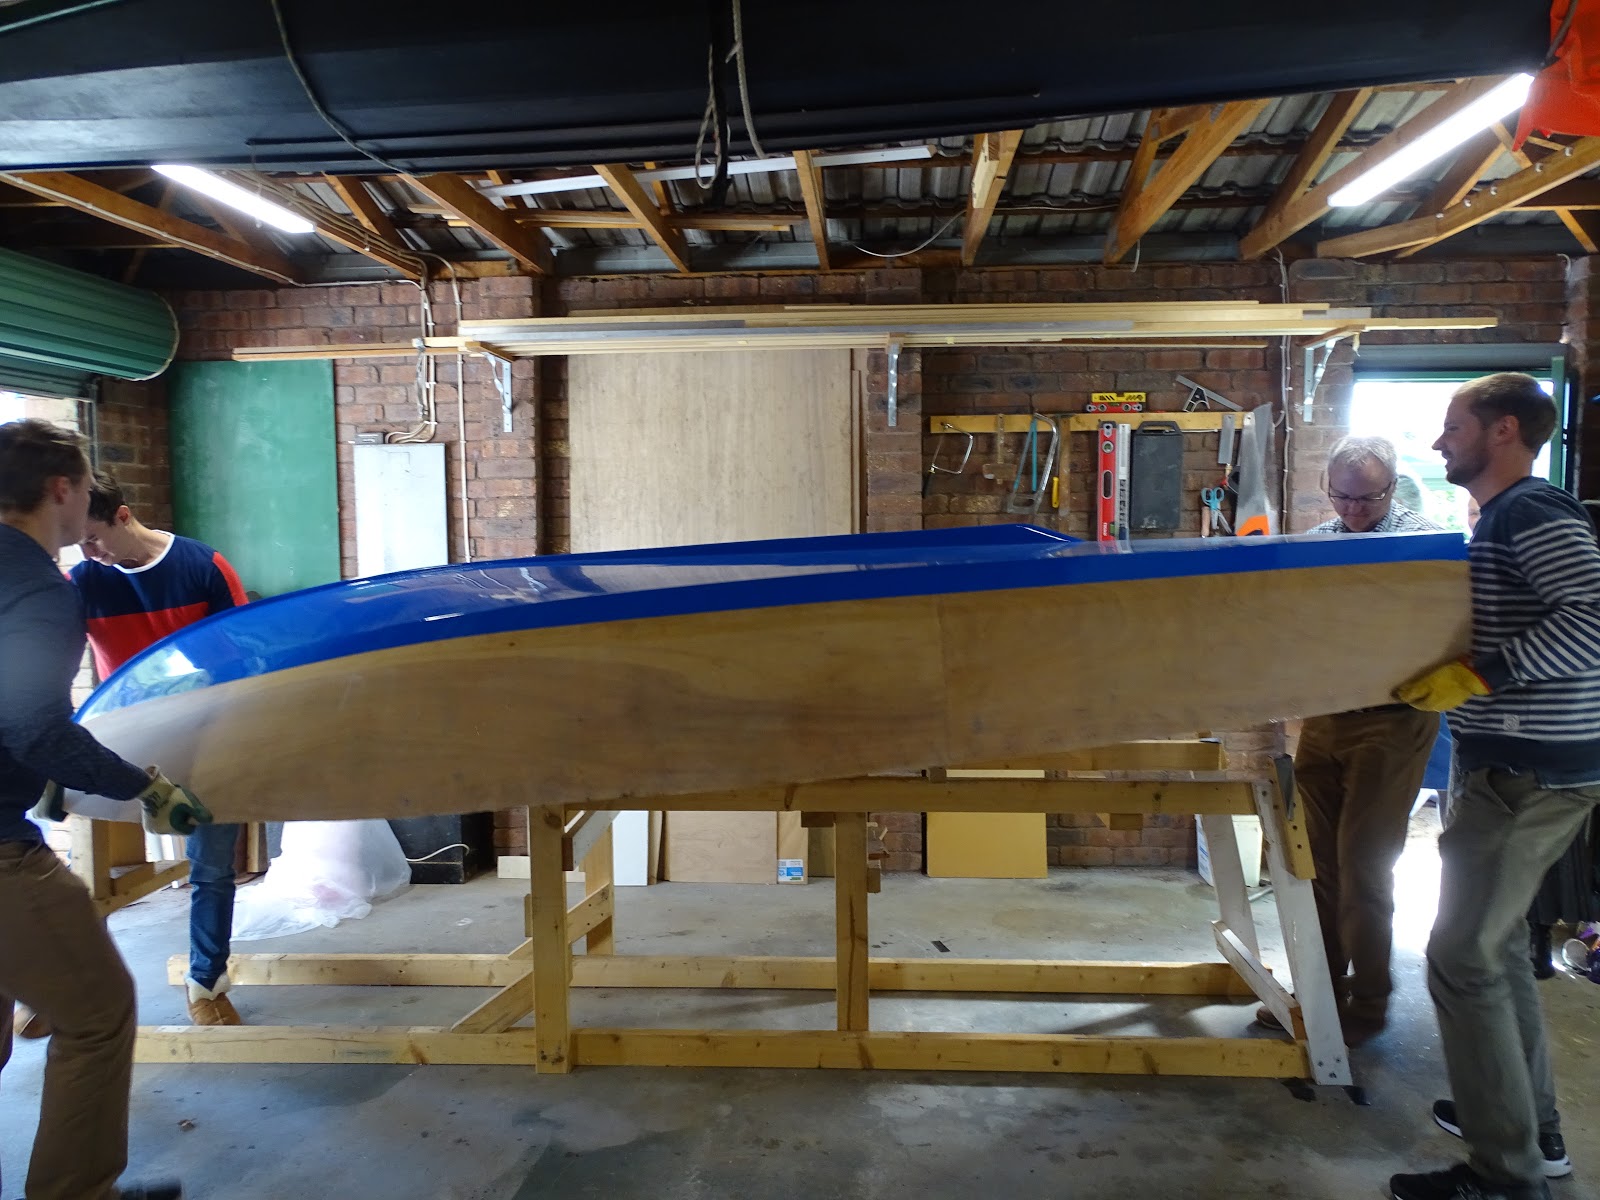 |
| Off the building form - its home for the last 6 years |
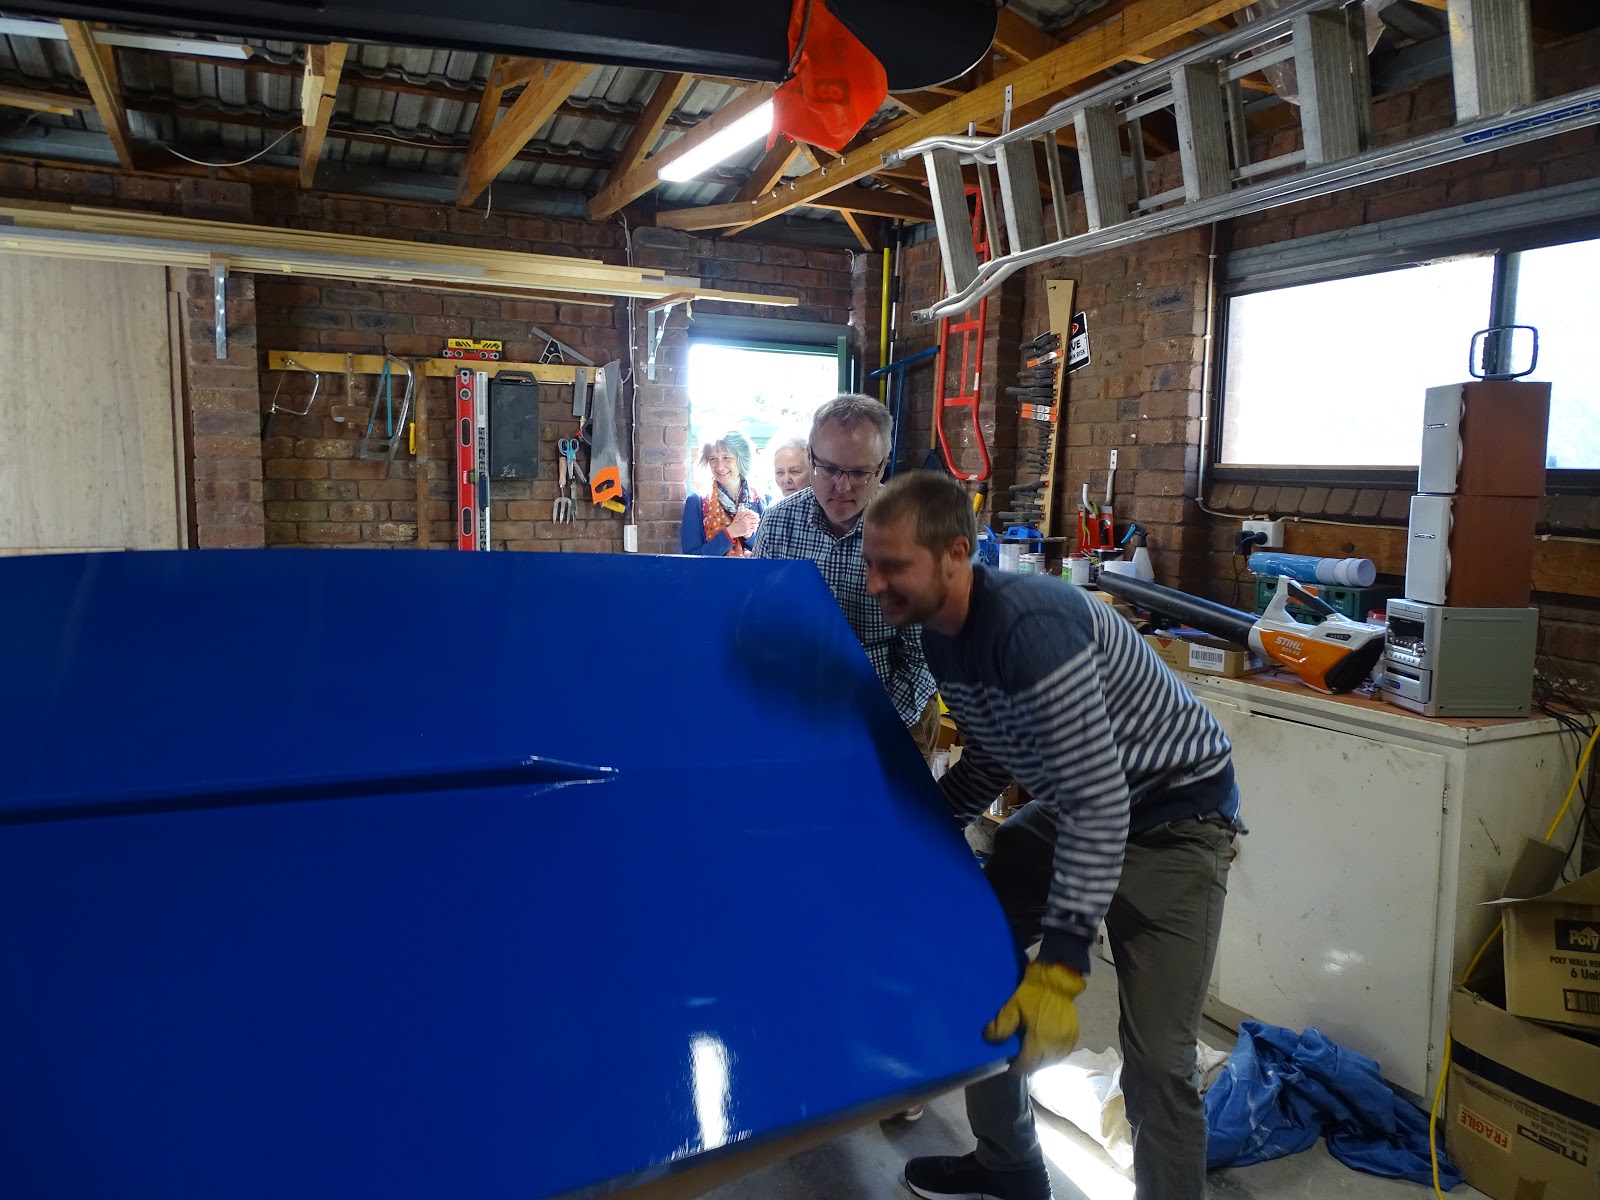 |
| Over it goes |
We placed the boat on a mattress so we could remove the building form and place the bed in position.
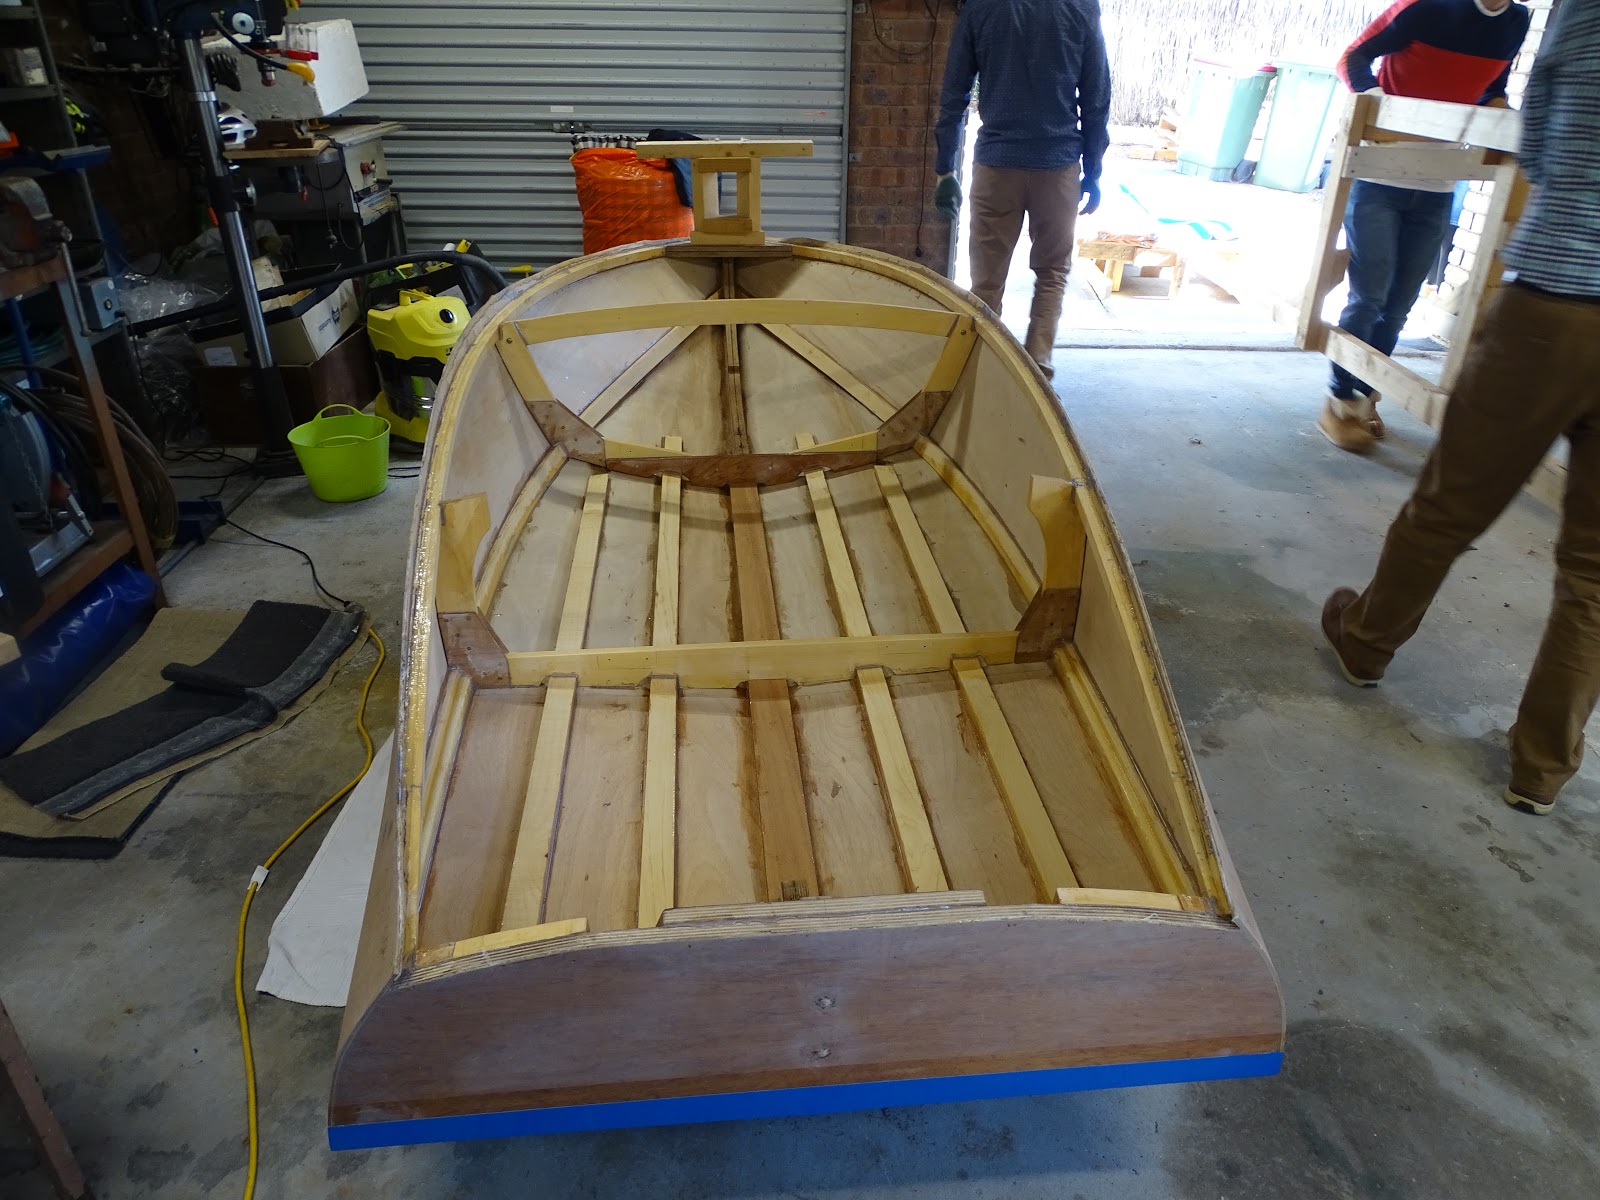 |
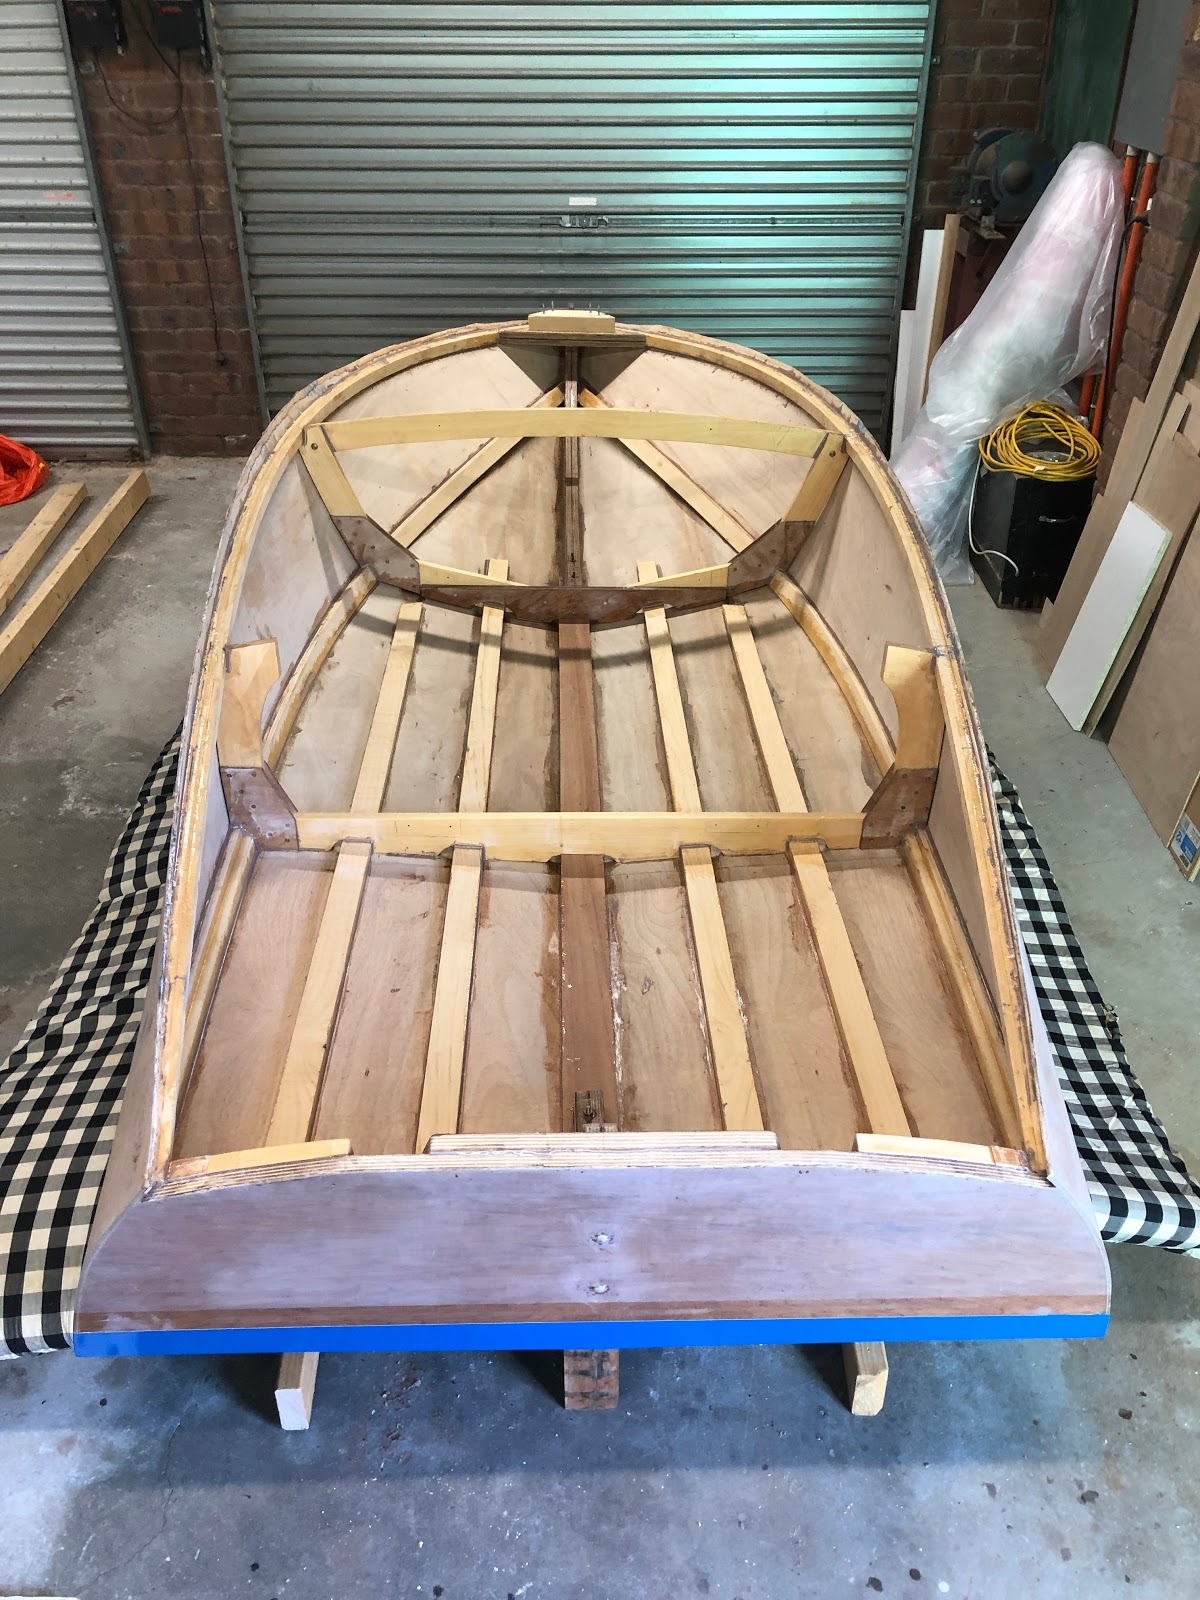
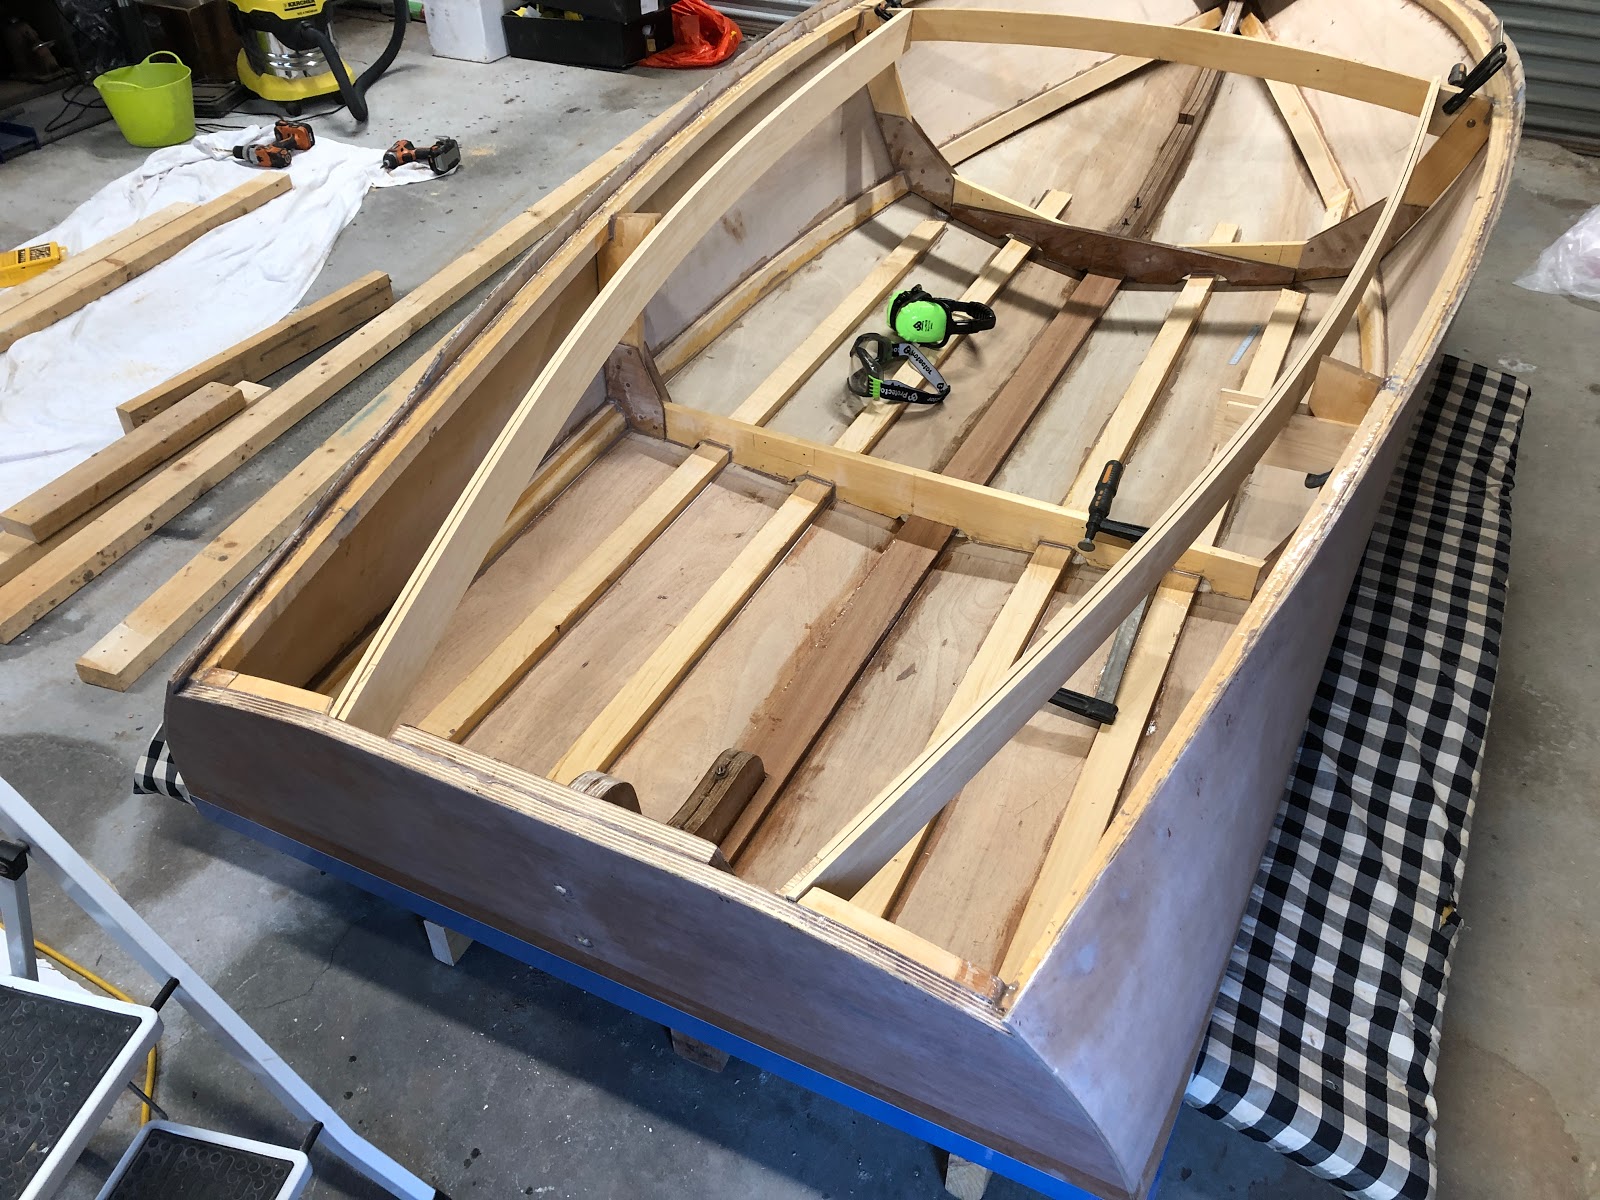
| First glimpses of the inside of the hull |
With the foam mattresses on the bed we lifted the boat into its final position.
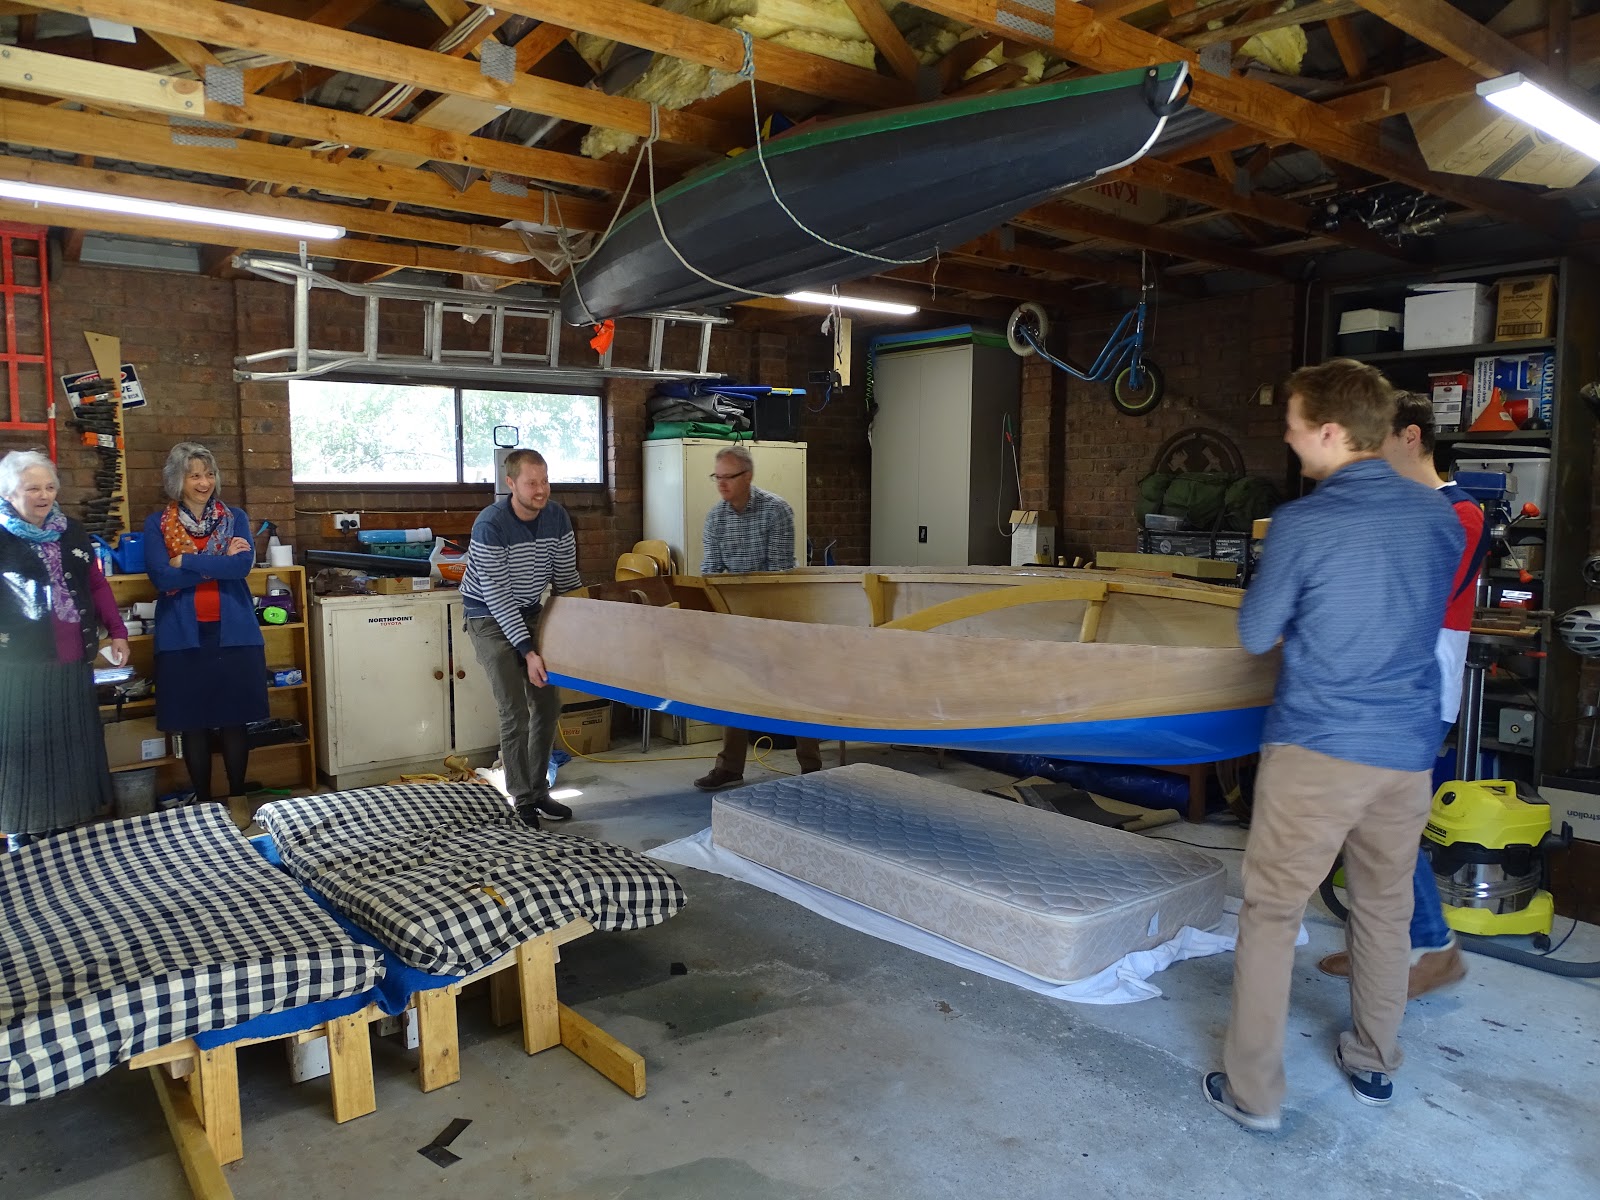 |
| Onto its bed |
It was now time to try out the boat for the first time!
I told everyone that the excitement of the flip would be nothing compared to the excitement of the launch and that they better hope they are invited to the launch!
They will be - just don't tell them that yet ;-)
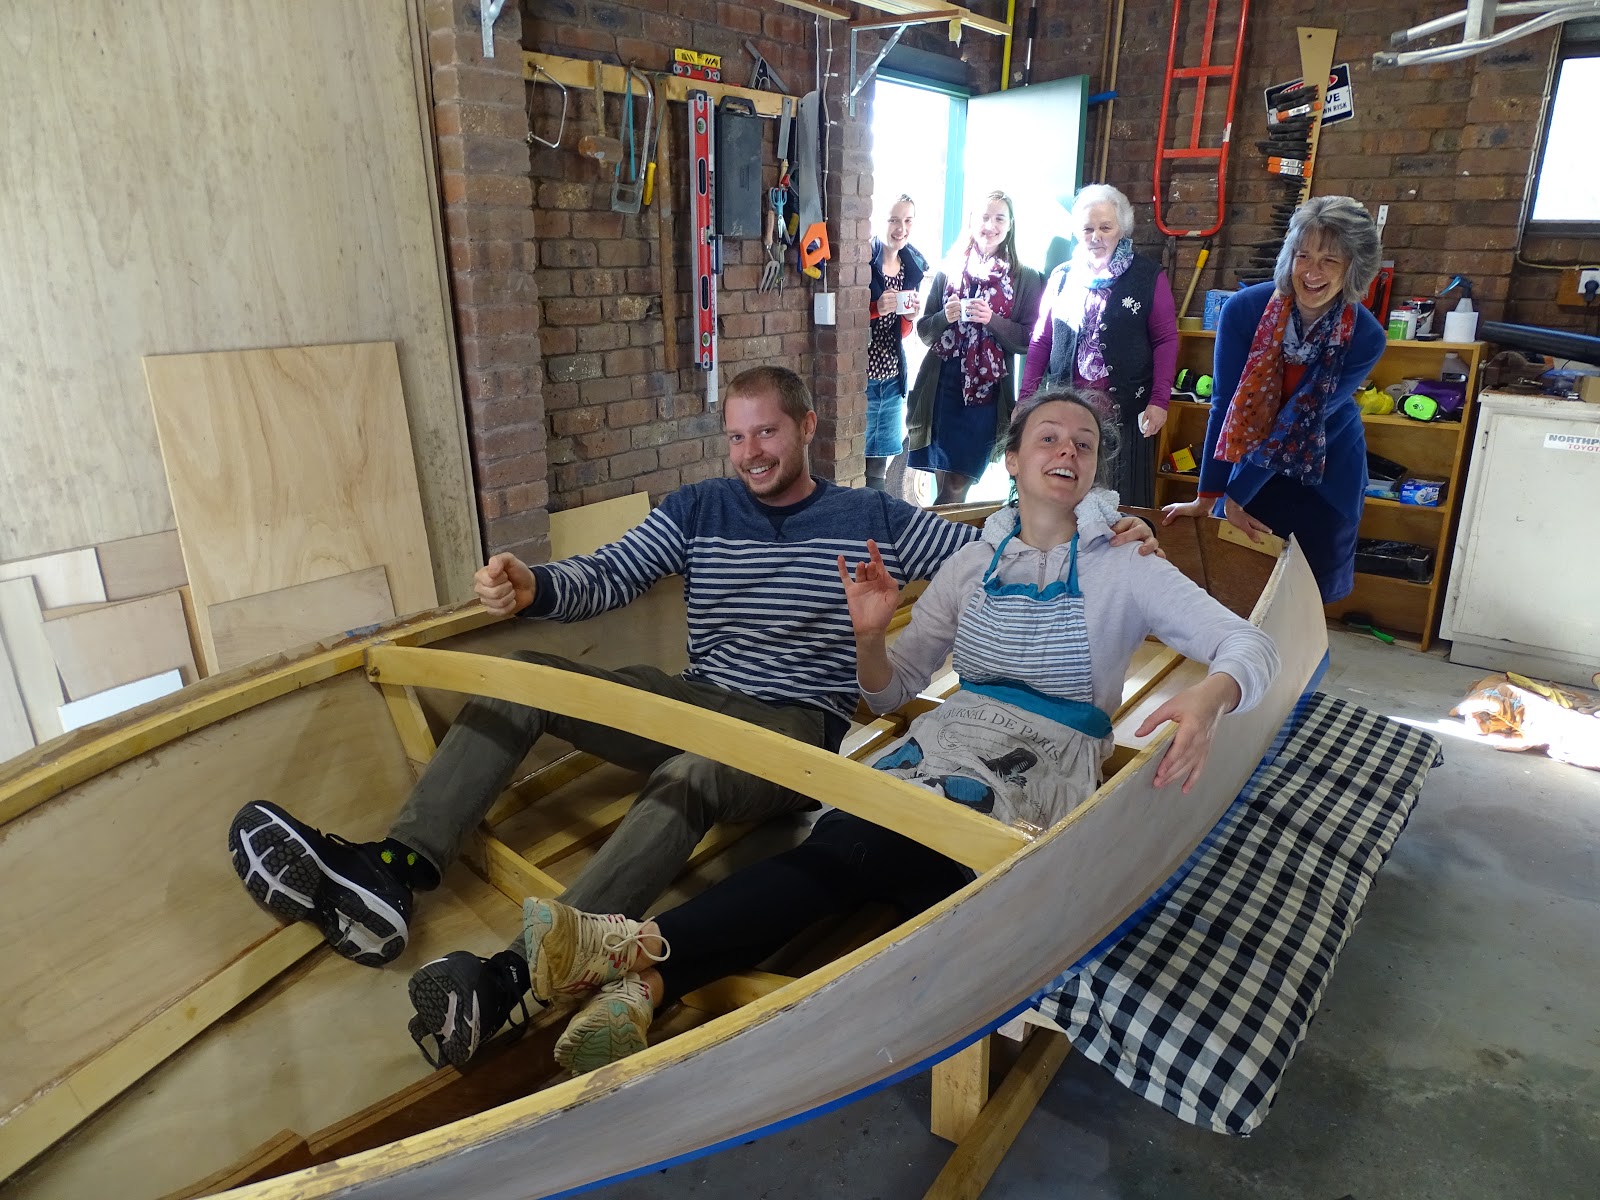 |
| The first ride - lets hope the seat is more comfortable! |
 |
| The boat wranglers. Father in law and Brothers in law. |
 |
| Its just begging me to give it a internal fitout. |
I wasted no time and that afternoon I installed the coamings.
It was out with the plans again to check the recommended method of installing them.
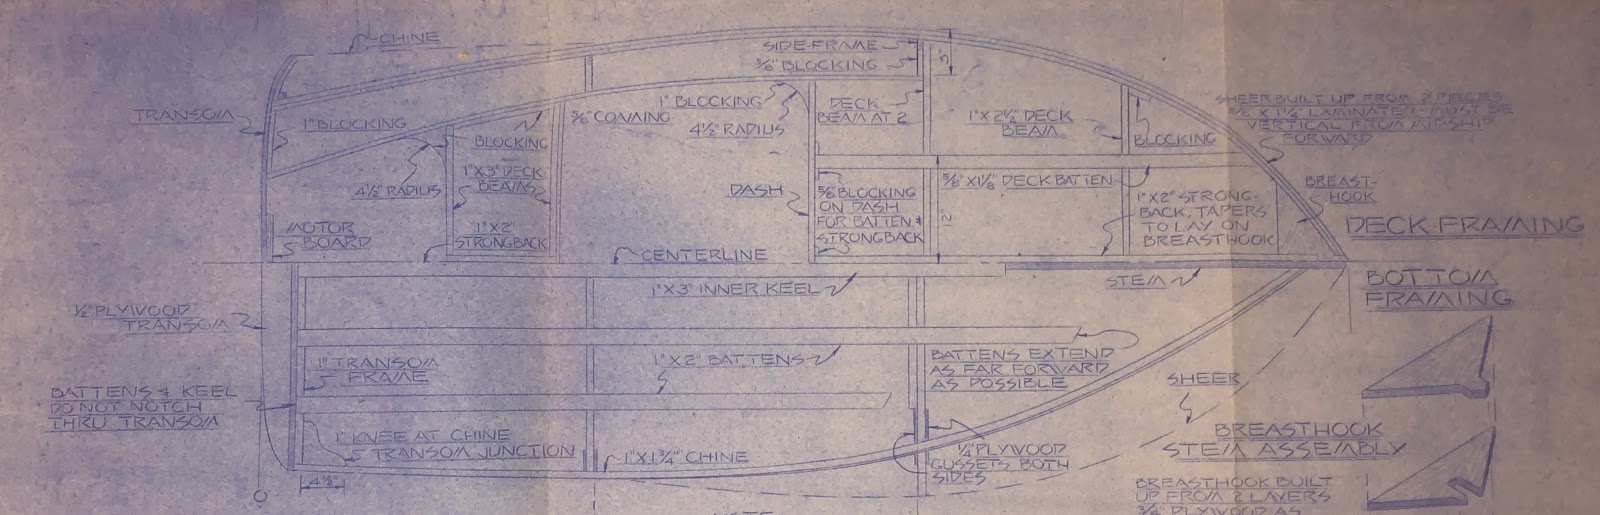 |
| Consulting the plans |
The coamings were made from two laminations of 7.5mm thick hoop pine. They bent very easily into position. Some angeled blocking was created to hold the coamings to frame 2. I just eyeballed it to make the coamings approximately vertical.
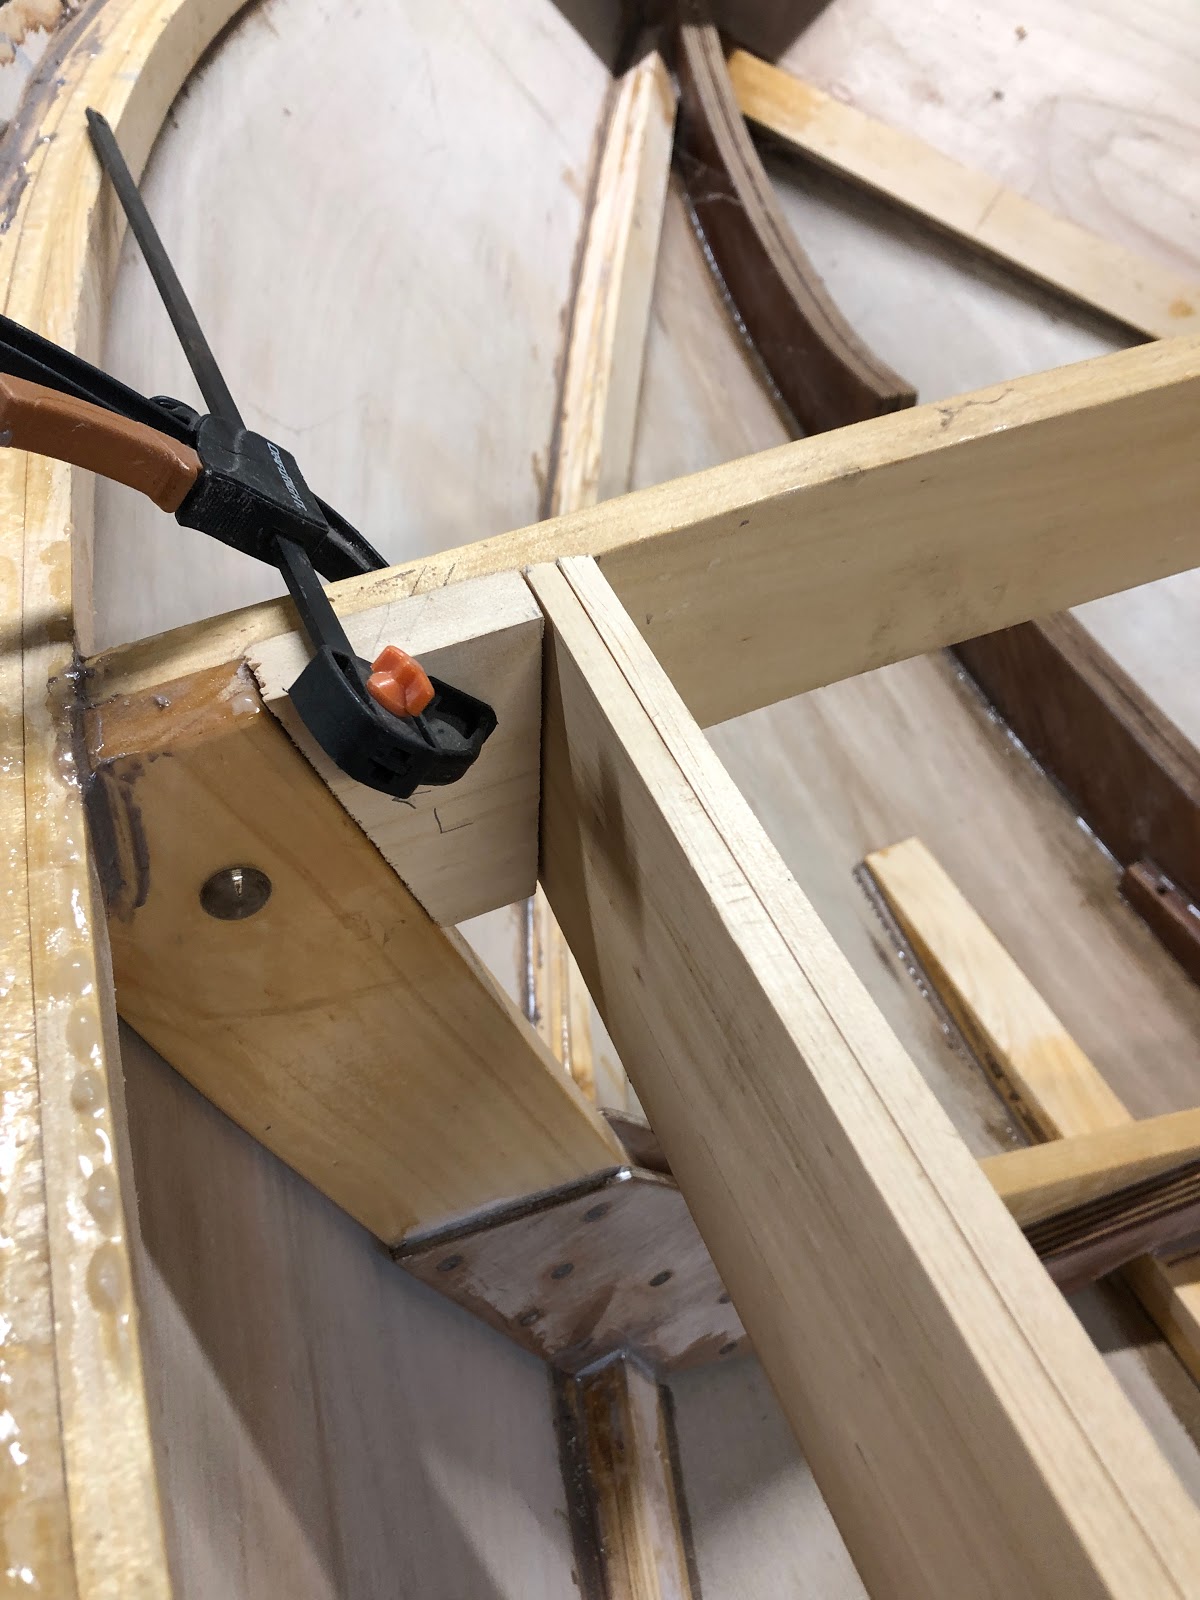 |
| Coaming Blocking |
Getting the correct angle at the transom was quite tricky. I had to creep up on the angle removing small amounts of material at at time. A sandpaper disk on the angle grinder worked well for this - it removes material very quickly.
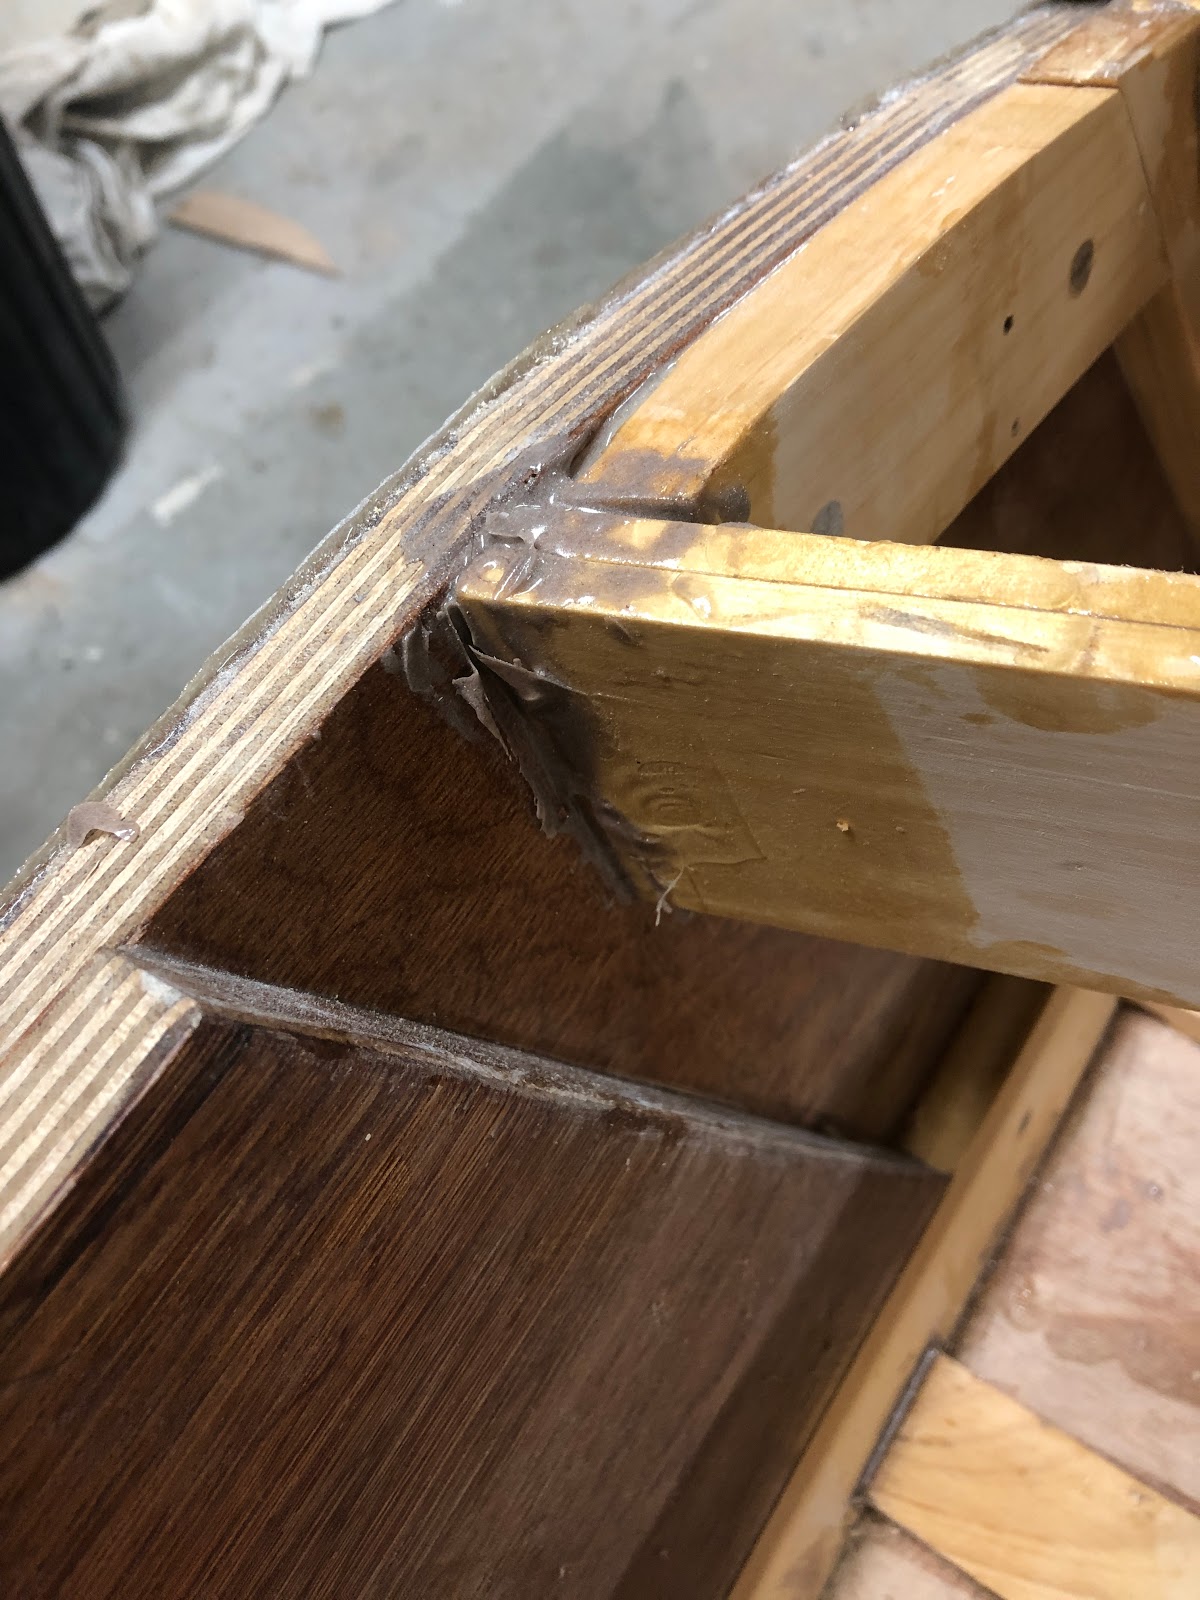 |
| Angle between coaming and transom - shown after gluing |
As the the coamings are wedged between the transom and frame 2, they held in place without any clamps for the dry fitting.
 |
| Coaming dry fit |
Epoxy was placed on all surfaces and given at least 15 minutes to seep into the wood before applying the thickened epoxy. This was to avoid dry joints especially where there is end grain. No screws were used on the coamings as the epoxy should be well strong enough and additionally it will also be further supported by the stern deck beams.
 |
| Coaming glue-up |
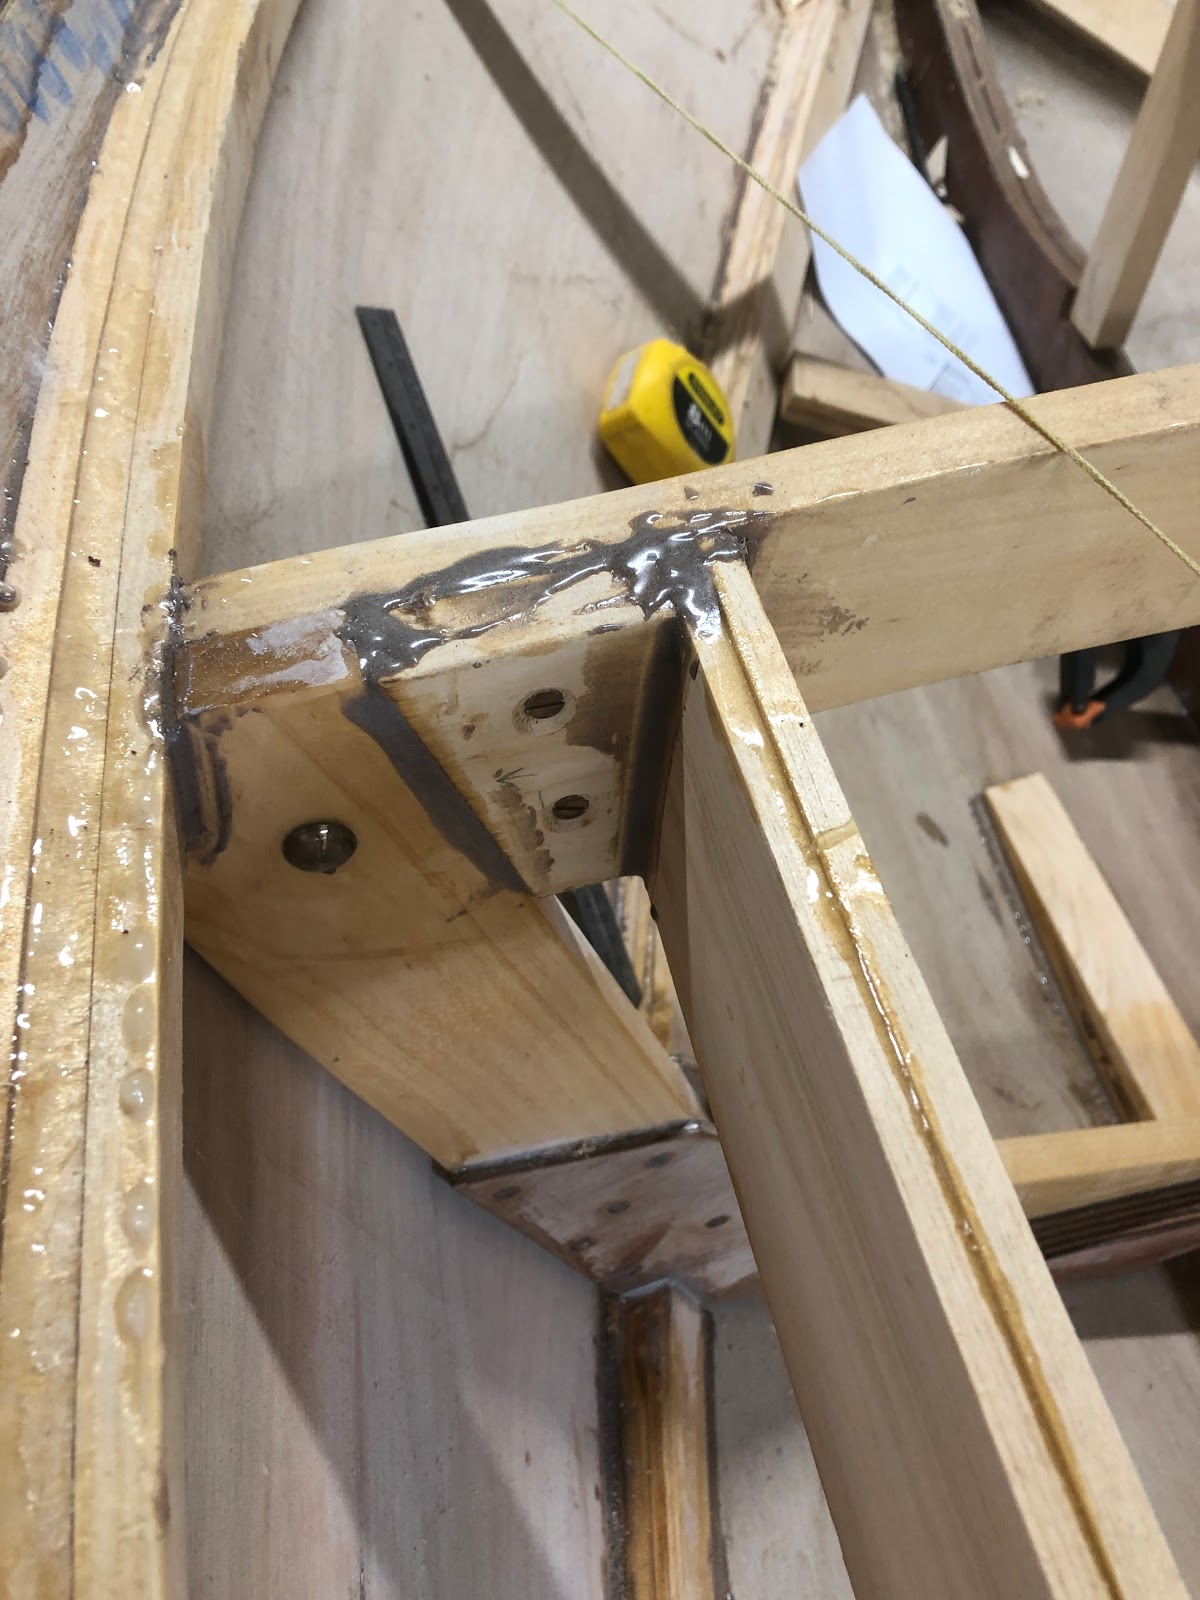 |
| Blocking glued and screwed in place |
It feels like I am making really fast progress now. Part of me feels like I could finish the boat before the end of the year but the more experienced part of me says that this is unlikely. There's still lots of sanding to do before the boat hits the water!