And over a year later.... another update!
The boat is still sitting in the same place but is now ready for painting. Hopefully this summer I will be able to flip the boat.
The epoxy layer that was put on with the fiberglass had lots of hills and valleys as can be seen in the image below. It took a lot of sanding with the orbital sander to flatten this all out.
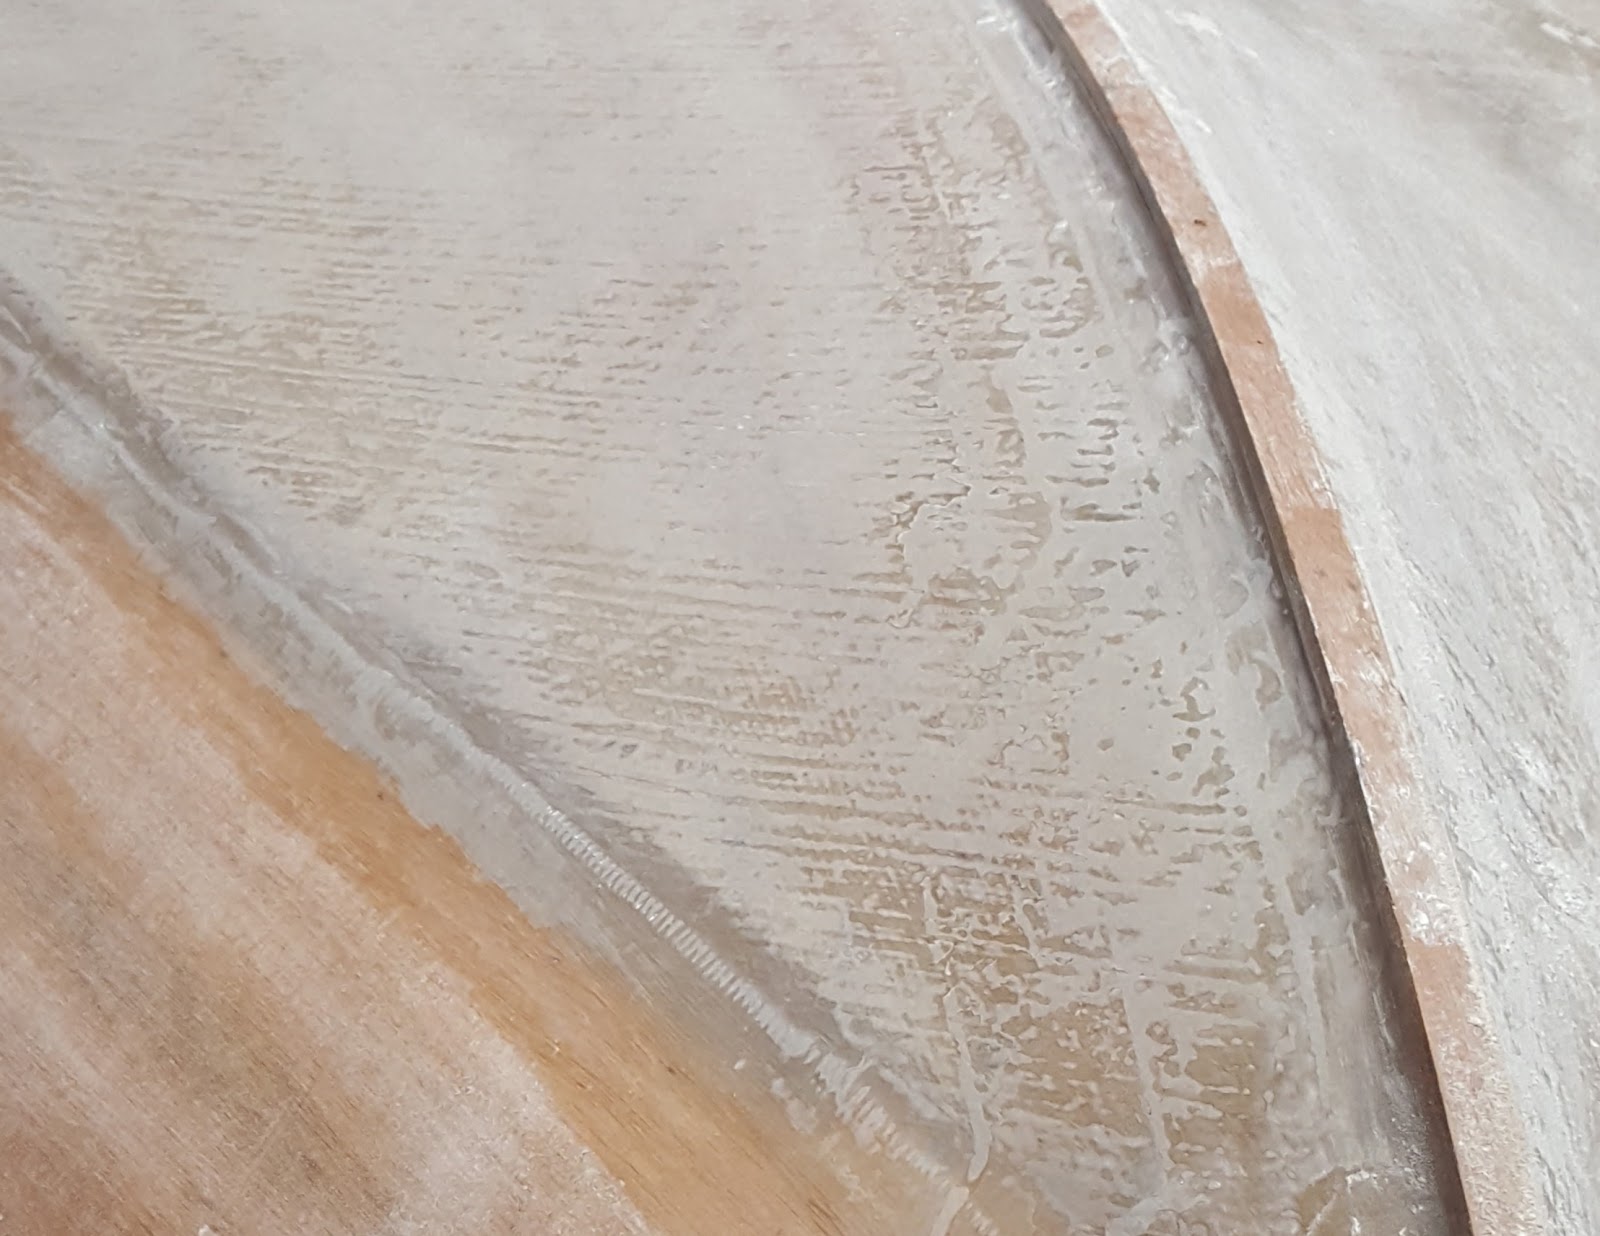 |
| Hills and Valleys of Epoxy |
 |
| Sanding in Progress |
I fiberglassed the transom - was actually harder to do than the bottom and sides as it is nearly vertical which means the epoxy runs easily.
 |
| Laying out the cloth |
 |
| The finished shiny transom |
In sanding down to the whole boat, the fiberglass weave was exposed in quite a few places. I put another two layers of epoxy on the whole boat and used the 'tipping off' technique to try and get the epoxy as smooth as possible. The 'tipping off' process basically involves gently running across the epoxy with a foam roller that has been cut in half lengthways. It did help to smooth the epoxy somewhat, but not as much as I would have liked.
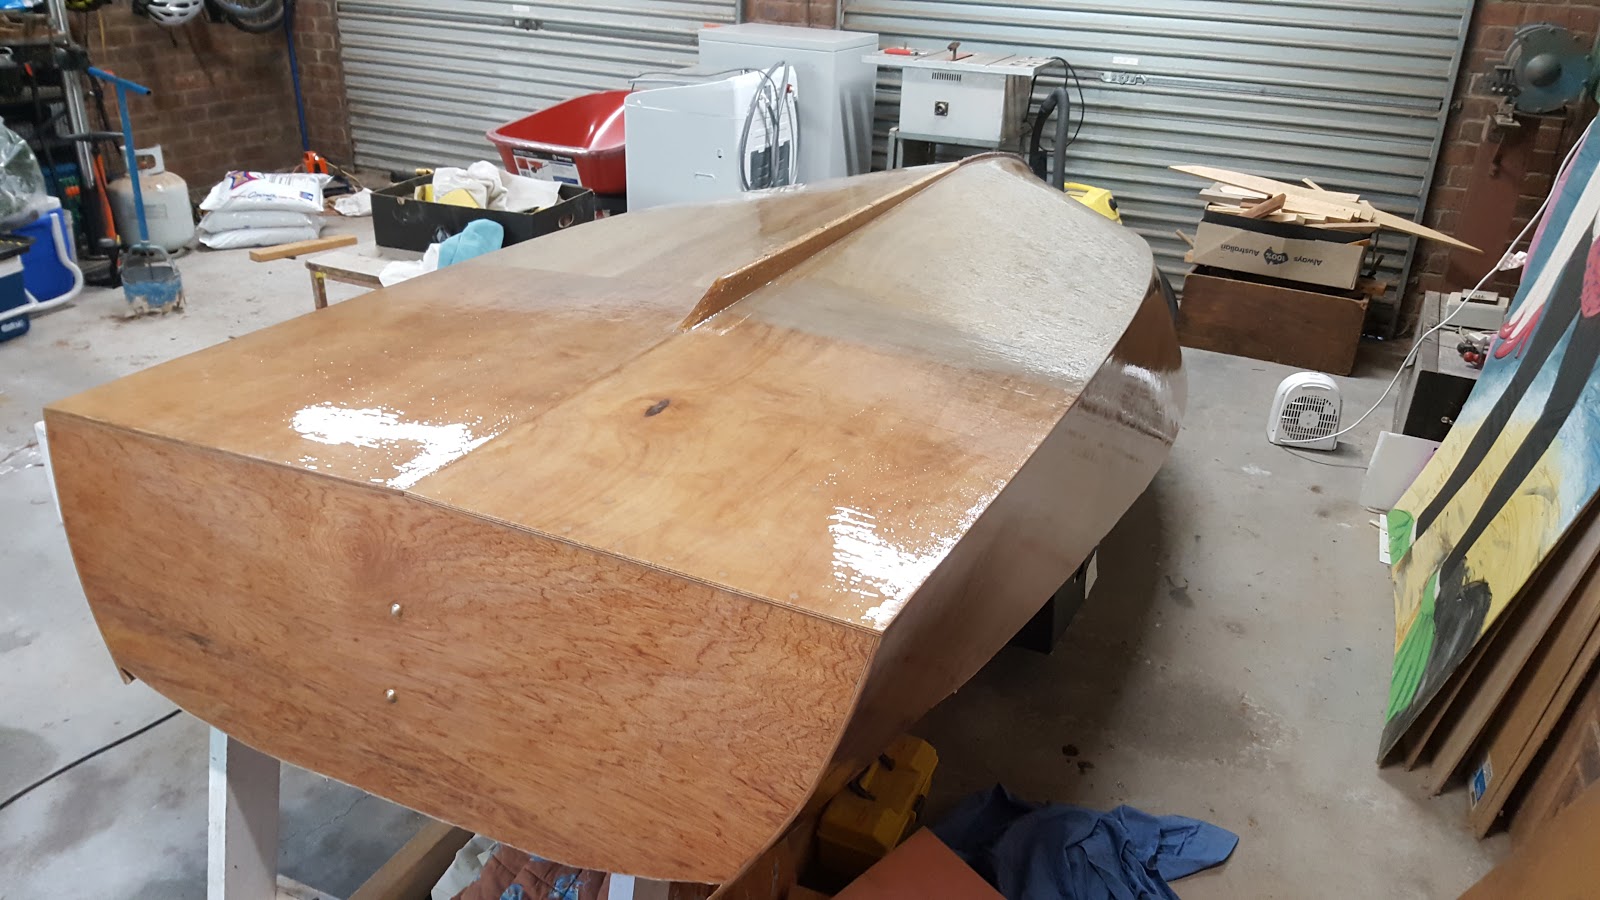
The boat looks so good when it is shiny from a fresh coat of epoxy!
 |
| Love the shine! |
 |
| Love the shine! How good will it look with 5+ coats of varnish! |
The next step was MORE SANDING!
I touched up the few areas that had been cut back to the fiberglass weave again.
 |
| Touching up areas with weave exposed |
After some more sanding, another touch-up and yet more sanding, there were still some spots with the weave showing.
 |
| That weave just loves to show |
I have realised that with sanding that you can never get it perfect and you could literally spend forever trying to get it so. I have decided to just paint over the weave in the small spots it is showing.
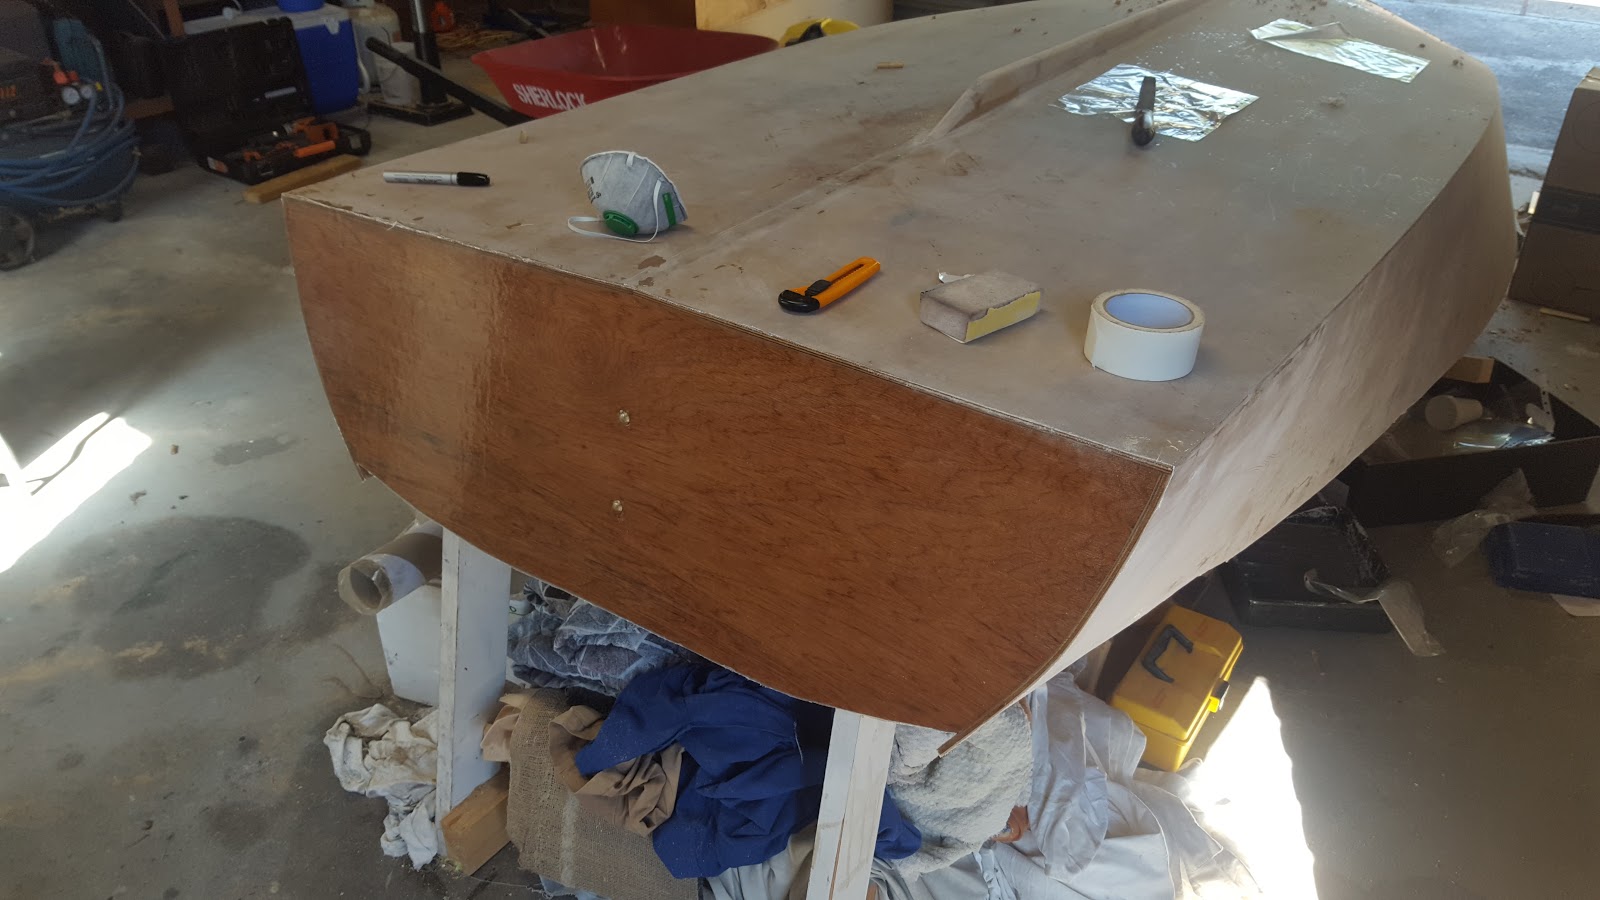
As this is a planing hull it is important that the transition between the bottom of the boat and the transom is a nice sharp line. This was achieved by putting a flat board covered in plastic packing tape against the transom the scraping thickened epoxy up to the board.
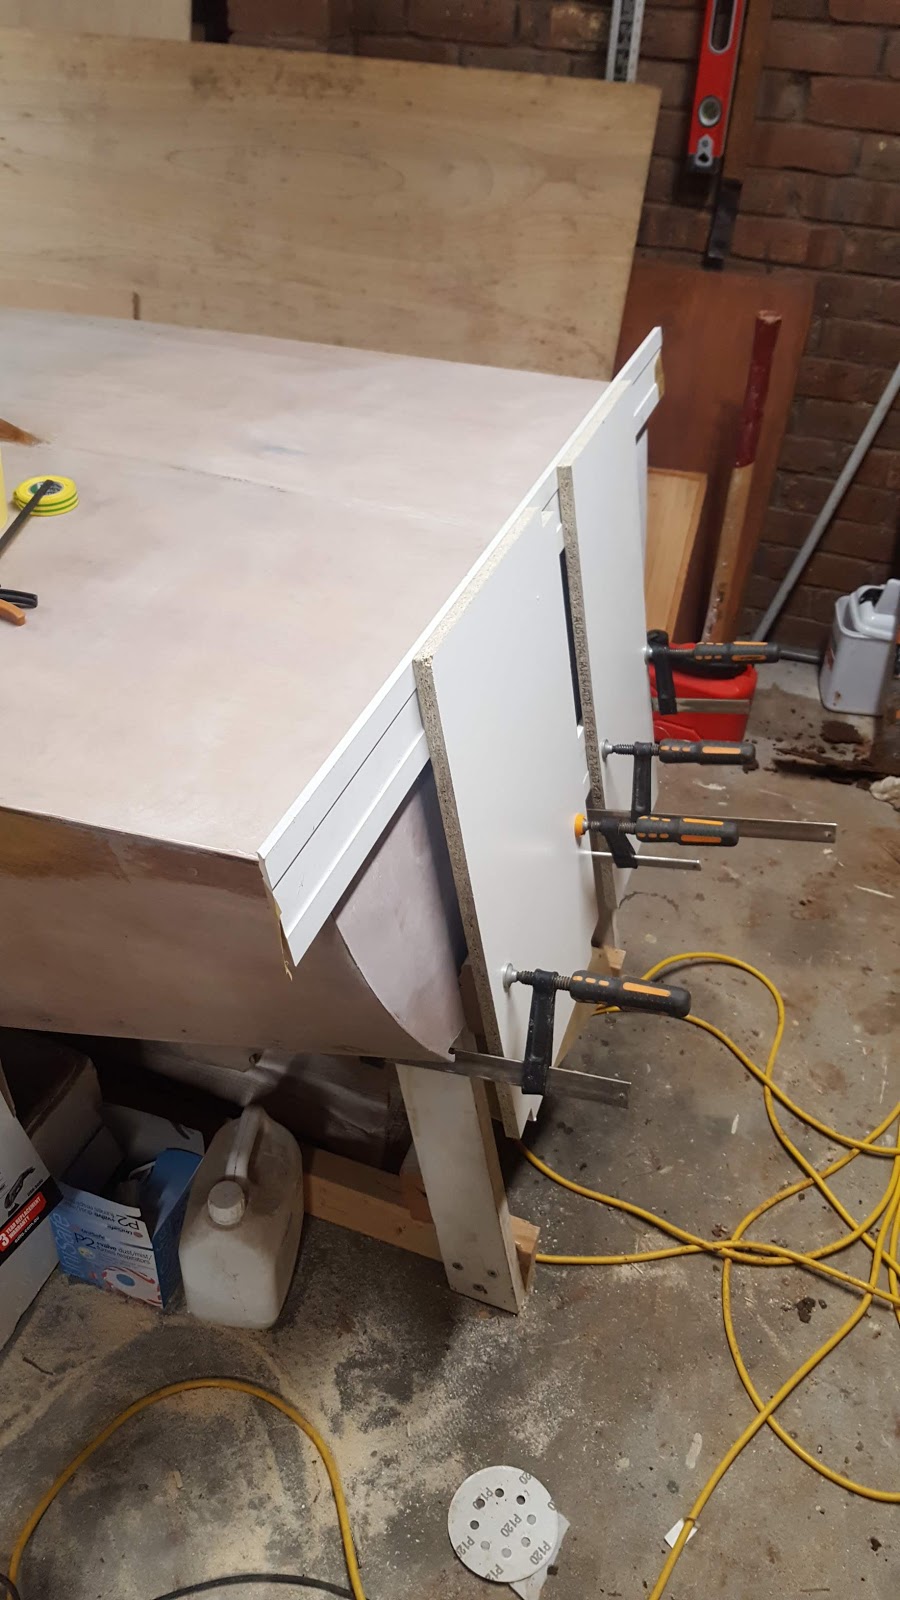 |
| Transom transition truing |
 |
| Adding the thickened epoxy |
With some careful sanding it created a nice sharp transition which will oneday carry my weight.
 |
| Planing edge |
The external keel was tapered at the end to a nice 'flowing consistency'.
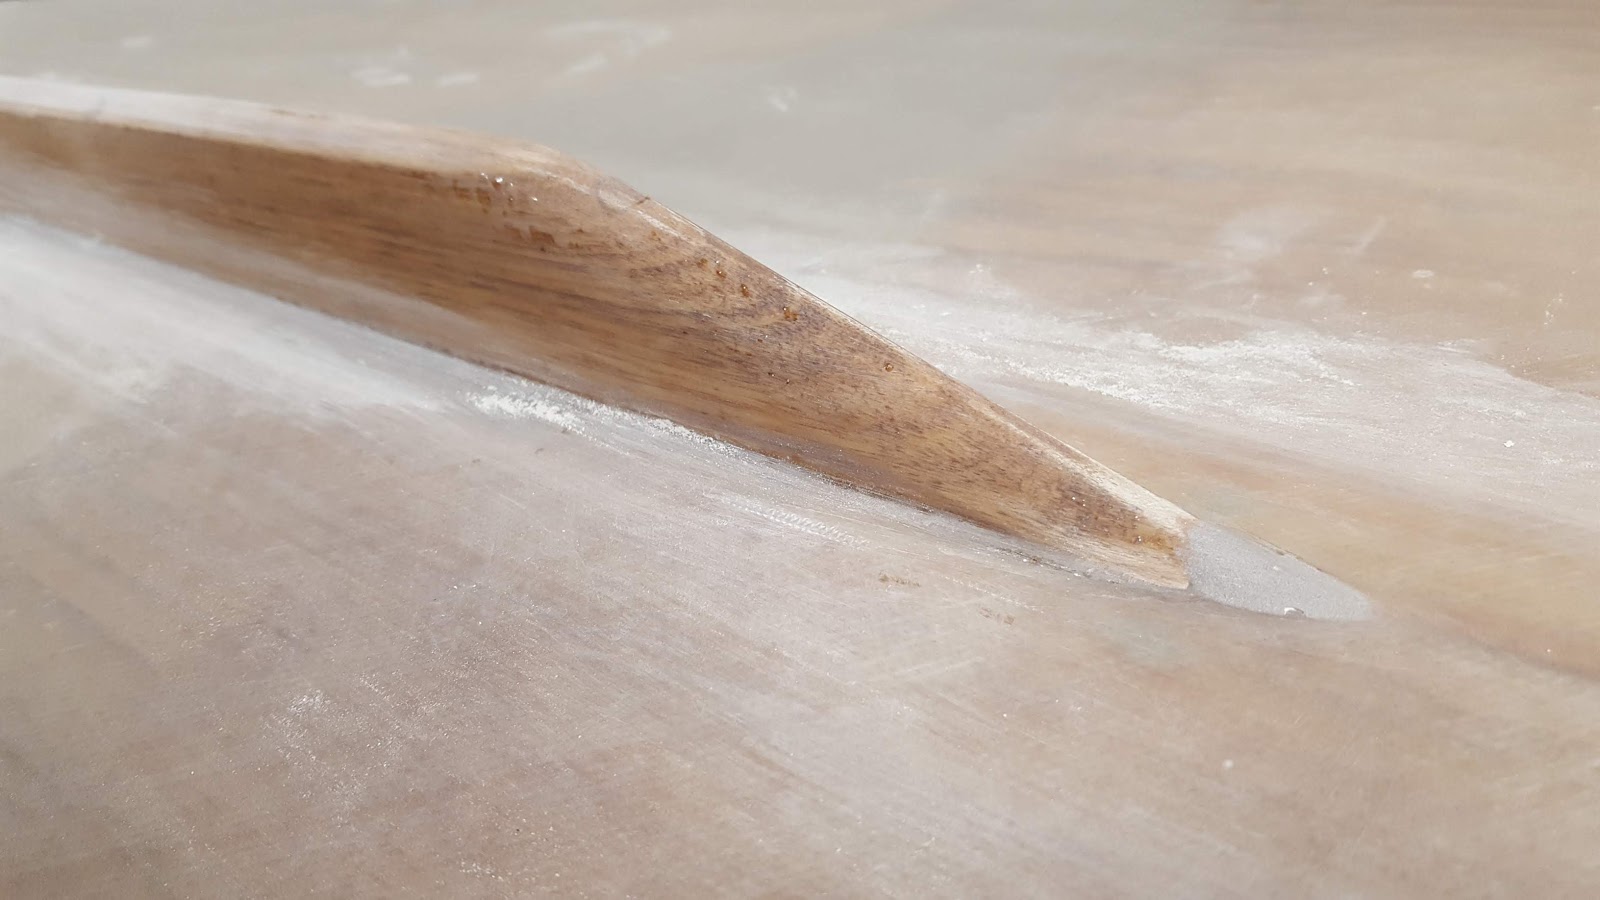 |
| 'Aero-dynamic' or should I say 'water-dynamic' |
A lot of work with the hand pland and sand paper went into getting the keel strip smooth with a consistent radius. I have put epoxy fillets along the length of the keel strip which needed a lot of sanding to get consistent. It isn't perfect but I am quite happy with it.
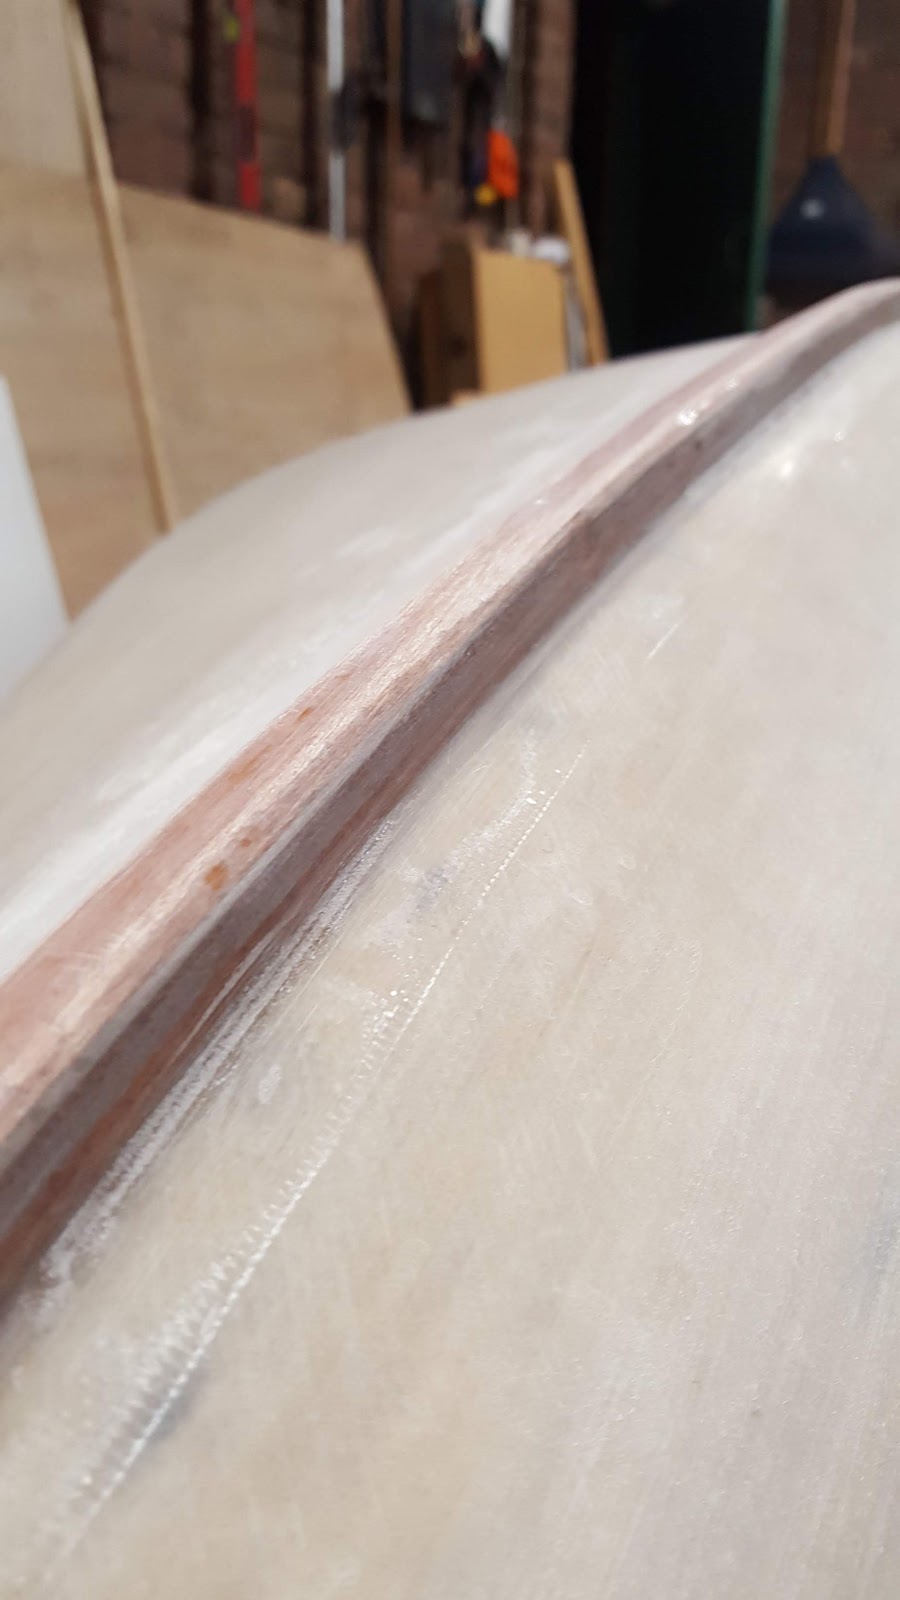 |
| Keel strip ready for painting |
I have started making a bed for the boat to sit on once it is ready to be flipped.
 |
| Custom Mattress - I might even consider putting a pillow top on it :-) |
The boat is now ready for painting. I just need to give the garage a big clean-up to get rid of as much dust as I can and then do some masking.
 |
| Ready for color! |
I have decided to use the International Yacht Paint single pack range. I was originally going to use their two-pack system but opted for the cheaper and simpler option. I will be doing
3 coats of Yacht Primer
2 coats of Pre-Kote
2 coats of Toplac
 |
| My beautiful paint cans - a sign of things to come. |
The colour I have chosen is Lauderdale Blue
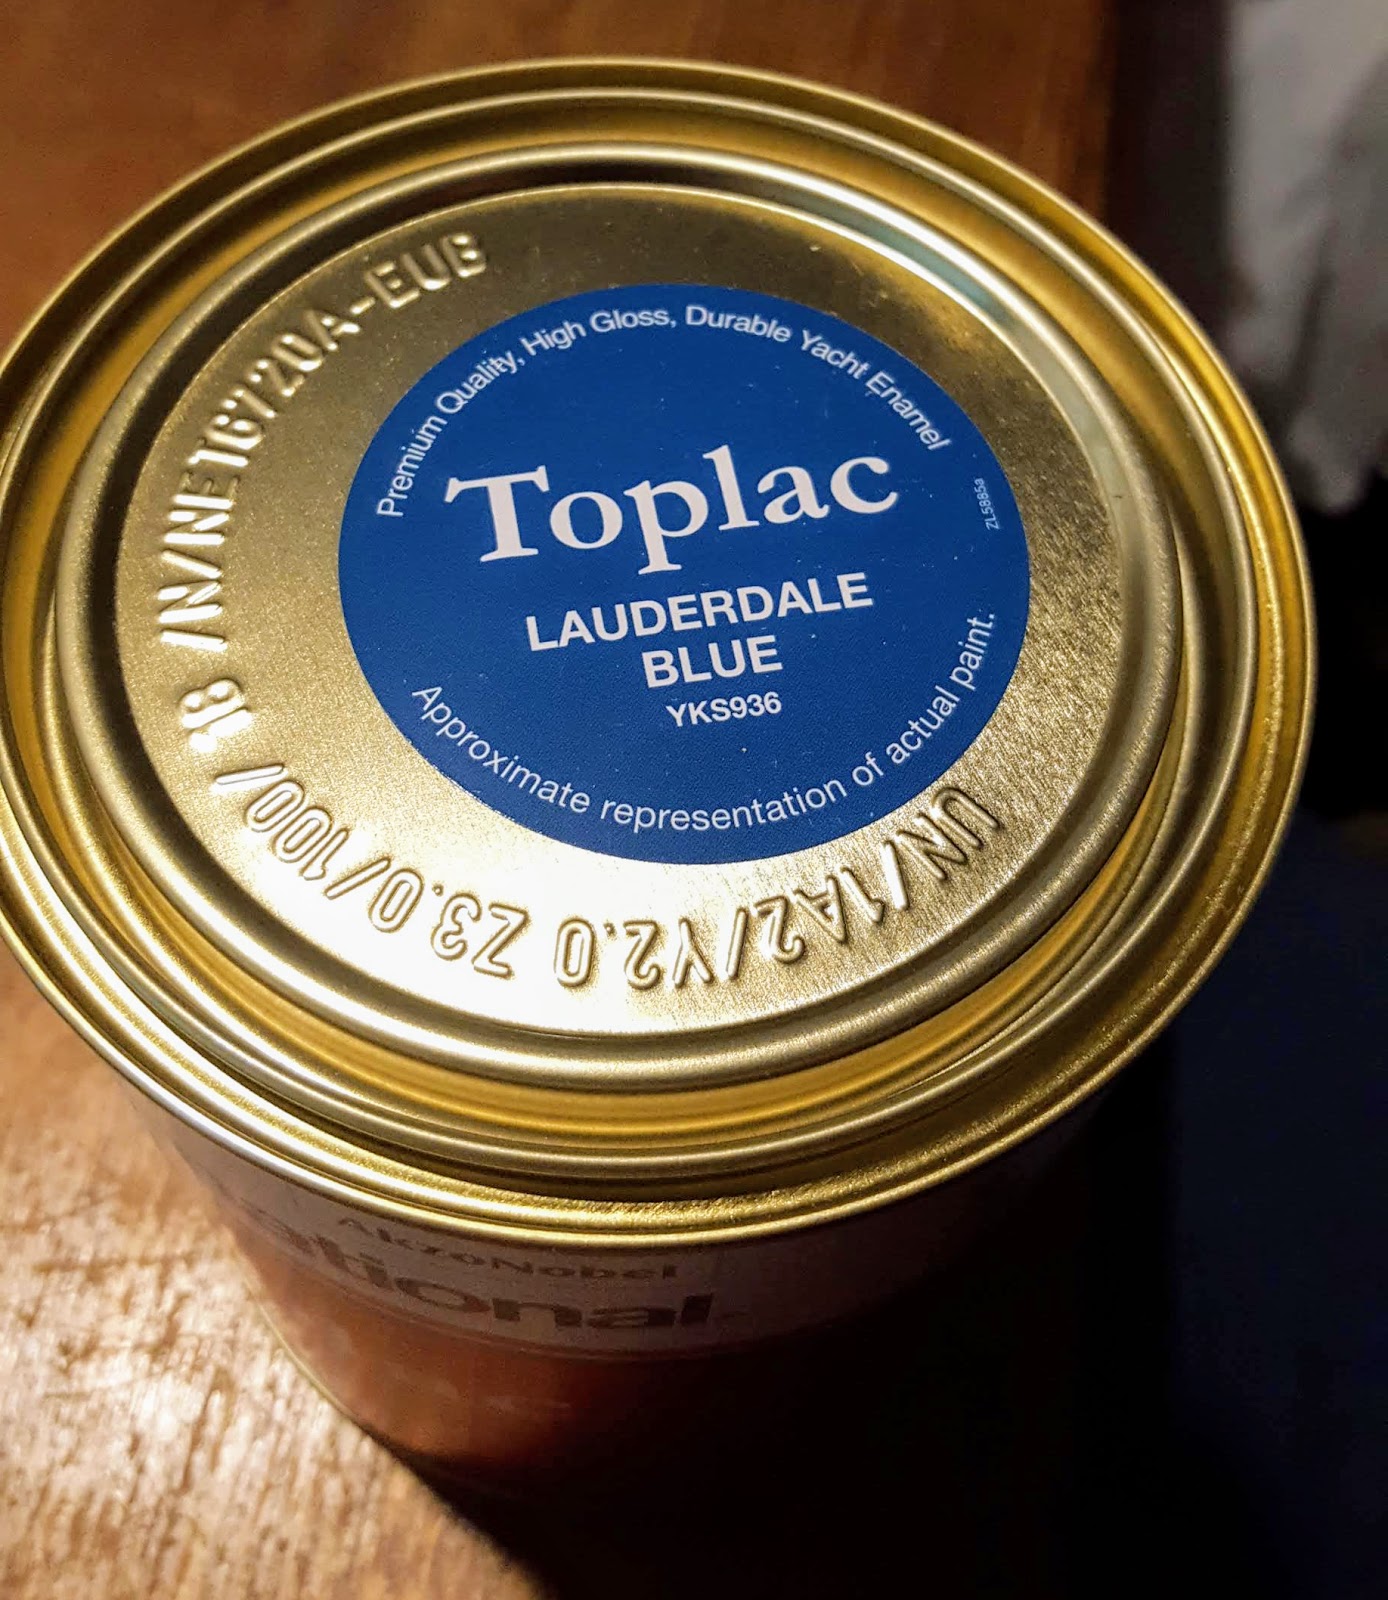 |
| Blue |
I am really looking foreward to sharing my next post!