It's been a massive 6 months since my last post!
The boat has been progressing very slowly for several reasons.
Firstly, fairing takes quite a while and I am being a bit of a perfectionist.
Secondly, it has been winter and not ideal for using epoxy.
Thirdly, I have been quite busy with things which are more important than boat building.
I haven't put down the tools thou! I've had fun making play props for a youth group play along with some cool signs for the SYP Hebron Study Weekend which was themed 'Leaving Egypt Behind'.
'Egypt' and 'Promised land' signs
Before scarfing, I determined the approximate size of the sheets and cut them to the approximate size required.
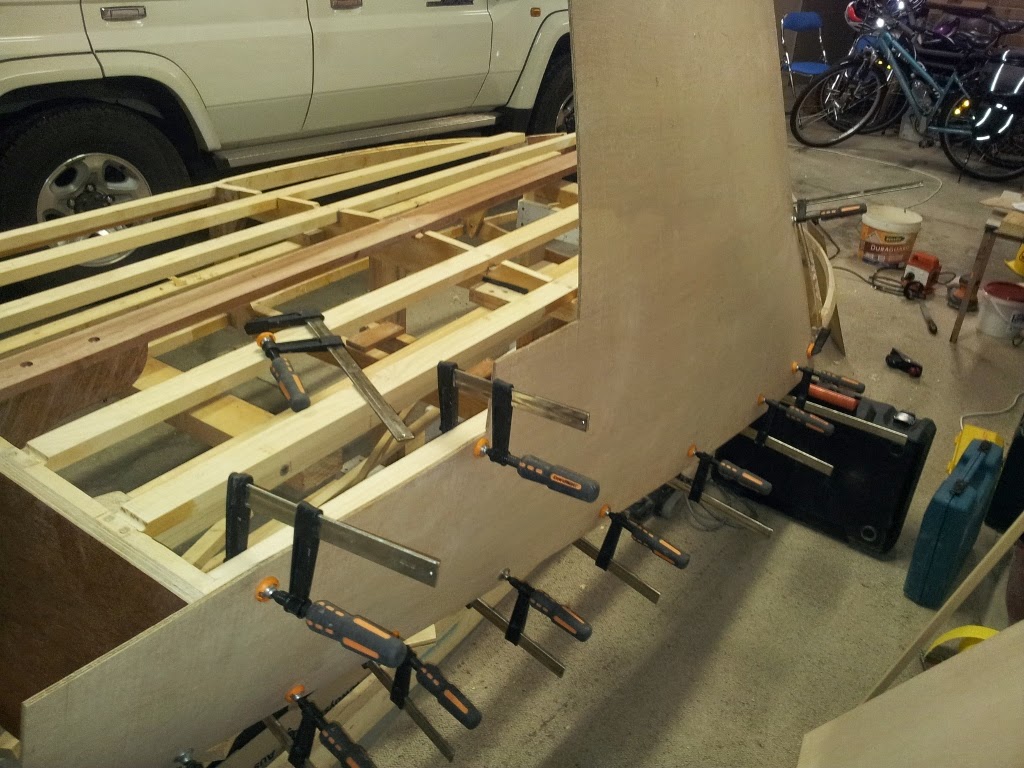 |
| First attempt at placing side panelling |
Since my last post, I have scarfed the side panels and have worked on getting the fairing correct.
.jpg) |
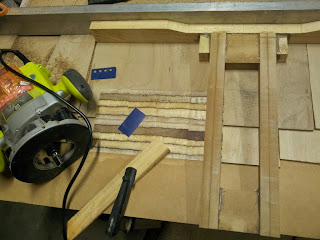
| Half way through cutting the first scarf joint |
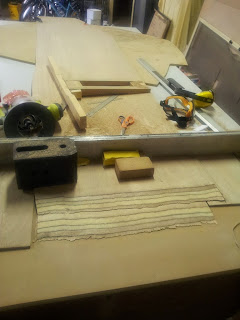
The scarfing jig worked perfectly on the first attempt and not as well on my second scarf joint, as can be seen by contrasting the photo below with the photo above. The plywood was a little bowed on the second attempt and a flaw in my jig is that it doesn't hold the plywood down to the table once the scarf is cut. I am confident that the jagged edge will not affect the quality of the scarf joint however.
.jpg) |
| Second scarf - quite jagged edges |
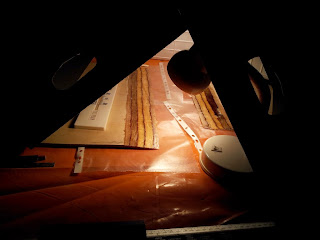
Because it was getting cold when I did my first scarf joint, I covered the joint with boxes and put some incandescent globes inside. This managed to raise the temperature to 20 degreesC which is a suitable curing temperature. I thought it best to ensure a good curing temperature for such an important joint in the boat.
.jpg) |
| Initial soak-in coat of epoxy in improvised 'hot box' |
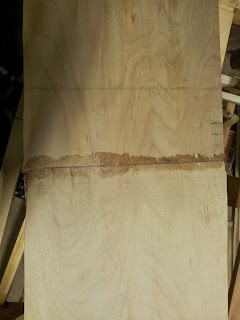
I was very happy with my first scarf joint. It worked perfectly and even the grain in the wood sort of lined up!
I would recommend attempting scarf joints. Making the jig and cutting the scarfs is the hardest part.
.jpg) |
| Completed scarf joint |
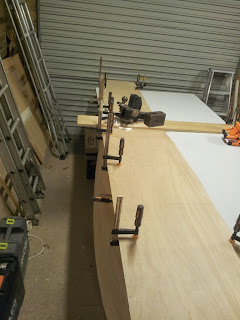
Mounting a flat table top over my boat helped to facilitate the scarf jointing. A4 plastic sleeves were used to stop the joint gluing to the table.
.jpg) |
| Second scarf joint curing |
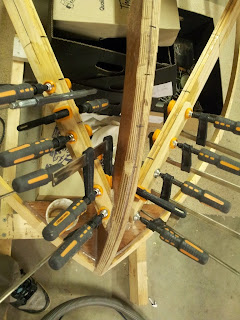
One of the problems I encountered when fairing was insufficient material on the forward part of the chine. For this reason, I glued in another piece of wood to allow a convex curved hull.
.jpg) |
| Adding extra material to chine |
As it happened, the first piece of wood was still not sufficient; therefore I glued another larger piece of wood on both sides after a significant amount of planing.
I think that perhaps this could be in the running for the most clamp density used on a boat build!
There was quite a twist required in the wood.
.jpg) |
| Adding still more material to the chine |
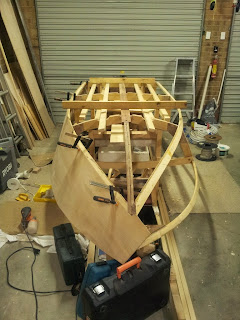
The port side of the boat is fully faired now. Using rags and boiling water, the plywood was eased into the bends required at both the stem and transom. The bend on the transom is the most significant and I have a small amount of concern that there is a risk of cracking the plywood.
.jpg) |
| Plywood fitted and nearly ready for gluing |
My plan is to glue the sides on the boat over the end of year period. Hopefully I can also glue the bottom on before winter next year.
I am still really enjoying my boat build but the problem for now is that I don't have any annual leave left for this summer.
Slow and steady persistence will have to be my boat building maxim for now!


No comments:
Post a Comment