It has been a few months since I have done a post for my boat build.
It turns out that making the frames is taking longer than I expected! I have had limited time to work on the boat but I am still enjoying every moment of it.
I have set up an epoxy 'hot box' with a globe so that I can keep the epoxy at a low viscosity in the winter months. This will make it possible to pump the epoxy.
Dad had an old temperature controller which we installed in the box. I can just dial 25degC and it'll turn the globe on and off as appropriate to maintain the temperature.
 |
| Epoxy 'hot box' with room for all the epoxy application hardware. |
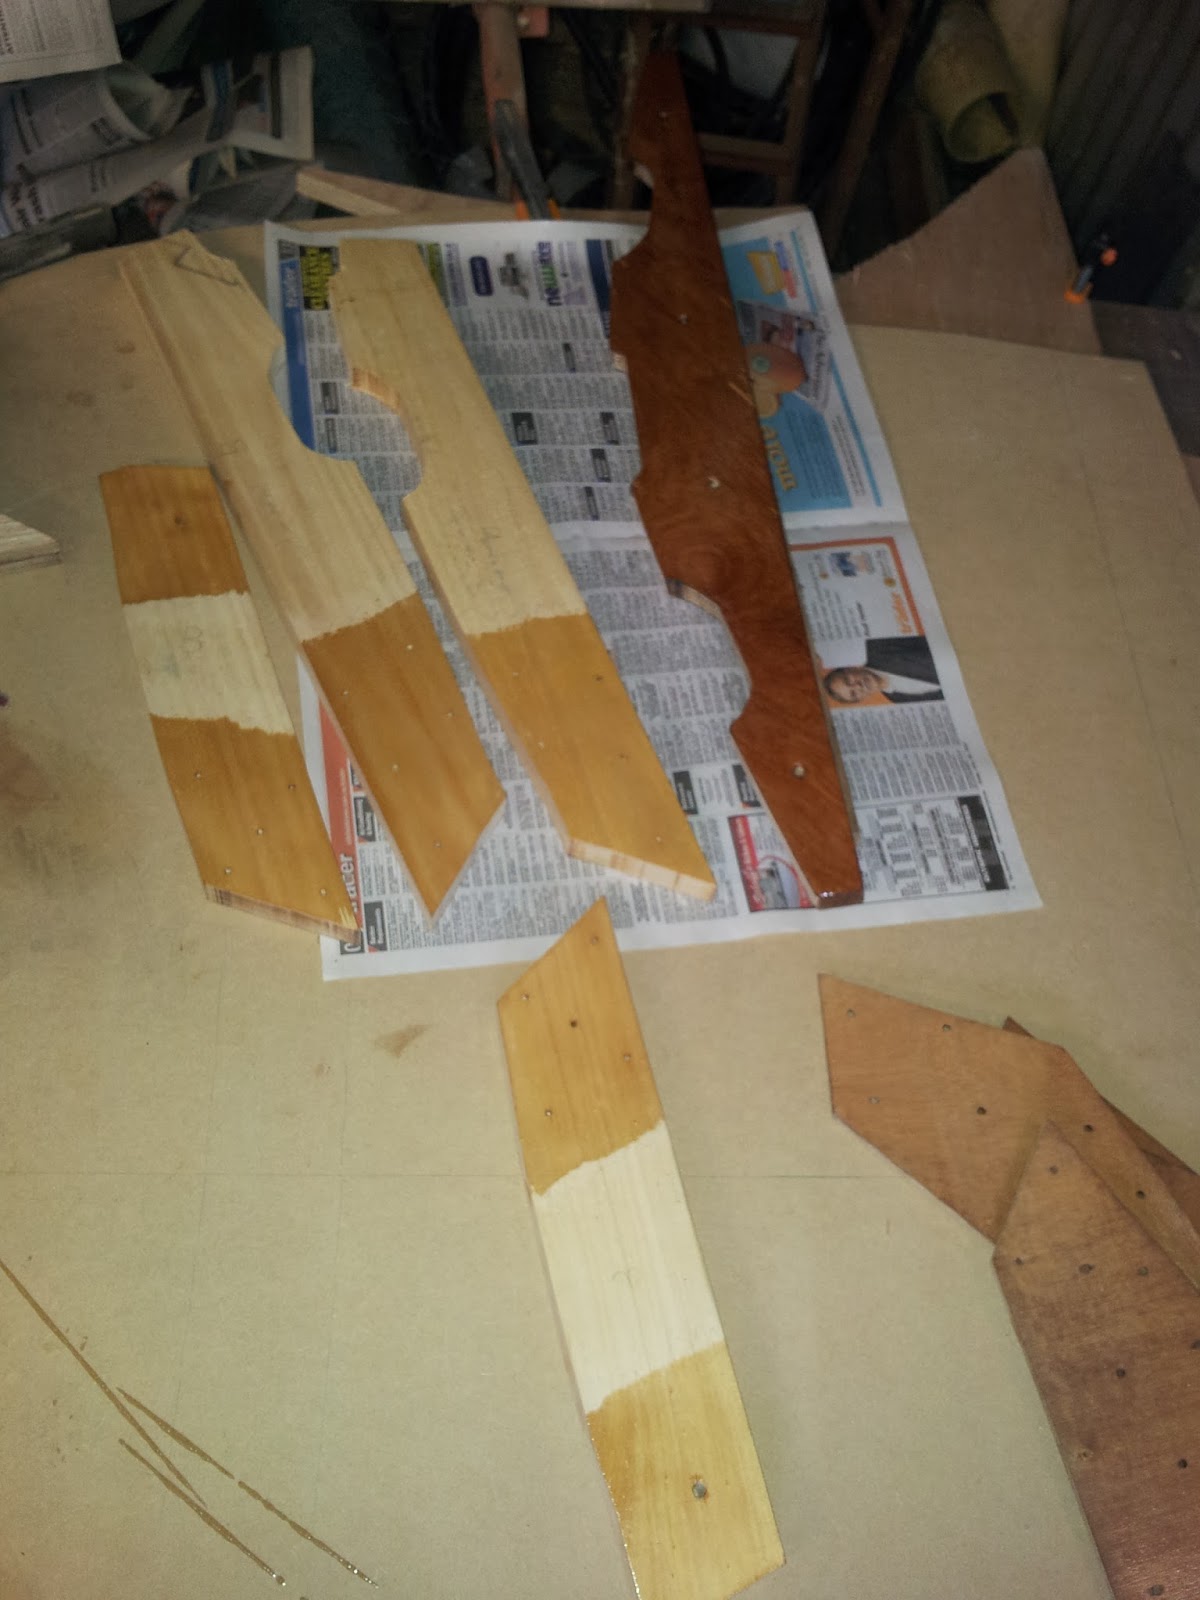
I ordered silicon bronze fasteners and screwed the frames together as a dry run before epoxying.
 |
| Frame after dry run |
Purchasing a AEG random orbital sander, I sanded the region of the joints ensuring not to get oil from my fingers on the freshly sanded wood. As recommended in the 'Boat-Cote' epoxy manual, I applied a layer of epoxy to avoid getting dry glue joints. Apparently the wood absorbs the epoxy and can leave very little epoxy to form the bond between pieces of wood. Applying a layer of epoxy and sanding back before gluing eliminates the risk of dry joints.
I have been leaving 2 days for the epoxy to cure.
 |
| Applying epoxy to mating surfaces |
The advantage of doing a dry run on the frames was that it made accurate gluing very easy. I mixed up epoxy and filler, spread in out on the parts and simply screwed them together. Where the epoxy did not flow out the side of the joints I used clamps to ensure a proper bond.
 |
| Gluing of stem, transom knee, breast hook and transom |
 |
| One of the completed frames after gluing |
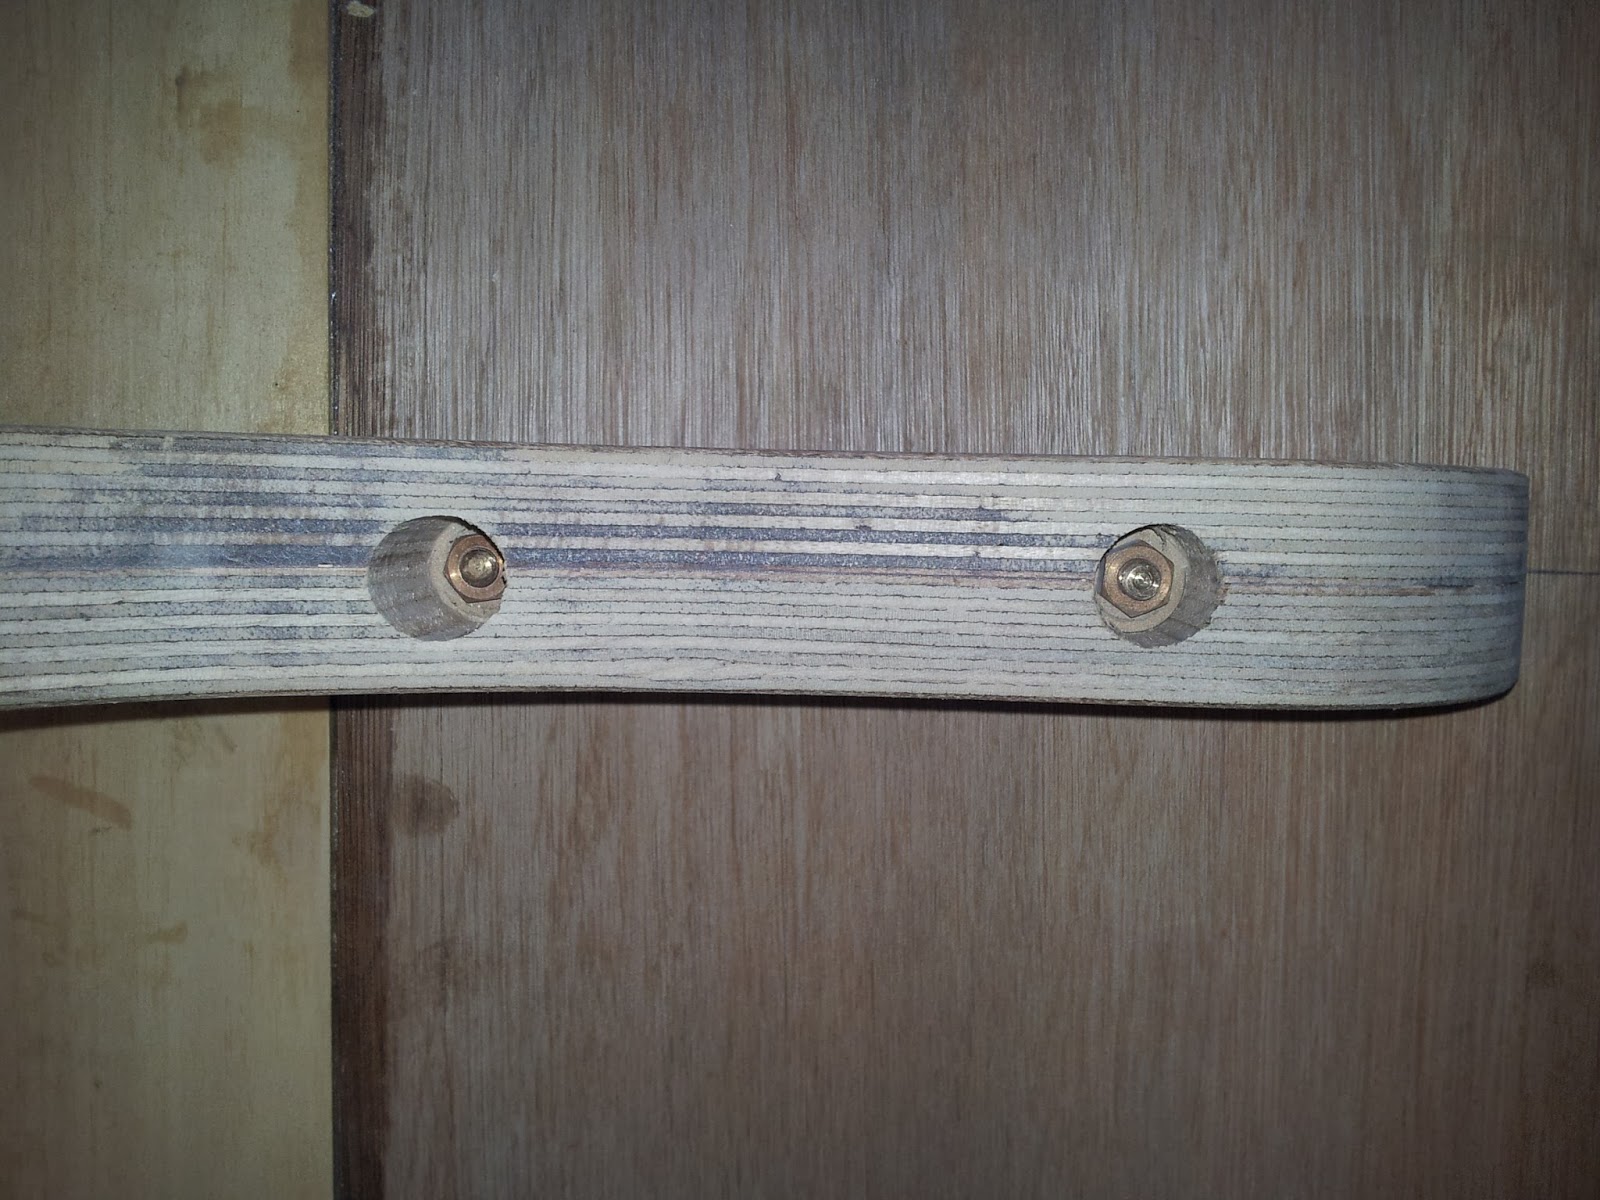
After gluing the transom knee, I drilled the holes for attaching to the transom and the keel.
 |
| Carriage bolts holding transom knee to transom. |
 |
| Completed transom |
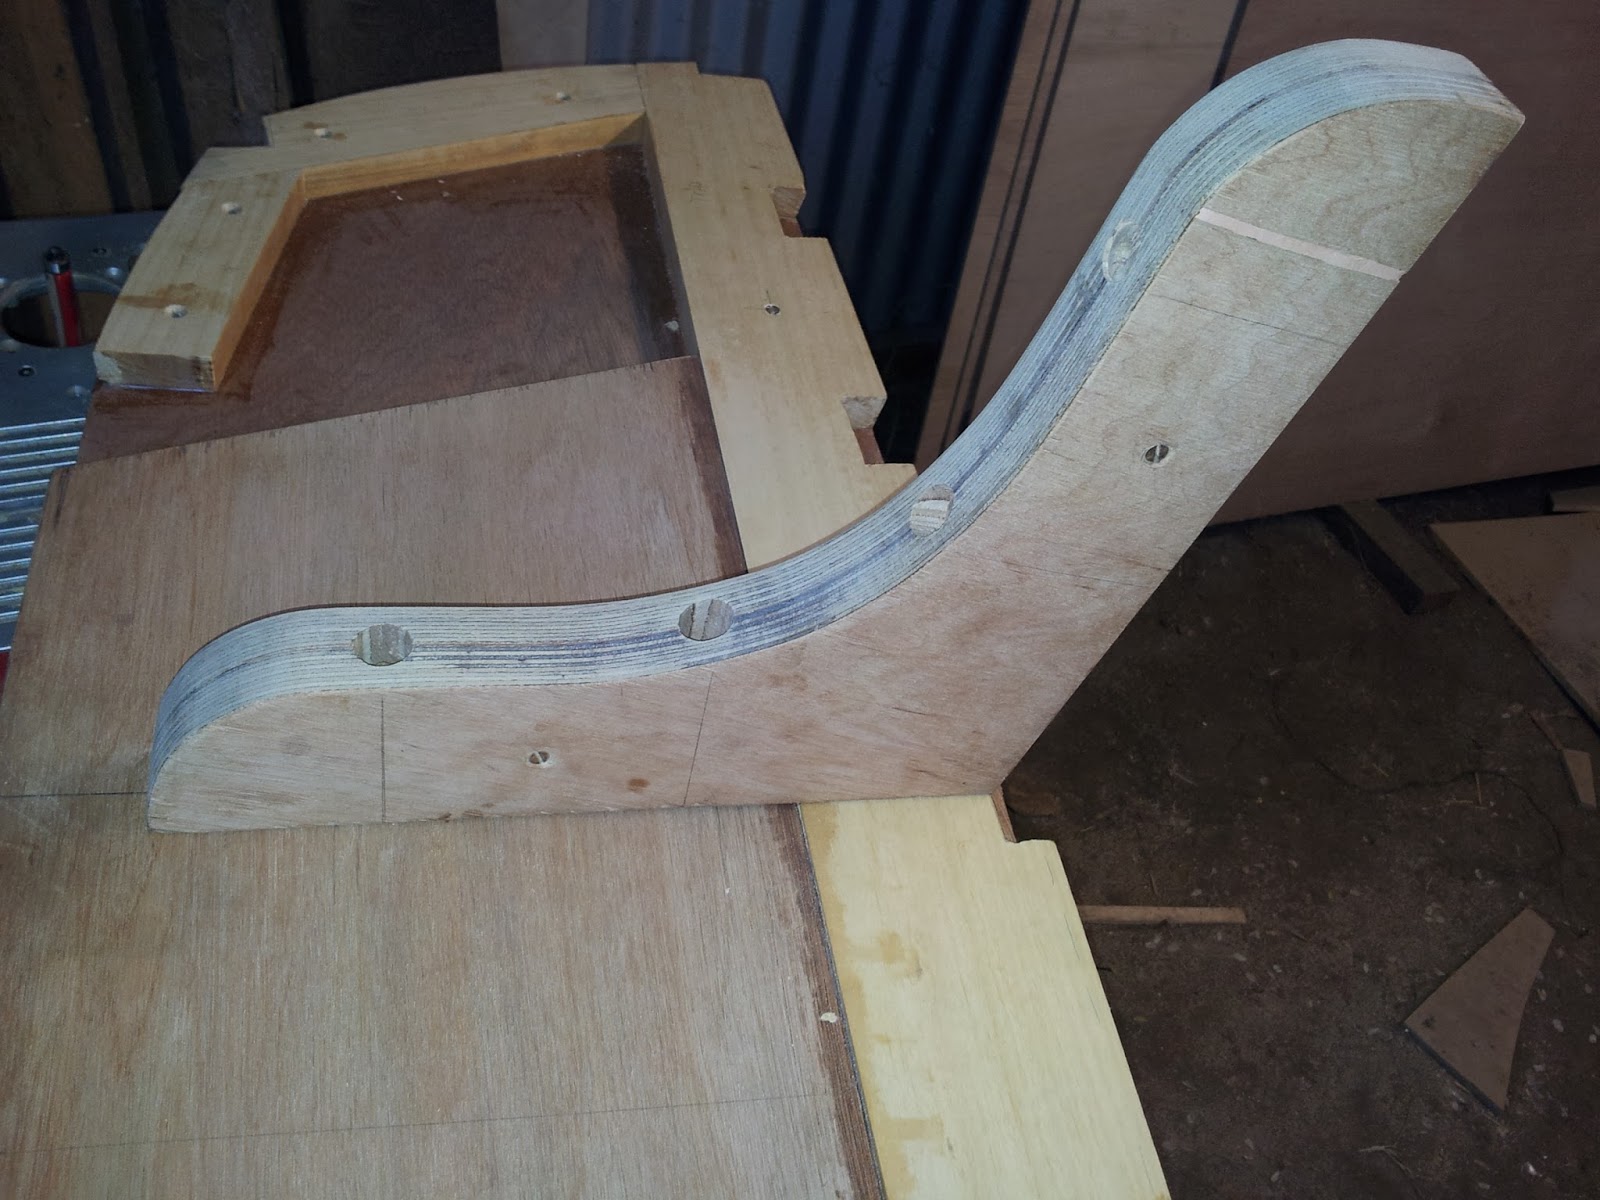
The breasthook was attached to the stem with two screws. Holes were drilled in the stem for attaching to the keel.
 |
| Breasthook and stem |
In the next few weeks I plan to finish gluing the frames together. I have purchased wood for the building form and plan to start this soon.