It has been a while since my last post and I have been slowly working on the chines and sheers.
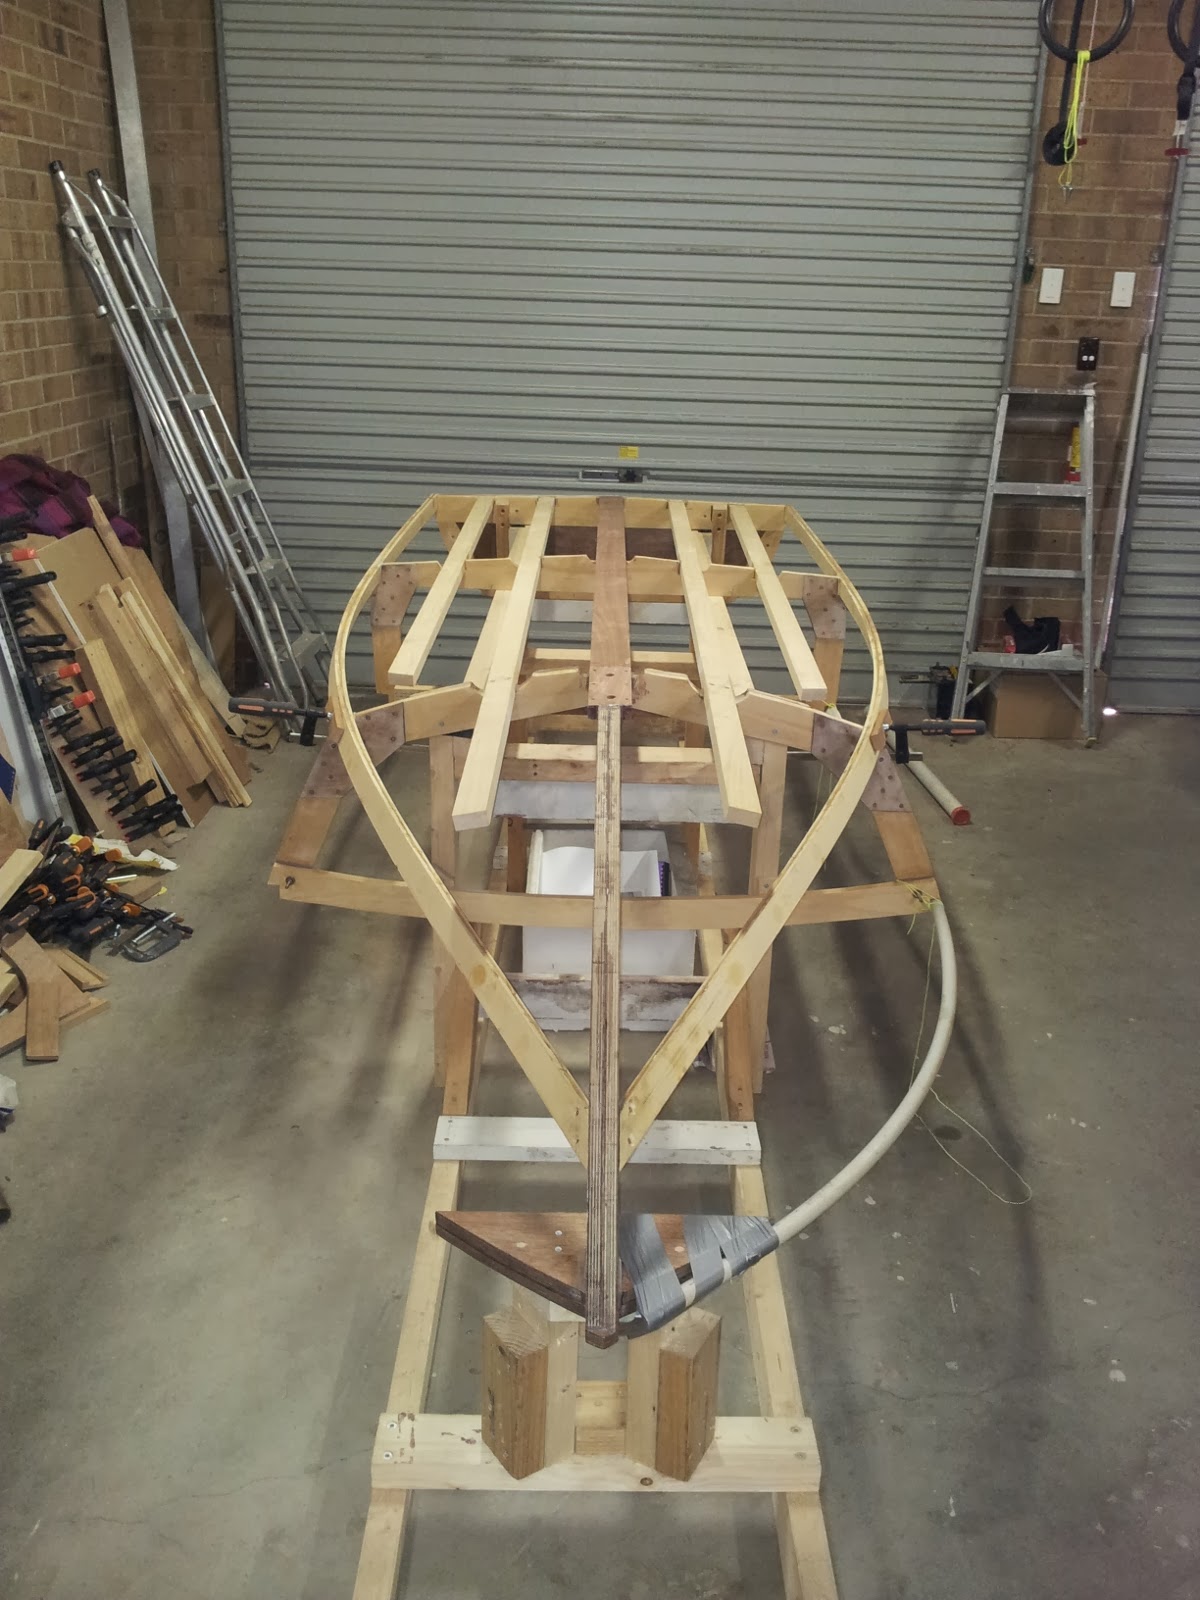
The chines were completed and epoxied in place.
I used:
- 2 screws in the chine-stem junction
- 1 screw in the transom
- 1 screw in the first frame
- 0 screws in the second frame.
.jpg) |
| Completed chines epoxyed and screwed in place |
In order to overcome the problem I experienced with inadequate twist on the chine, I got a tapered piece of wood (shim) cut and epoxied it onto the chine between the stem and frame two. Quite a bit of fairing will be required here.
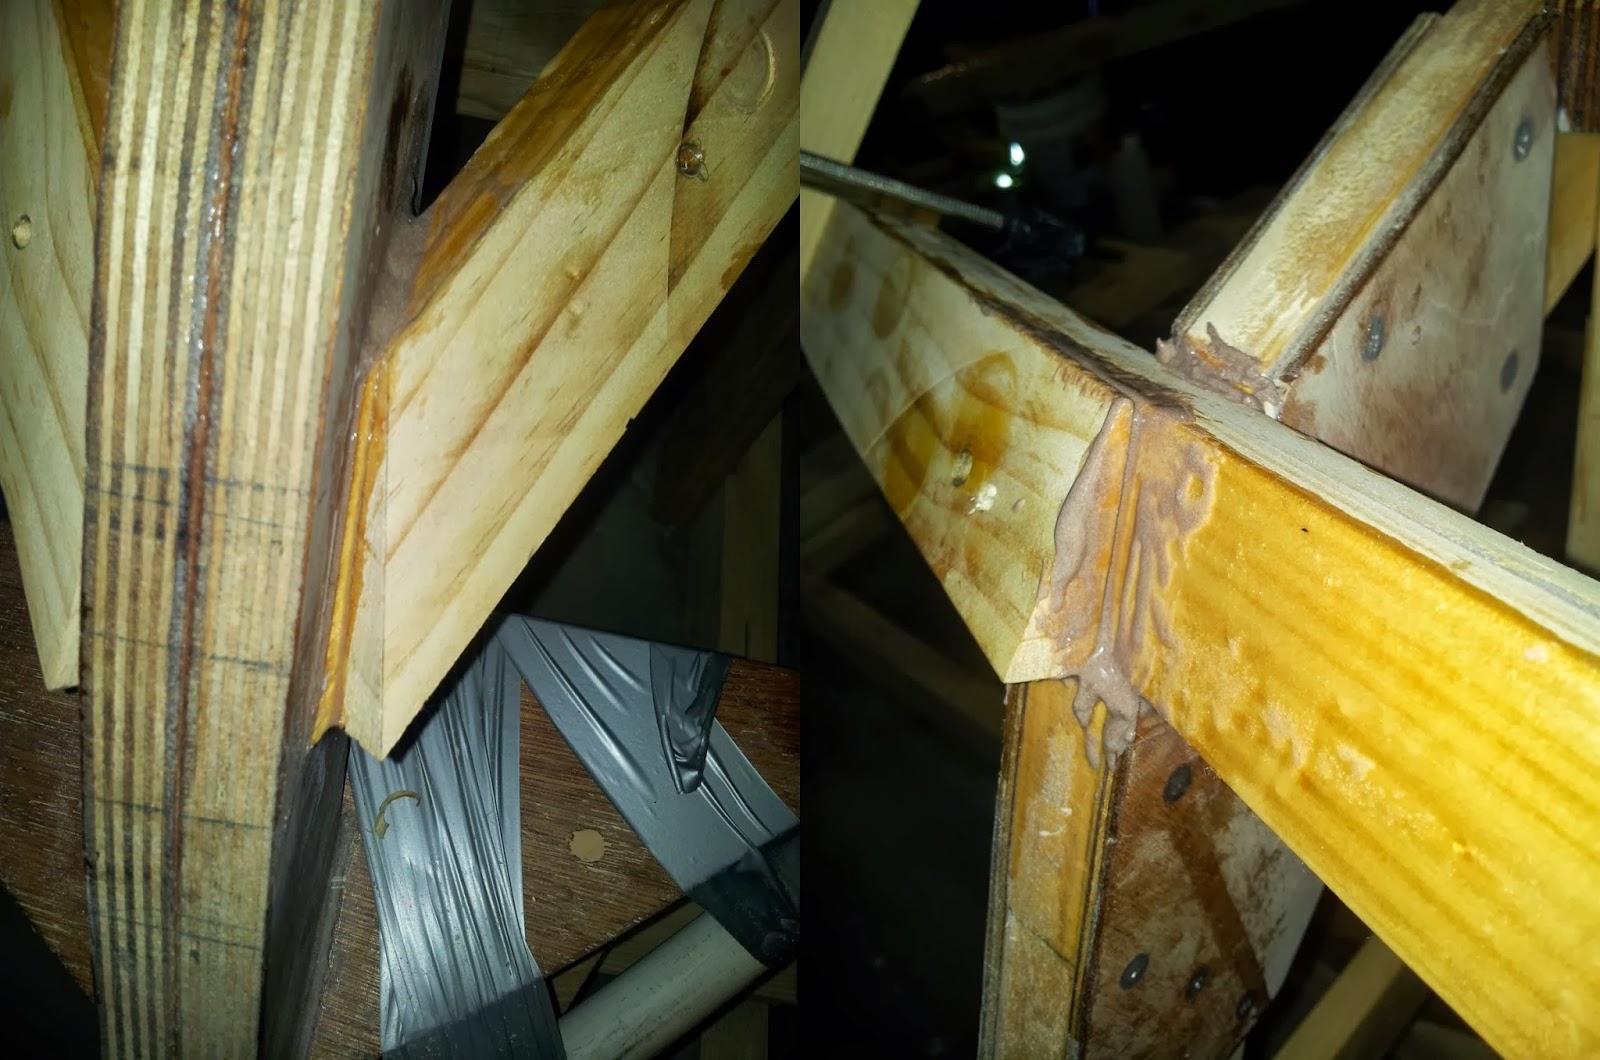 |
| Chine shim |
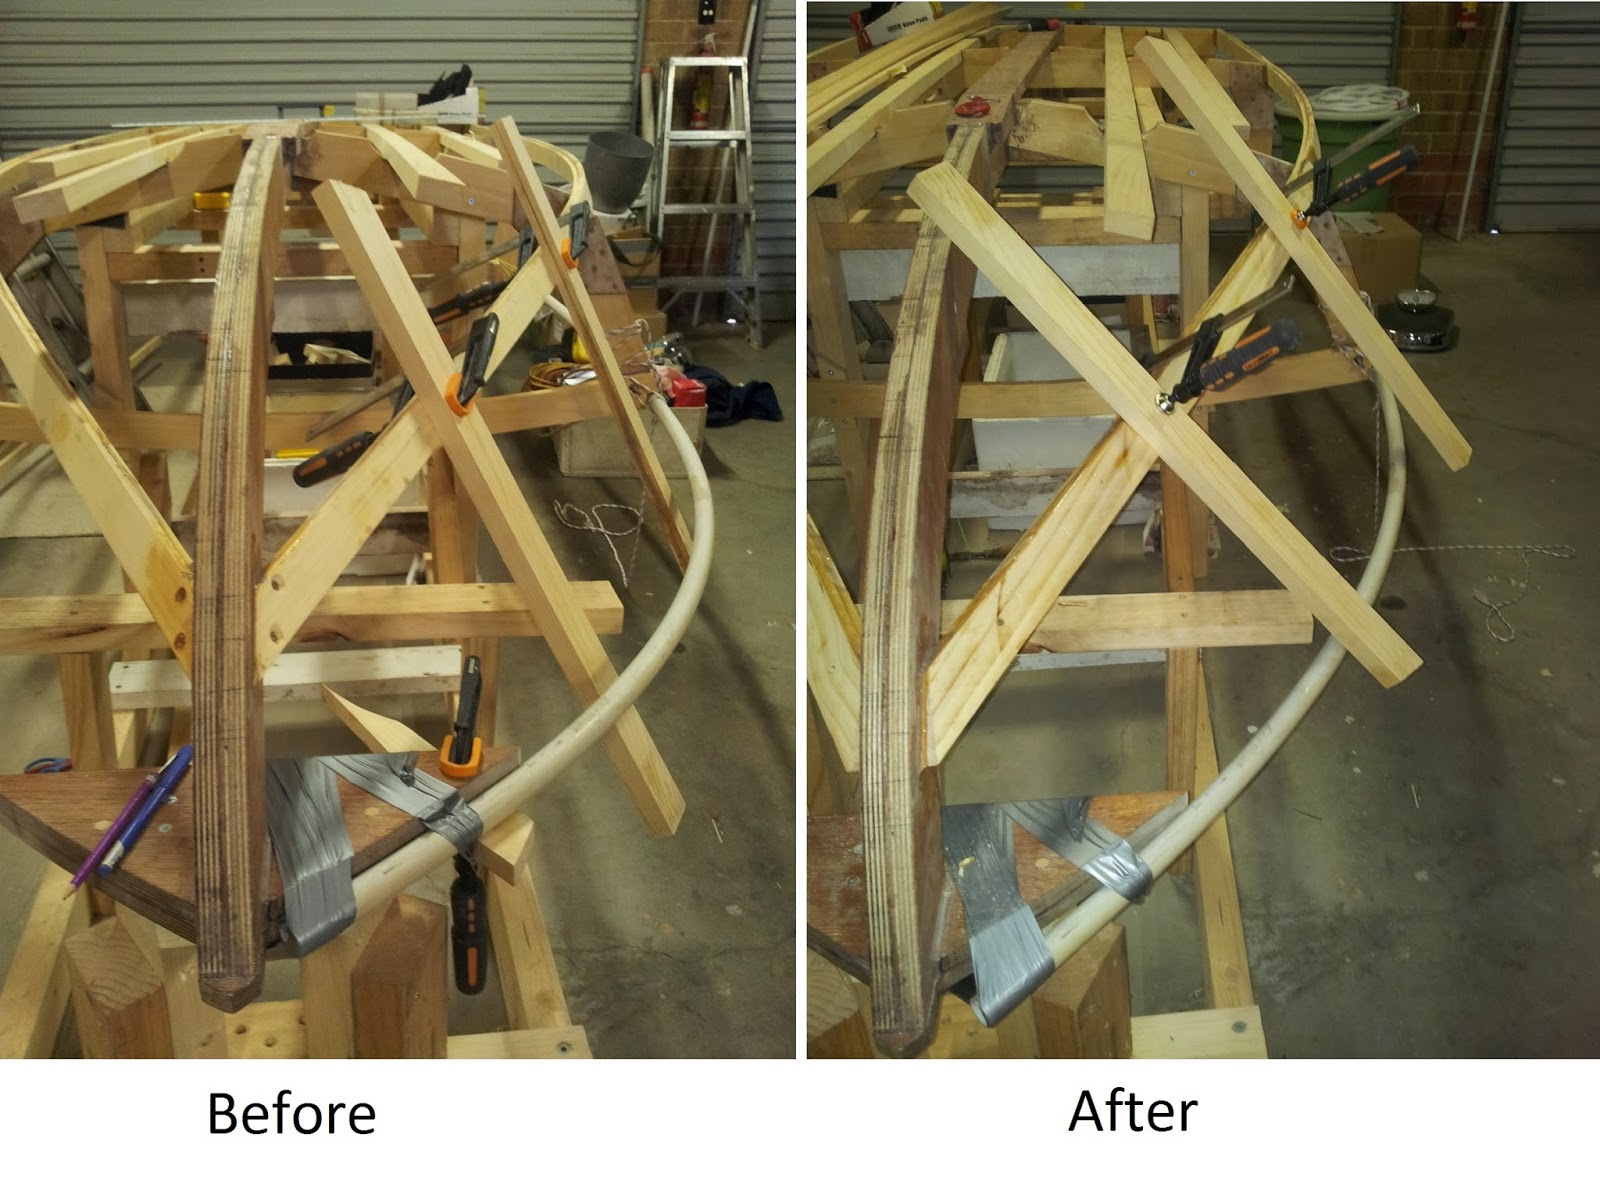
The difference that the shim made can be seen in the photos below.
.jpg) |
| Before and After adding the shim on the chine |
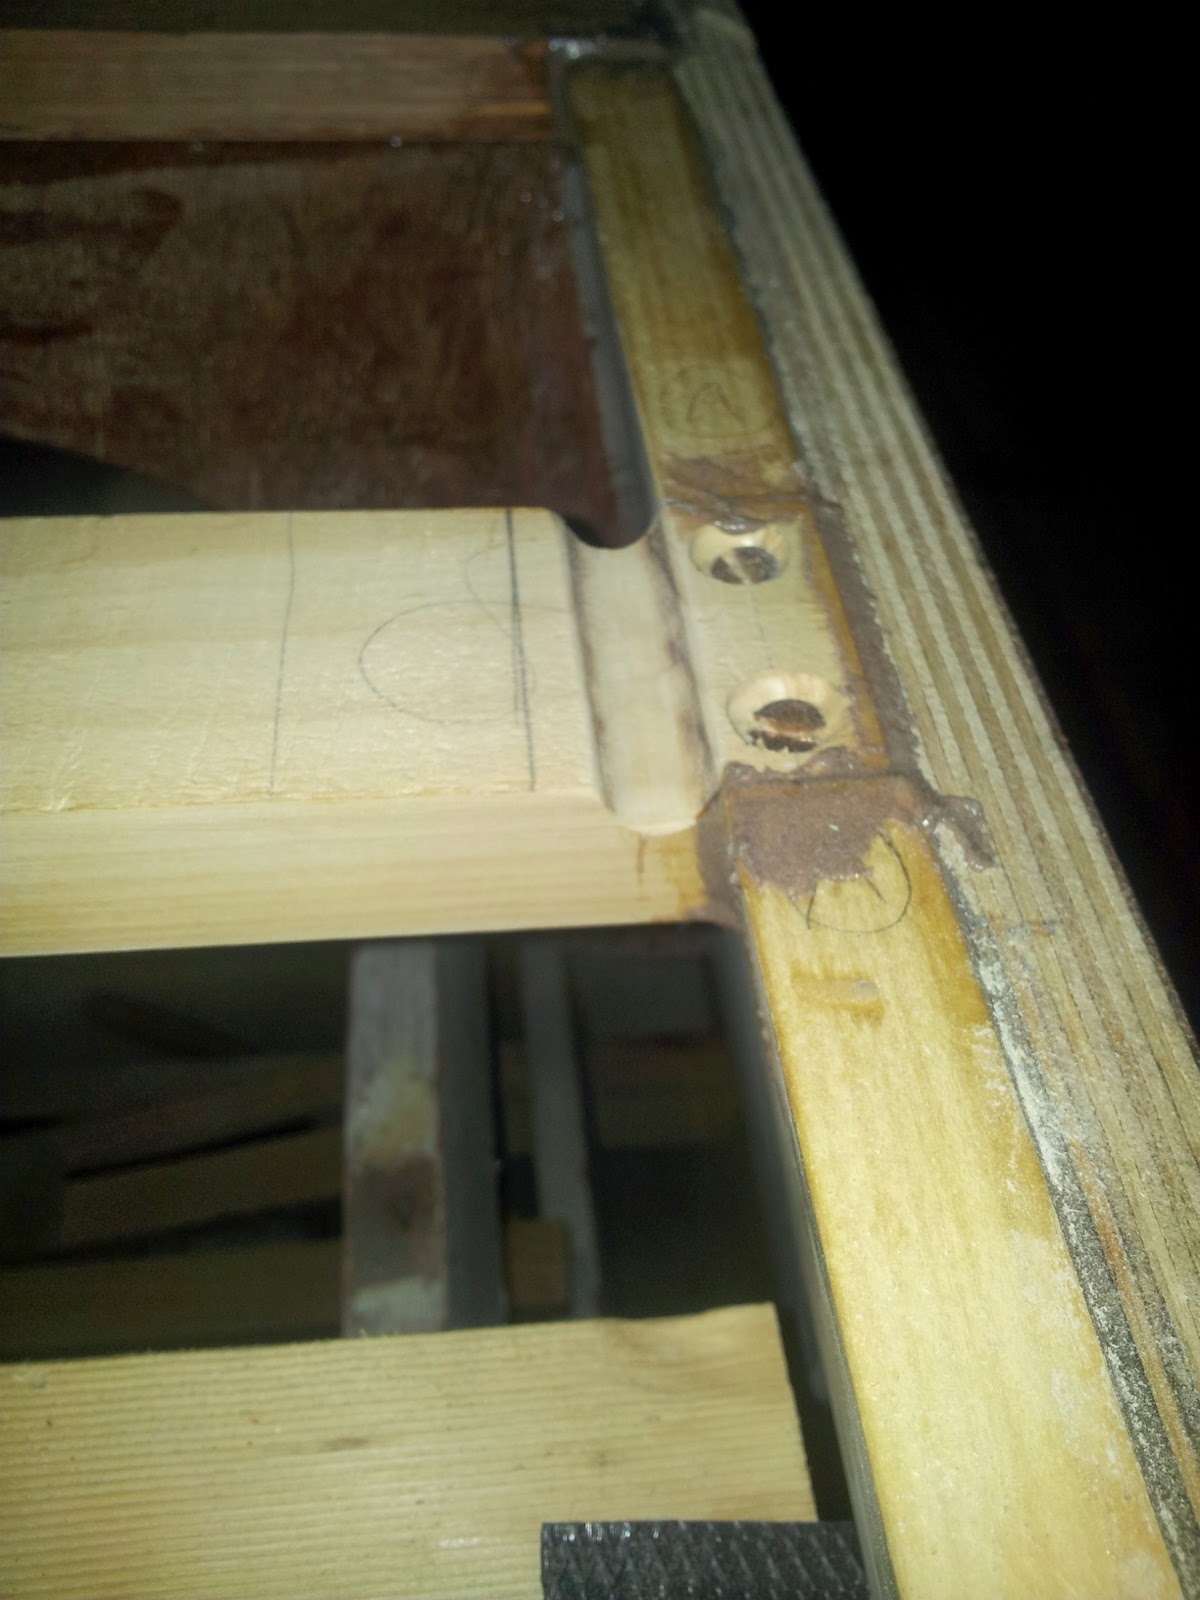
Using the router, limbers were cut in the battens so that water will be able to run towards the centre of the boat where the bung will be located. I am thinking that they should be made a bit larger than they currently are however.
.jpg) |
| Limbers |
The sheers proved to be quite troublesome when I tried to install them. I left the sheers soaking in water for over a week and by the time I got around to try and install them they were soaked right through and quite supple. The sheers were 16mm x 30mm and even after soaking them it was fairly clear that they were not going to bend into place easily. I decided to wrap the sheers in towels and pour boiling water on them to make them even more supple.
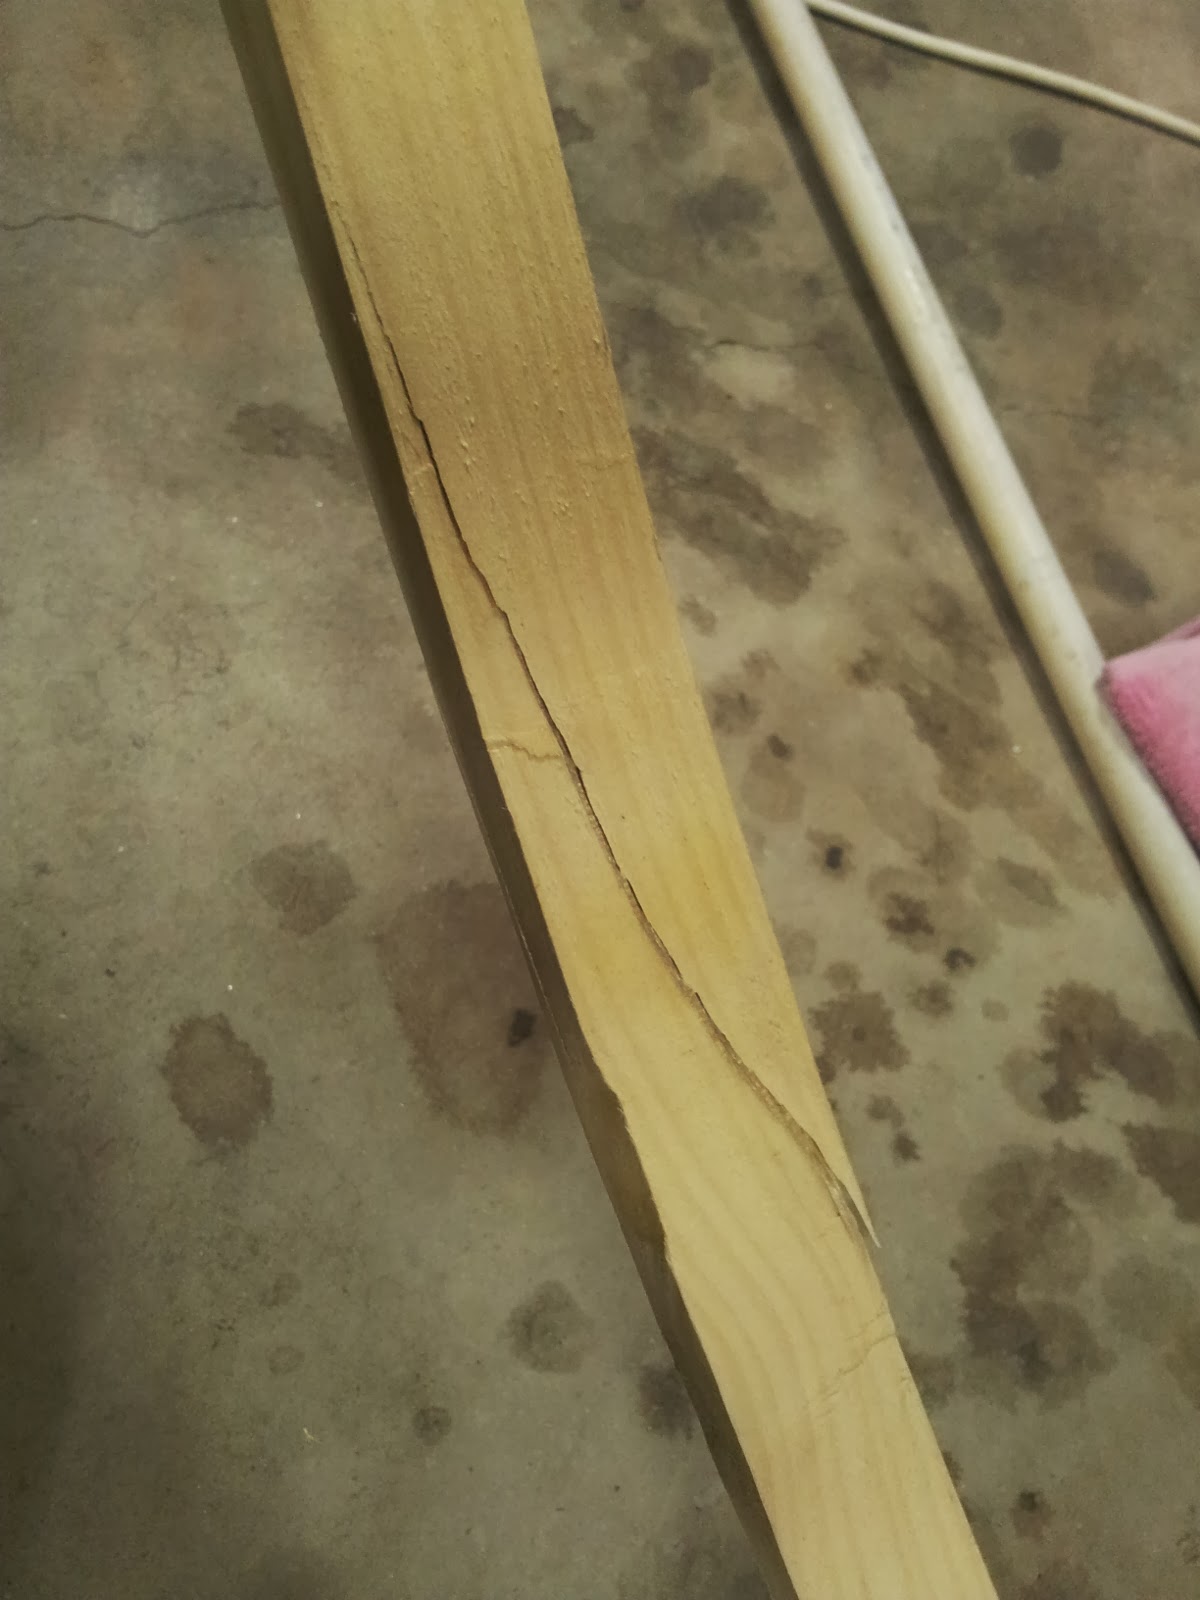
On the first attempt, the sheer simply pulled apart making a large split in the timber. I wasn't surprised at the lack of success here because all the references I read said that hoop pine does not respond to steam bending.
.jpg) |
| First sheer attempt |
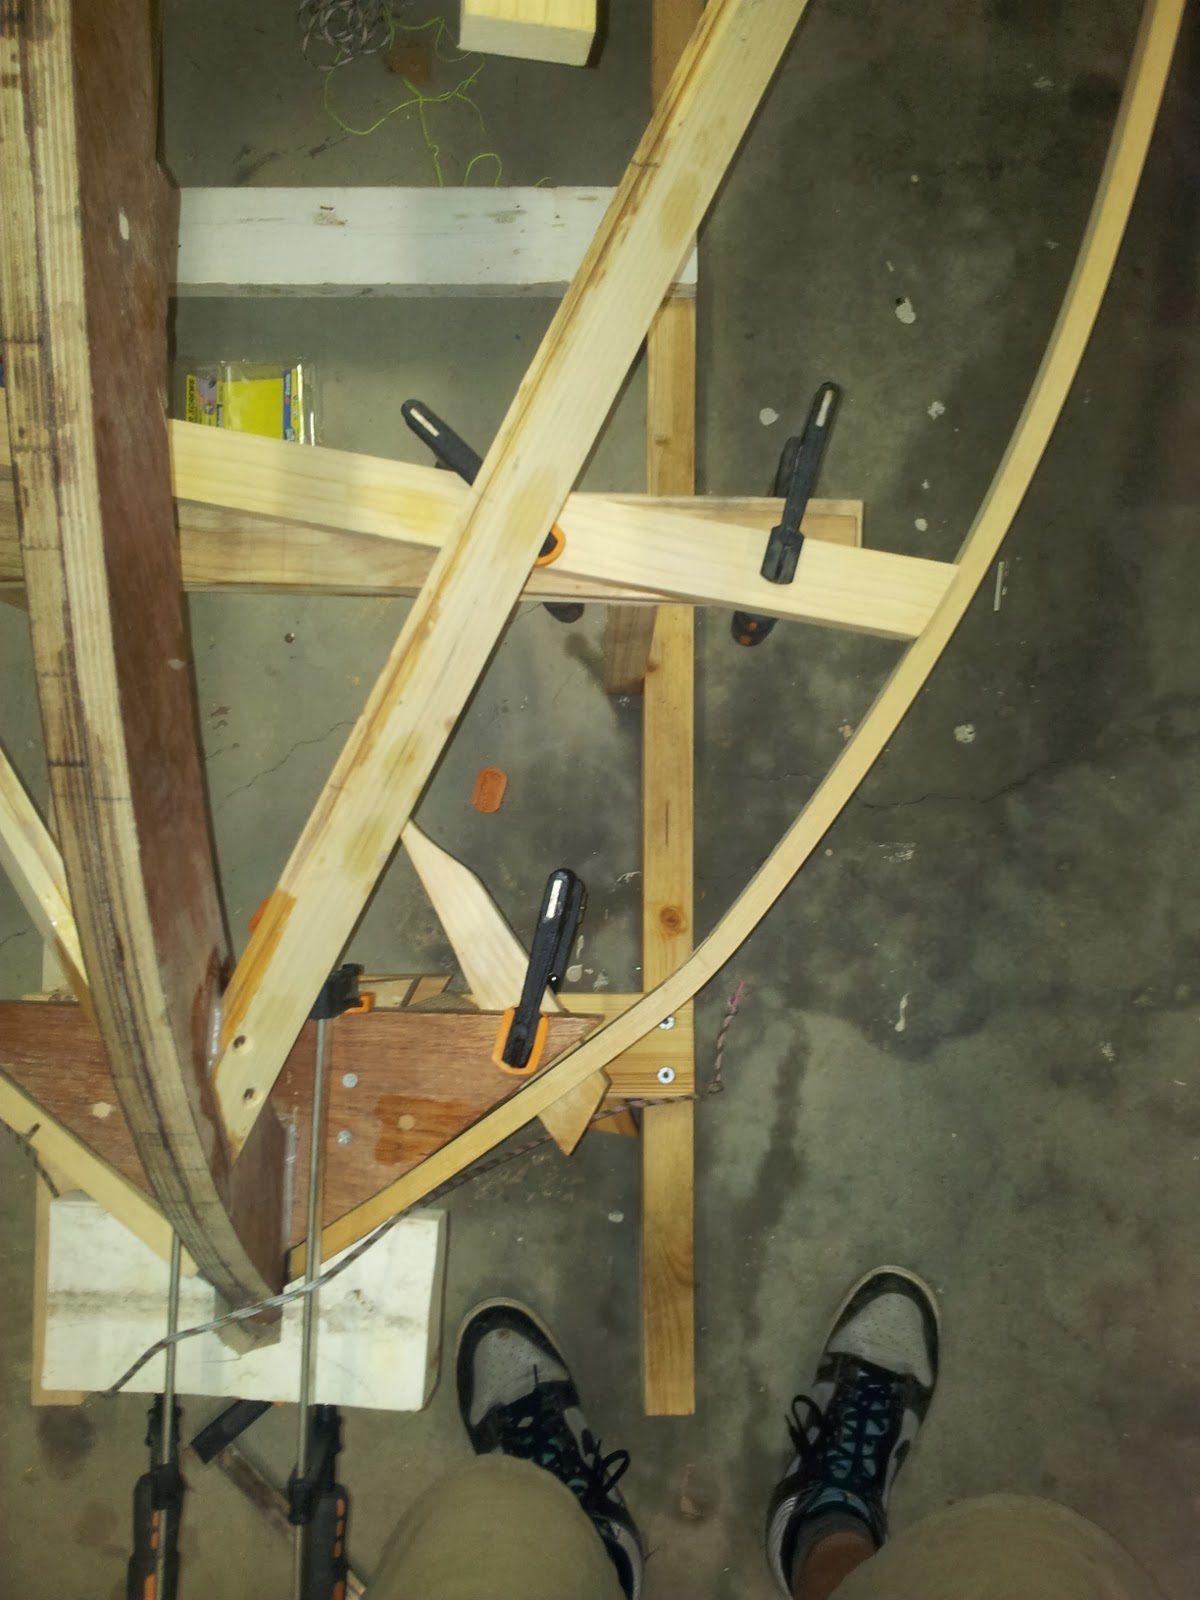
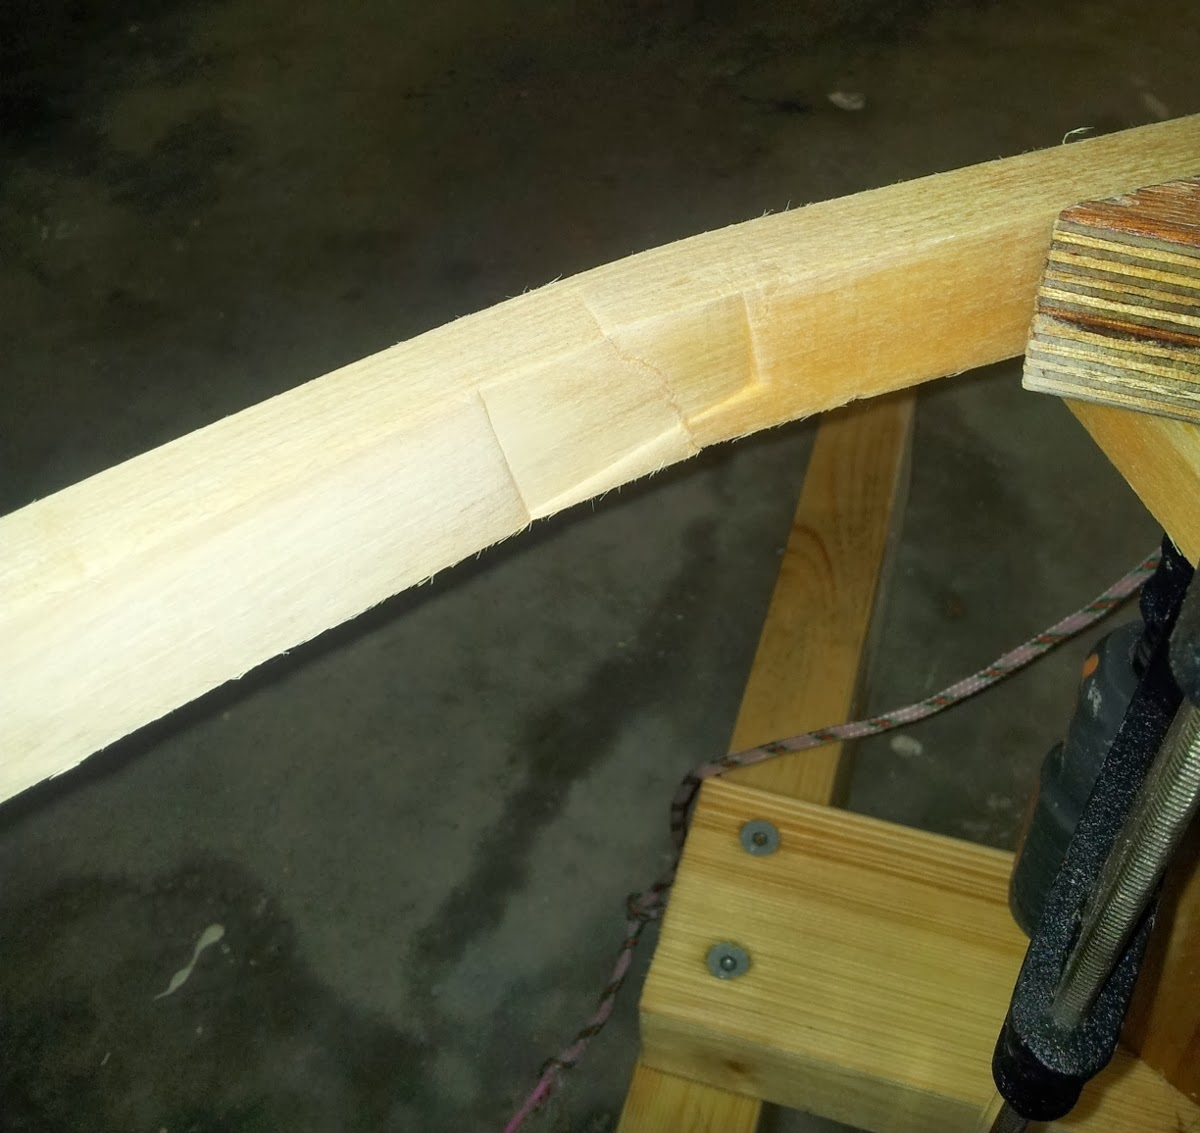
On the second attempt, the sheer bent in on itself squashing the fibers. I decided to give up on the sheers and go for three laminations. There was no point wasting good wood which I am sure I will find a use for at some stage on the boat.
.jpg) |
| Second sheer attempt |
.jpg) |
| Crushed fibers |
New wood was ordered for the sheers - 6 pieces of 10mmx30mm. This wood bent easily in place without any soaking. I have hence determined that it is a waste of time trying to steam bend wood when it is so easy to just bend thinner pieces and build up laminations.
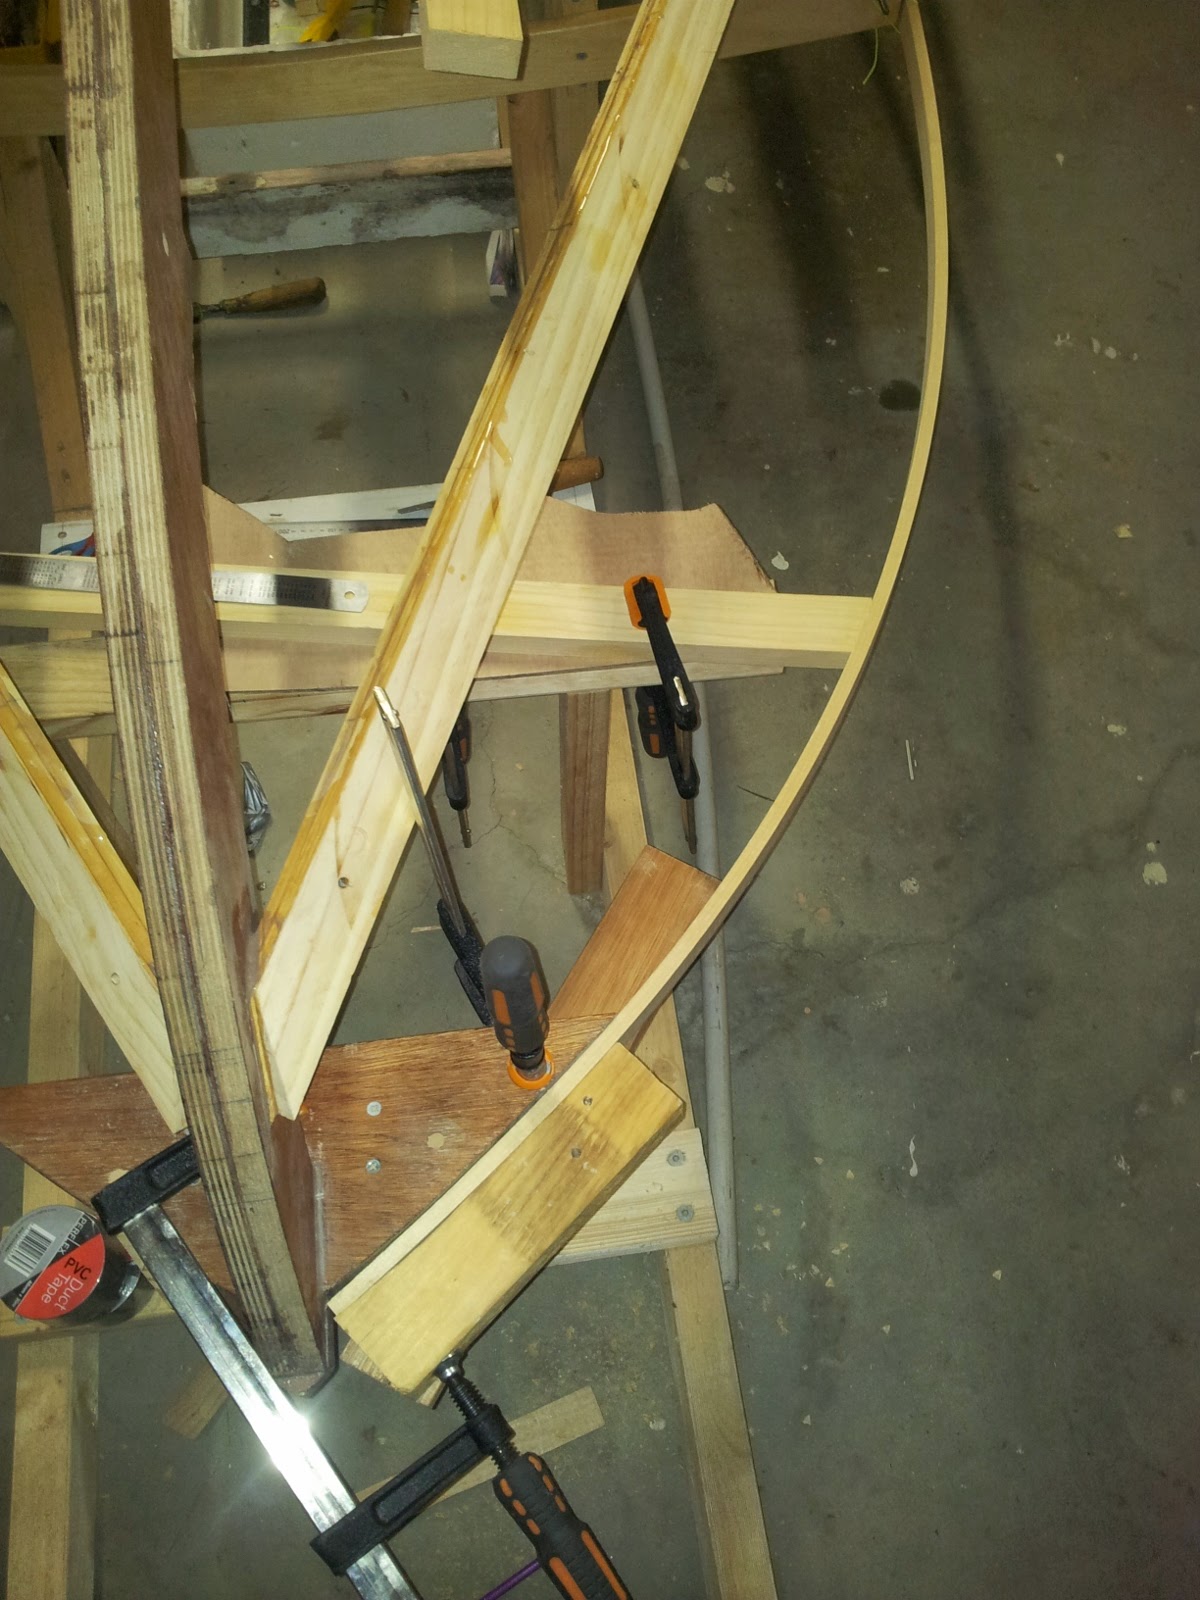 |
| 10mmx30mm sheer bent easily into place |
The sheers were laminated together without being epoxied to the boat. I used duct tape and plastic paper protectors to stop the sheers gluing to the boat. When the epoxy had cured, the laminated sheers basically held their curved shape with only a small amount of spring-back.
The method I used for laminating the sheers was as follows:
- Sanded the surfaces to be laminated
- Removed all the dust from the laminations
- Gave both pieces a coat of clear epoxy
- Let the epoxy cure for about 2-3 hours
- Applied more epoxy to both pieces
- Fastened together with lots of clamps so the epoxy oozed out a little.
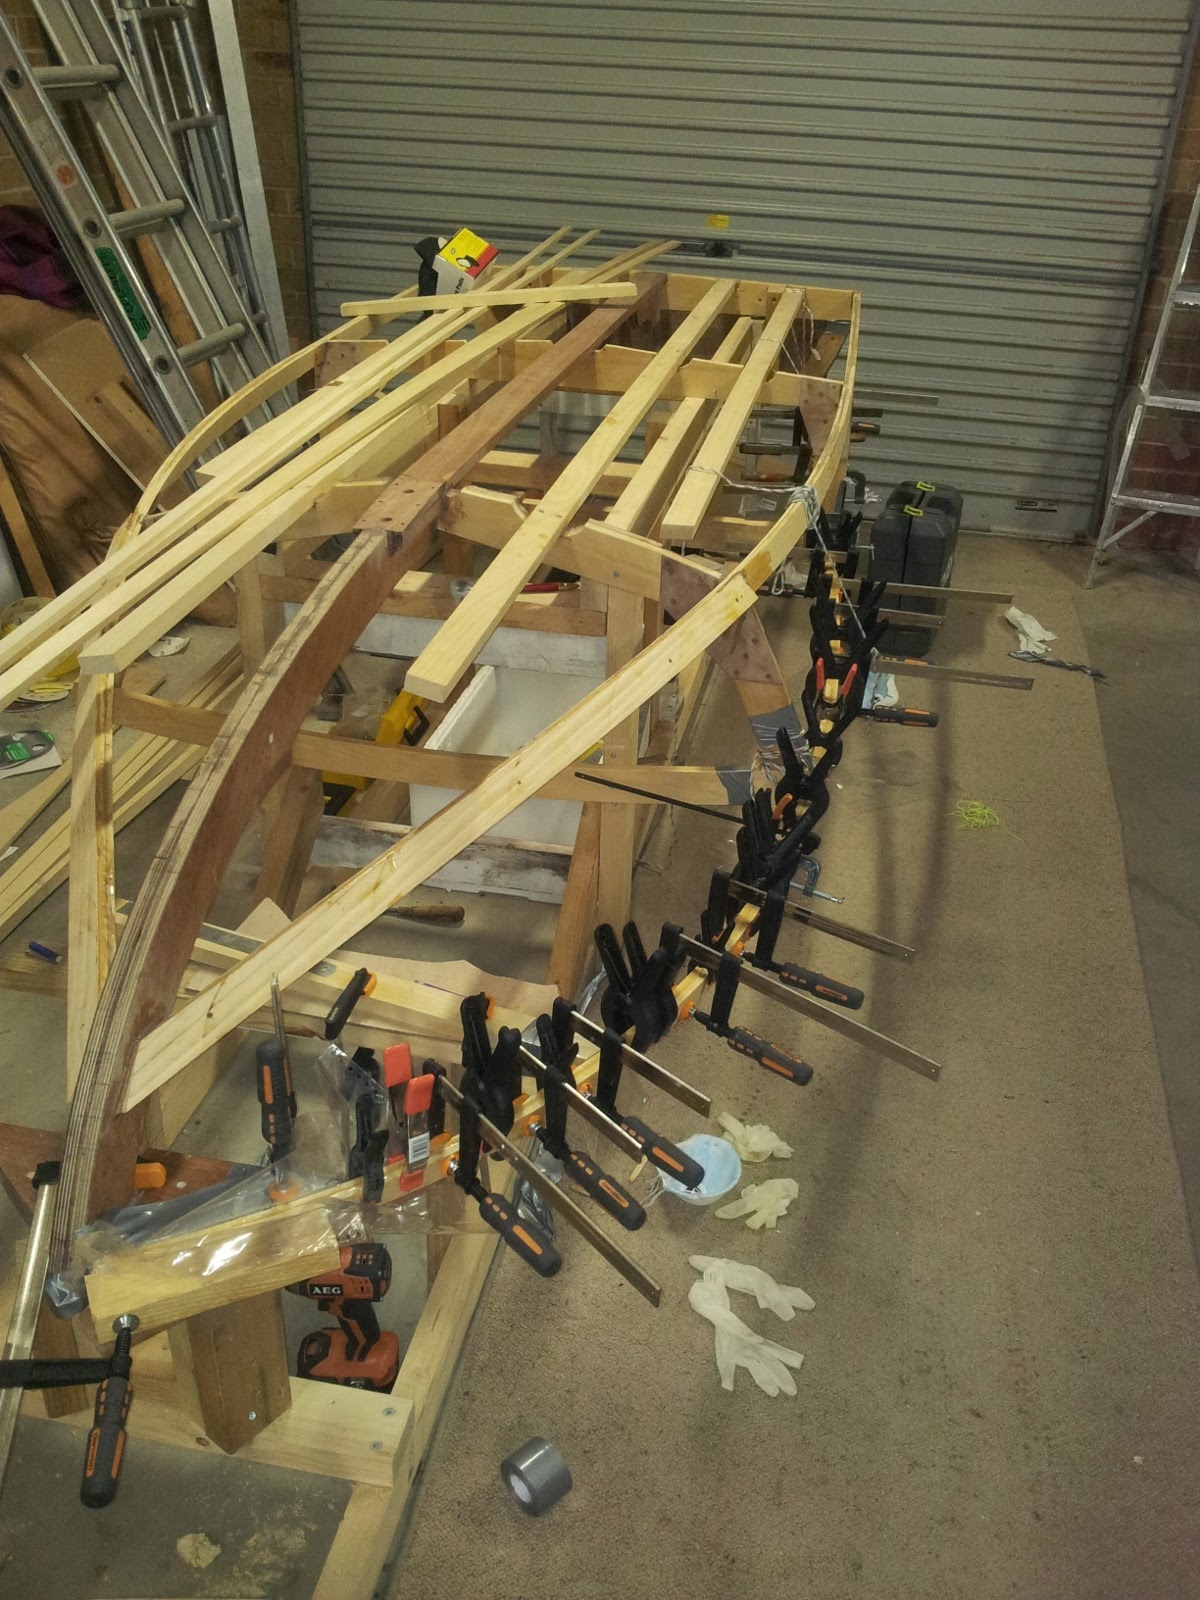.jpg) |
| Laminating sheers |
The notches in the frames and transom were adjusted to fit the sheers correctly and then the sheers were screwed and epoxied to the boat. I used 3 screws in the breasthook and one screw in the transom. I assume the epoxy will be strong enough for the frame joints. Care was taken to ensure that lots of epoxy was added to the end grain on the frames so as not to get dry joints.
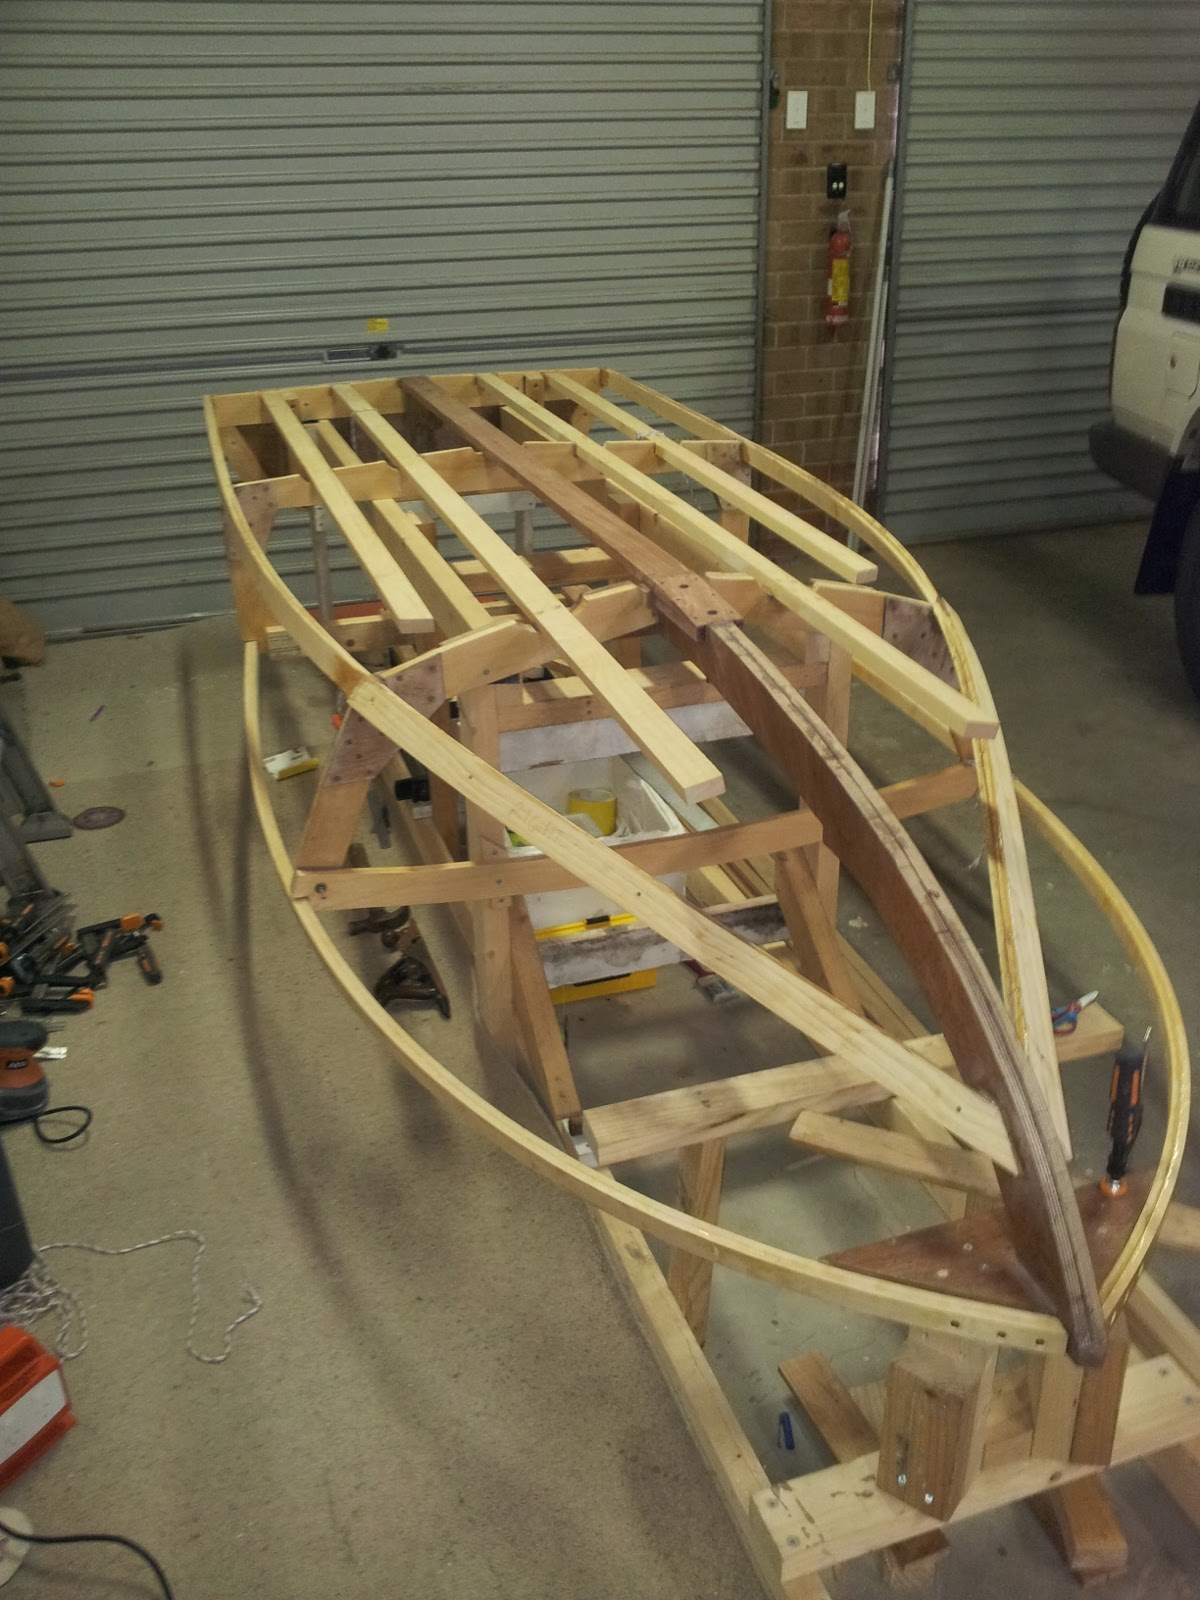.jpg) |
| Sheers in place |
I am now adding the third lamination to the sheers and after that I can start the fairing process!
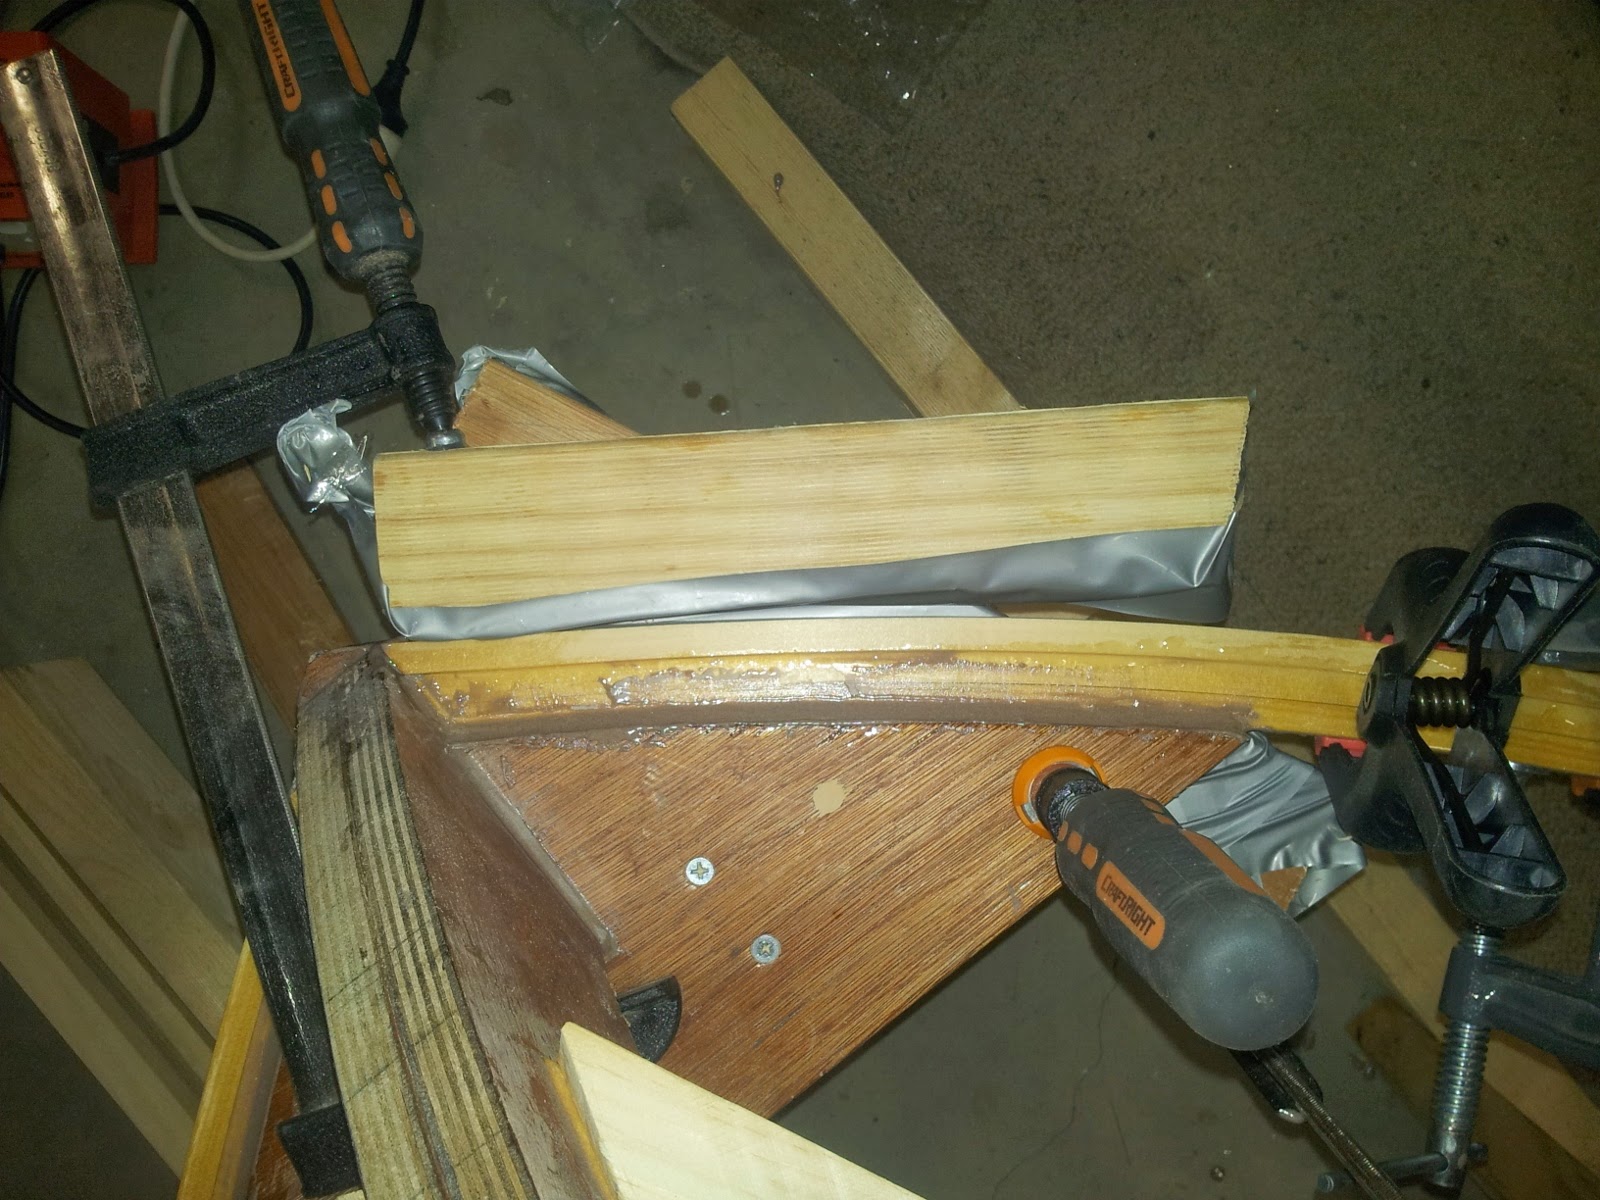.jpg) |
| 3rd sheer lamination |
I might have to work out a way of controlling the dust in the garage when it comes to the fairing process.
.jpg)
.jpg)
.jpg)
.jpg)
.jpg)
.jpg)
.jpg)
.jpg)
.jpg)

.jpg)

.jpg)
.jpg)
.jpg)
.jpg)