The boat has been progressing well over the end of year period!
I continued work on fairing the starboard side of the boat to get it ready for the installation of the plywood side panel. Following the recommendations in the book 'Boatbuilding with Plywood', I faired the frames to ensure they would not protrude against the plywood panels.
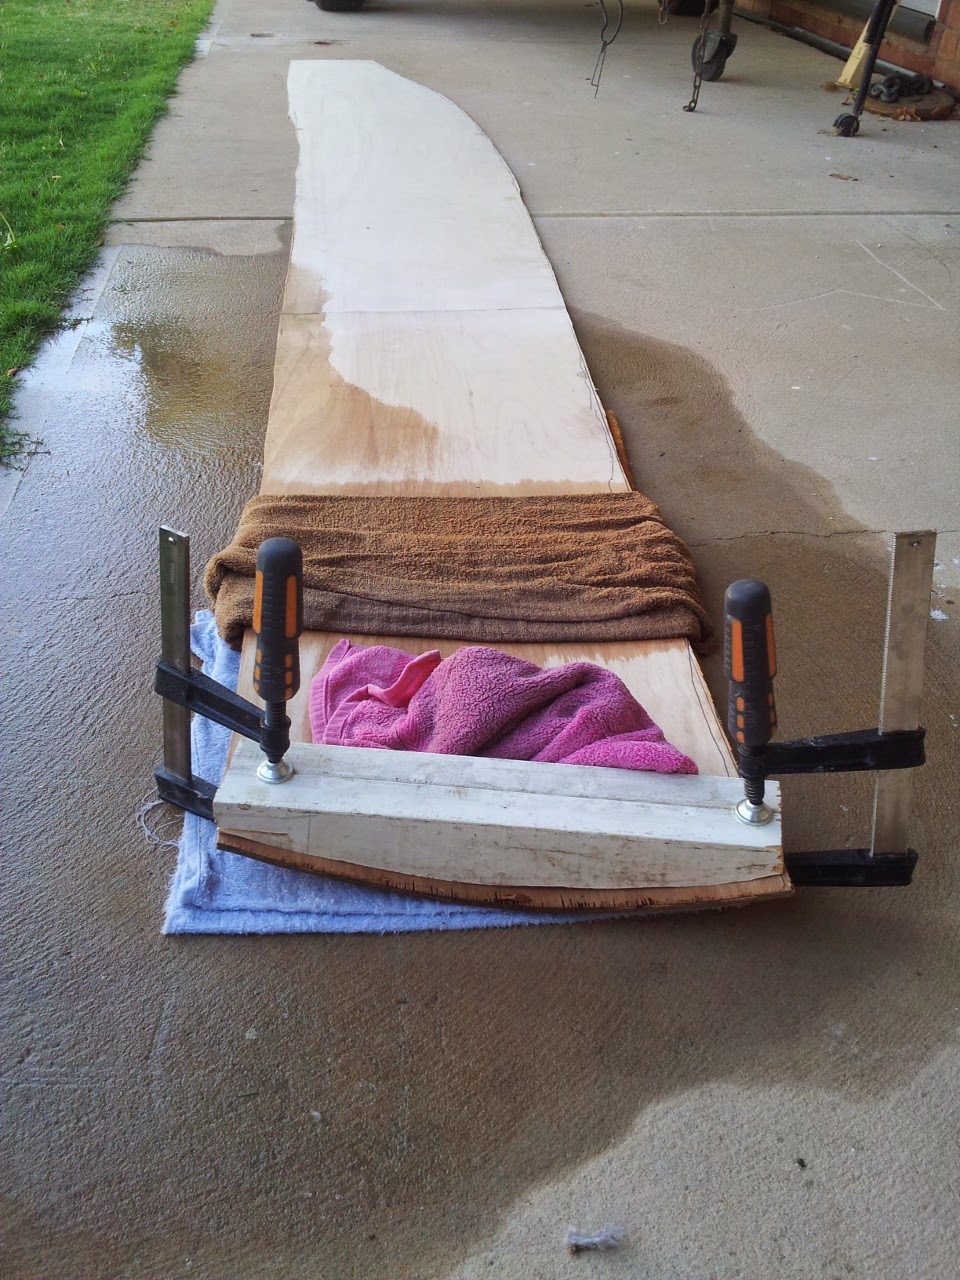
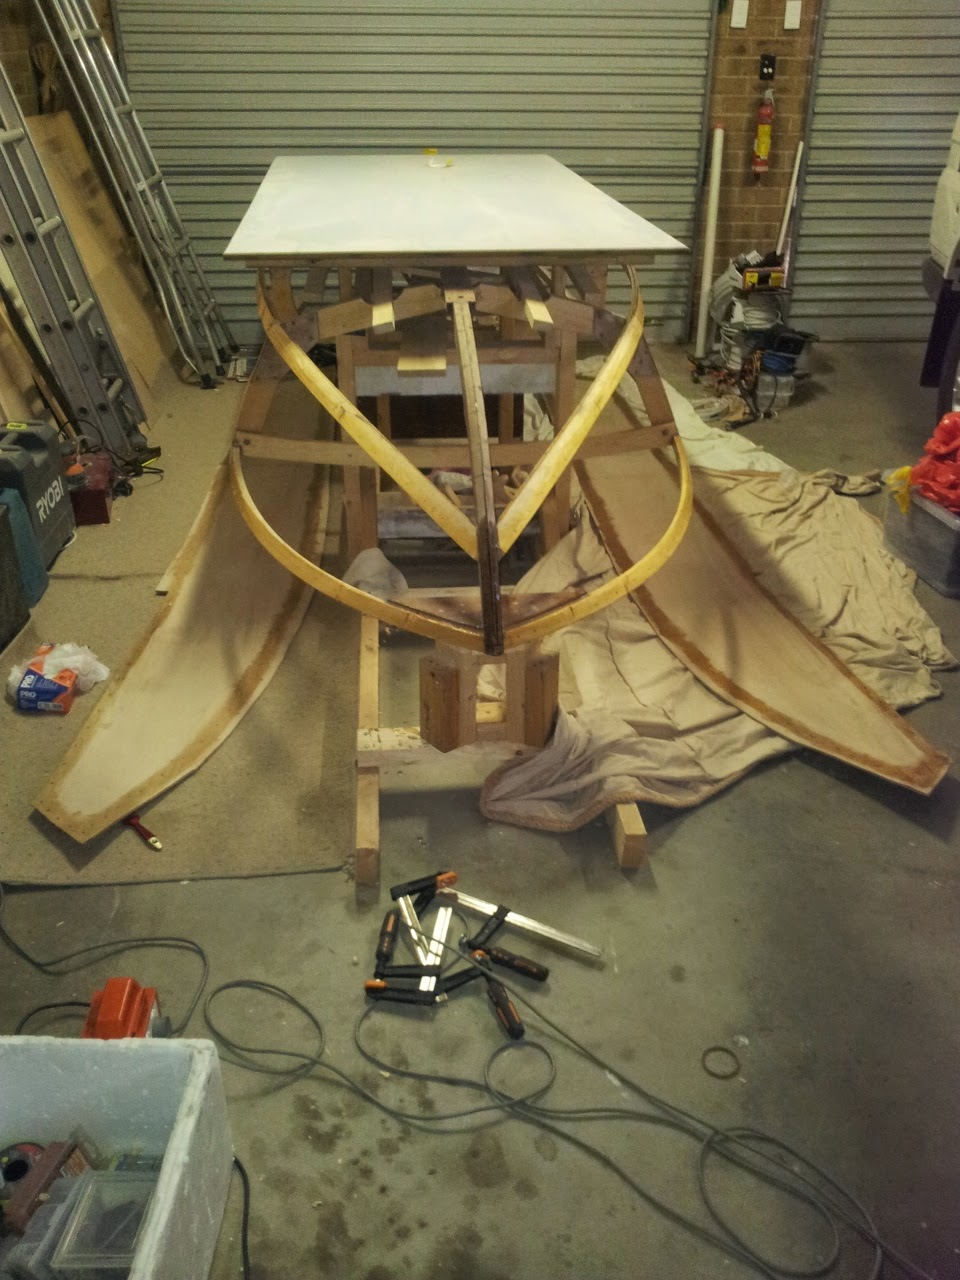
Because the bend required around the transom is quite significant, I decided to pre-bend the starboard side panel with a jig. The plywood was steamed with boiling water and towels. I am unsure if this was worth the effort because the port panel bent into place with equal effort without this pre-bending treatment.
.jpg) |
| Steaming starboard side paneling to conform to transom curvature |
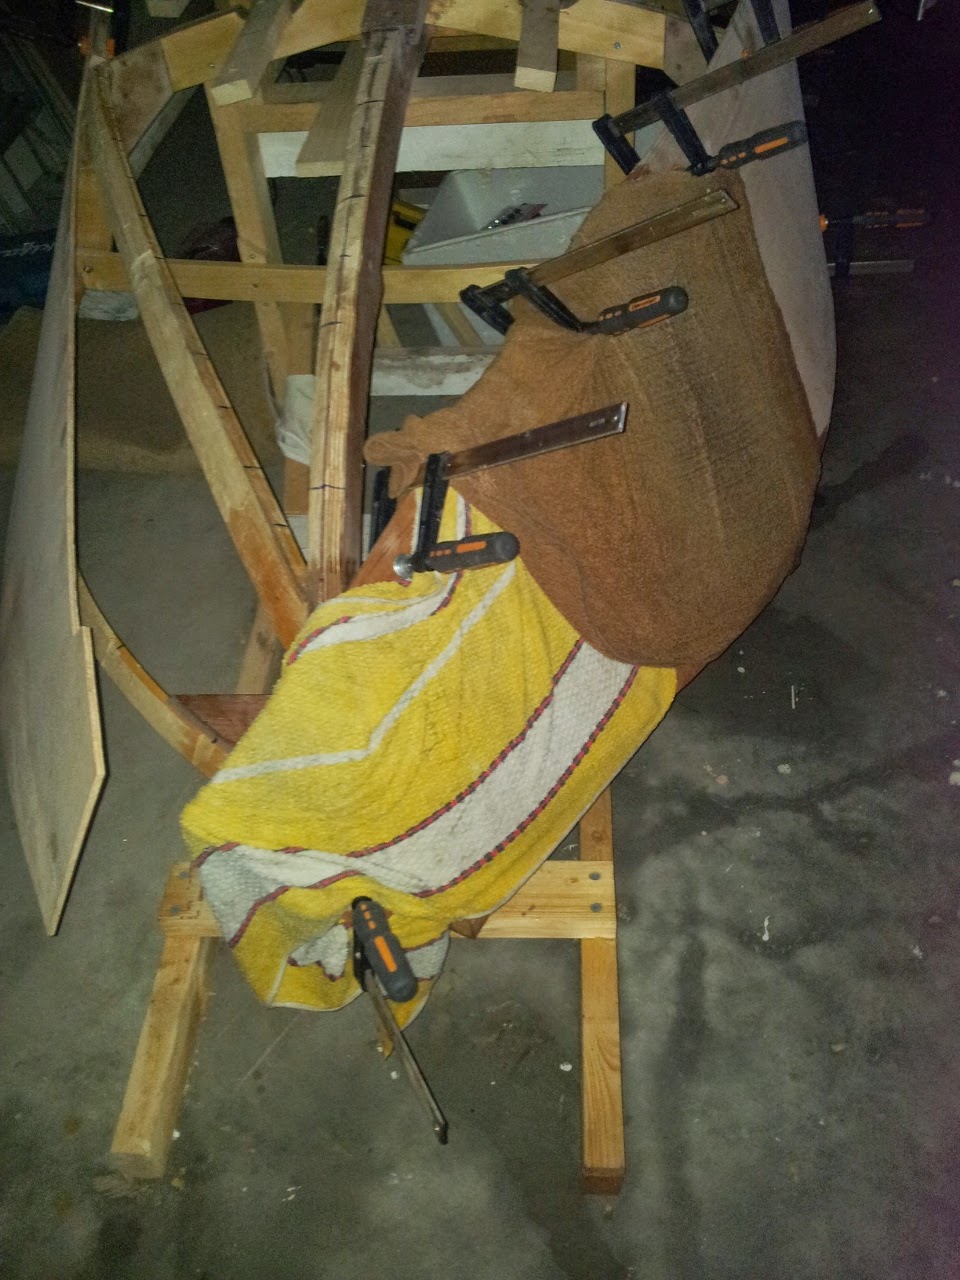
The plywood was clamped into rough position and the bend at the stem was created with the help of towels and lots of boiling water. After the plywood dried, it retained some of the bend allowing it to much more easily conform to the required shape. I would highly recommend steaming the plywood into place with this method as it makes the job much easier.
.jpg) |
| Steaming starboard planking at bow |
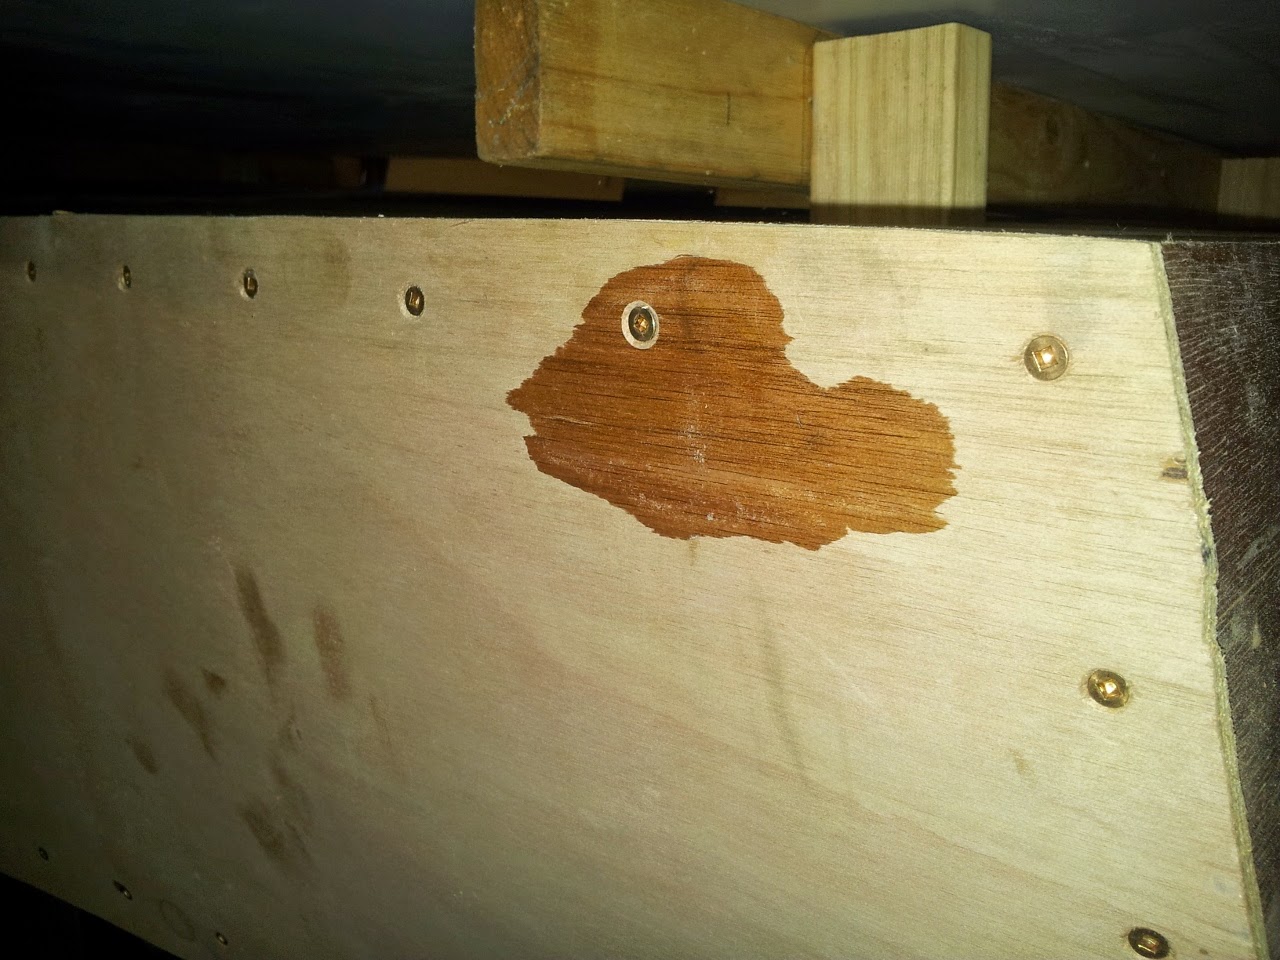
The bend in the starboard paneling at the transom caused some trouble because the outer layer of plywood (in tension) developed a crack of about 2.5cm. This caused a noticeable kink in the side panel. To solve this problem, I laid the plywood on a flat surface and glued up the crack with epoxy. Gluing up the crack worked remarkably well with the plywood bending appropriately without cracking. To me this is a testament to the excellent properties of epoxy for boat building applications.
.jpg) |
| Starboard paneling crack glued up and preforming perfectly after sides are glued on |
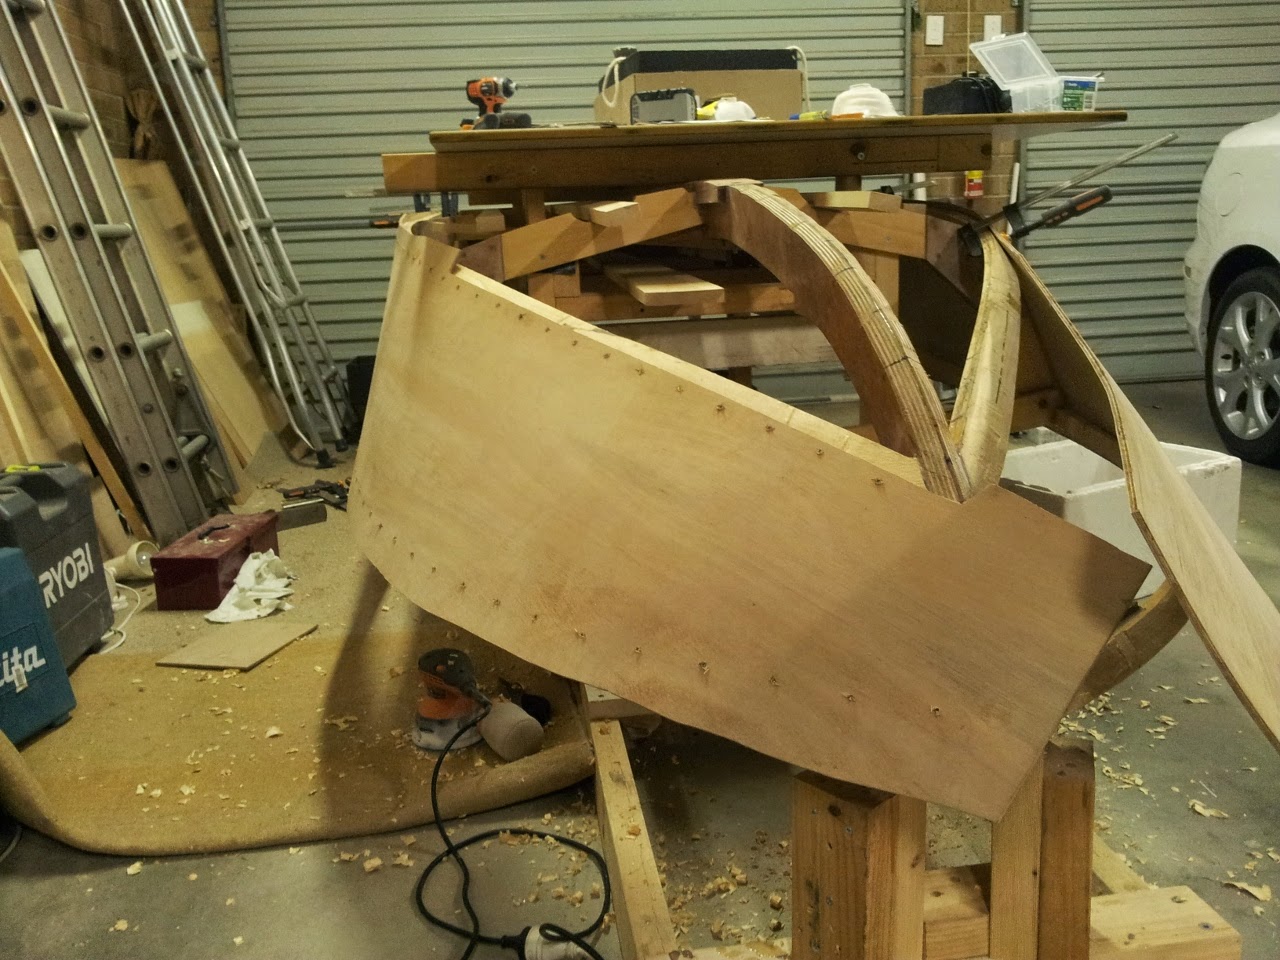
In order to dry fit the plywood paneling, the positions of the screw holes in the plywood panels needed to be determined. This was achieved by clamping the panels in place and tracing around the shears and chines to mark their positions on the plywood. The plywood was then laid on the table and the hole positions were marked along the sheer and chine lines at a distance of 3 inches apart. The screw holes were drilled and countersunk on the drill press, which facilitated the countersinking of all the holes to the same depth.
The panels were initially fastened to the side of the boat with 6 gauge wood screws as a dry fit. The screw holes left acted as pilot holes for the final silicon bronze screws which are 8 gauge.
.jpg) |
| Dry fitted port panel |
Fortunately, I had the help of my friend Steve for the gluing on of the side panels. It was a big job which took 3-4 hours. Firstly, I sanded all the mating surfaces and gave them an initial coat of epoxy allowing 45 minutes for the epoxy to seep into the wood.
.jpg) |
| All mating surfaces coated with epoxy |
Thickened epoxy was applied to all the mating surfaces before the panel was screwed in place. Although it would have been possible to do this myself, I would definitely recommend having some help for this stage. Two drills are very helpful for installing the 100 screws in each panel.
Note that I had already trimmed the plywood at the stem when it was dry fitted.
.jpg) |
| Installation of port panel. |
The starboard panel was fitted in like manner to the port panel. A clamp was used to hold the plywood against the stem. Using pop-sticks, I applied thickened epoxy fillets to all the internal plywood-frame junctions.
.jpg) |
| Side paneling installed |
Additional clamps were required to hold the plywood in position near to the transom
.jpg) |
| Clamping plywood at transom |
After the epoxy had cured, the plywood was trimmed and sanded at the front of the boat to form a curved line that hopefully will one day cut through the water like a knife through Camembert.
.jpg) |
| Trimming plywood at bow |
Installing the side plywood felt like a important milestone.
My boat has gone from looking like a just a wooden frame to actually looking half like a boat!
I have started the fairing of the bottom of the boat and have scarf jointed the plywood panels for the bottom. As a whole, I am happy with how the boat is progressing and I am hopeful that I can get the bottom paneling on before the summer is over.

.jpg)
.jpg)
.jpg)
.jpg)
.jpg)
.jpg)
.jpg)
.jpg)
.jpg)
.jpg)
.jpg)